
How Do I Remove Glare From Glasses in a Selfie Without Changing My Eyes?
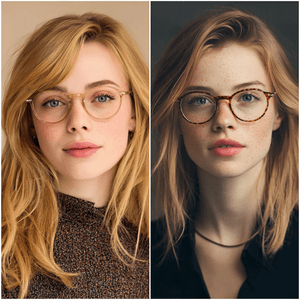
Clean eyeglass glare with the matching tool
Upload a portrait from this guide and open the editor with the glare cleanup tool ready.
View tool details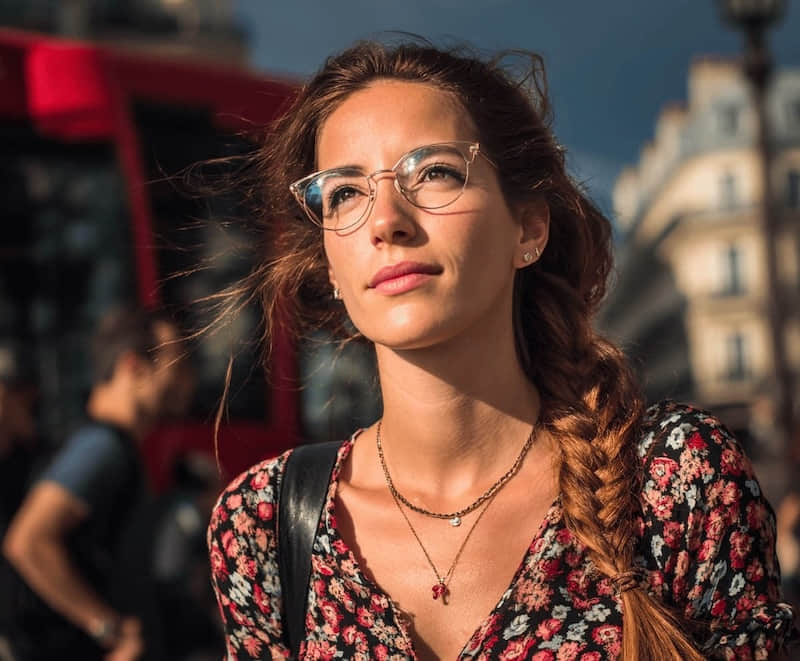
Direct answer
You can remove glare from glasses in a selfie without changing the eyes, but only if the edit stays local. Target the bright reflection on the lens, keep the frame and lens edge visible, preserve the eye shape, and stop if the result starts smoothing the eyelid, moving the pupil, or changing the expression.
This is a different job from removing glasses. The glasses should still look like the same pair of glasses. The person should still look like the same person. The edit is only there to reduce a flash spot, window streak, monitor reflection, or white patch that pulls attention away from the face.
In ClearCrowds, start with Remove Glare when the glasses should stay. Use Remove Glasses only when the goal is to remove the frames entirely.
Clean eyeglass glare with the matching tool
- Keep the frames
- Eye-detail review
- Phone portrait


Upload a selfie or phone portrait and keep the edit focused on lens glare, not face shape or identity.
Key takeaways
- Remove glare, not glasses, if the frames should remain in the portrait.
- Work from the original phone photo instead of a compressed screenshot.
- Select only the glare and a little nearby lens area.
- Keep eye direction, eyelashes, frame shape, skin texture, and lighting unchanged.
- If the glare fully hides an eye, a retake is usually more honest than a strong repair.
- Review the result at the final crop size before using it as a profile photo, team photo, or dating-app picture.
Table of contents
- What counts as glasses glare
- Remove glare vs remove glasses
- Phone workflow for eyeglass glare
- iPhone and Android checks
- When not to edit
- Prompt examples
- Review checklist
- Sources
- FAQ
What counts as glasses glare
Definition: eyeglass glare is a bright reflection on the lens surface that hides or distracts from the eye while the glasses themselves should remain visible.
The source can be a window, a ring light, a phone flash, a laptop screen, a ceiling lamp, or a bright outdoor patch. In selfies, the reflection often sits on one lens and cuts across the pupil or eyebrow. In headshots, it can look like a white rectangle from a monitor or softbox.
Do not treat every bright lens area the same way. A small white streak near the lens edge is easy to reduce. A blown-out patch that covers the whole eye is much harder because the original detail is gone from the photo. AI can rebuild a plausible area, but it cannot verify the exact hidden eye detail.
That is why the best result is a restrained result. A slightly visible lens reflection often looks more natural than an eye that has been rebuilt too cleanly.
Remove glare vs remove glasses
These are different photo jobs, and mixing them is the fastest way to damage a portrait.
| You want | Use | Avoid |
|---|---|---|
| Keep glasses and reduce white streaks | Remove Glare | Full glasses removal |
| Make an eye more visible behind lens reflection | Remove Glare with a tight target | Global exposure or face retouch |
| Remove a window or display reflection | Remove Reflection | Portrait-specific prompts |
| Remove frames entirely | Remove Glasses | Glare-only instructions |
| Fix a dark phone shadow on a document or product | Remove Shadow | Glare or reflection cleanup |
If you only want the eyes easier to see, say that. Do not ask the editor to "make the glasses disappear" unless you truly want the frames gone. The remove-glasses workflow has to reconstruct skin and eye areas that were behind the frames. A glare workflow should leave those structures alone.
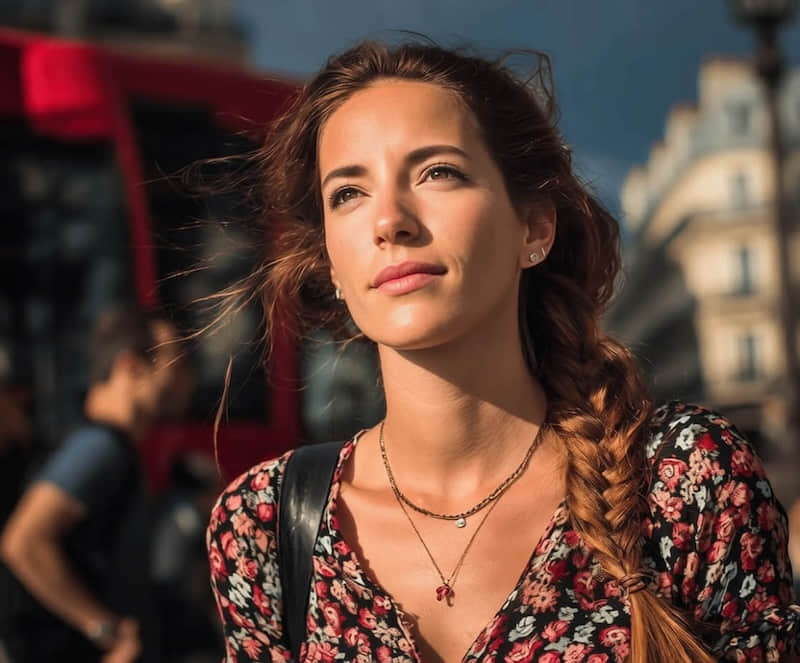
Phone workflow for eyeglass glare
Use this workflow for selfies, LinkedIn headshots, team portraits, dating profile photos, and quick mobile shots.
- Start from the original camera-roll photo.
- Duplicate the image if you also want to keep the unedited version.
- Do any crop or straightening first, so you know the final face size.
- Choose a glare-specific edit.
- Select the bright reflection on one lens, not the whole face.
- Include a little nearby lens texture so the repair can blend.
- Keep the frame, eyelashes, eye direction, and skin unchanged.
- Run a small pass, then inspect both eyes.
- Repeat with a smaller target only if one glare area still distracts.
- Export only after checking the photo at the size where it will be used.
The annoying part is that phone previews hide small face changes. A result can look fine in a thumbnail but odd when opened full size. Zoom in before you save.
iPhone and Android checks
Built-in phone editors can help with mild glare, but they usually adjust the whole photo. Apple Photos lets users adjust settings such as exposure, brilliance, highlights, and shadows. Google Photos is another common mobile photo surface, but the exact controls can vary by app version and device. Whole-image adjustments are useful when the full image is too bright, but they can make skin, hair, and background darker or flatter if the problem is only on the lenses.
Use built-in adjustment first when:
- The whole photo is slightly overexposed.
- The glare is faint and does not cross the eye.
- The image still looks natural after lowering highlights.
Use a targeted AI cleanup when:
- One lens has a clear white reflection.
- A monitor or window shape is visible on the glasses.
- Lowering highlights makes the whole face look dull.
- The portrait is otherwise good and you do not want to retake it.
On iPhone, also check Portrait mode blur after editing. On Android, check whether the edited file came from the original camera app or a messaging-app copy. A shared copy can be lower resolution, which makes lens edges harder to repair.
When not to edit
Do not push the edit when the reflection hides too much real information.
Retake the photo if:
- The glare fully covers one or both eyes.
- The face is small in the frame.
- The glasses are transparent or very thin.
- The image is noisy, dark, or heavily compressed.
- The portrait is for an ID-style, medical, legal, school, or official use case.
- The edit changes eye direction, eyelid shape, or expression.
A quick retake can be faster. Turn slightly away from the window, move the phone higher or lower, turn off flash, or ask the person to tilt the glasses a little. You do not need a studio setup; you just need a lens angle that stops reflecting the brightest object in the room.
Prompt examples
Use a tight prompt:
Reduce the glare on the eyeglass lenses only. Keep the glasses frames, eyes, eyelashes, skin texture, face shape, and lighting natural.
If only one lens is affected:
Clean the bright reflection on the right lens only. Do not change the other eye, the frame shape, or the face.
Avoid vague prompts:
Fix my face.
Make my eyes flawless.
Remove the glasses.
Those prompts can invite a much larger portrait retouch than you wanted.

Review checklist
Before you use the edited portrait, check:
- Are the glasses still present?
- Did the frame shape stay the same?
- Do both eyes point in the same direction as the original?
- Are eyelashes and eyelids still natural?
- Did skin texture around the nose and cheeks stay unchanged?
- Does the lens still have a little believable reflection?
- Does the edit still match the room lighting?
- Would the person recognize the image as themselves?
If the answer is uncertain, keep the original or retry with a smaller target.
Where ClearCrowds fits
ClearCrowds works best when the edit target is specific. For this job, open Remove Glare, upload the phone portrait, and keep the instruction focused on lens reflection. If the issue is on a window, glossy product, display glass, or plastic sleeve, use Remove Reflection. If the frames themselves need to disappear, use the main Remove Glasses page.
For adjacent portrait cleanup, read Remove sunglasses from a photo. If the portrait is for LinkedIn or a team page, use the professional headshot at home guide to plan the light, background, and final crop. For general glare and reflection decisions, use the broader remove glare from photo guide.

Sources
FAQ
Can I remove glare from glasses in a selfie without changing my eyes?
Yes, when the glare covers only part of the lens and some real eye detail is still visible. Use a glare-specific edit, keep the selection small, and compare the edited eye against the original before saving. If eye shape or direction changes, the edit is too strong.
Should I use remove glare or remove glasses?
Use remove glare when the glasses should stay. Use remove glasses when you want the frames gone completely. The two workflows solve different problems. A glasses-removal edit can rebuild areas around the eyes and nose, while a glare edit should preserve the portrait structure.
Can I fix glasses glare directly on iPhone or Android?
Sometimes. Built-in highlight or light controls can reduce mild glare, but they affect the whole photo. If the rest of the face already looks good and only the lens reflection is distracting, a targeted edit is usually cleaner than lowering highlights across the entire image.
What if the glare fully covers one eye?
Treat that as a high-risk edit. The software may create a plausible eye area, but it cannot know every detail that was hidden by the glare. For important portraits, retake the photo or use another frame where the eye is visible.
Is this different from removing reflection from glass?
Yes. Eyeglass glare is a portrait edit because it touches eyes, skin, lenses, and frames. Window or product reflection is usually a surface cleanup task. If no face is involved, Remove Reflection is often the better starting point.