Whiten teeth in a photo online

Reduce yellow tones in visible teeth while keeping the same smile, gums, lips, face, texture, and lighting.

  • Keep enamel texture
  • Preserve the gum line
  • Respect the scene lighting

Upload a portrait to whiten teeth

JPG, PNG, or WebP. Teeth Whitening opens automatically.

Choose a portrait
Original keptPreset selectedSubtle color correction
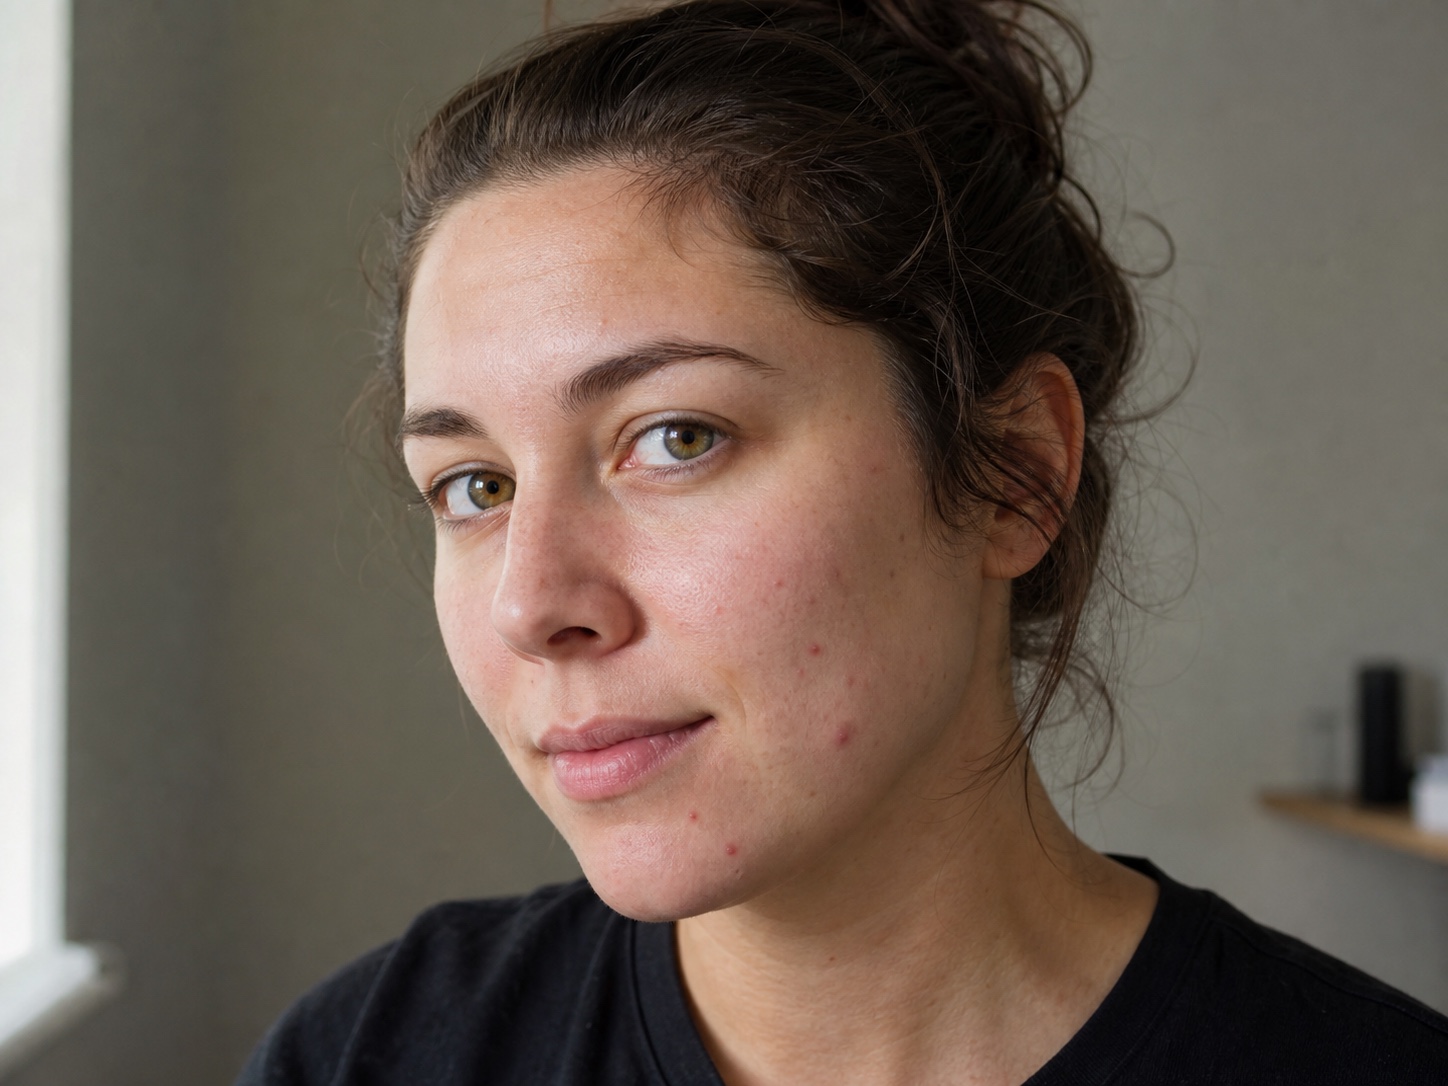
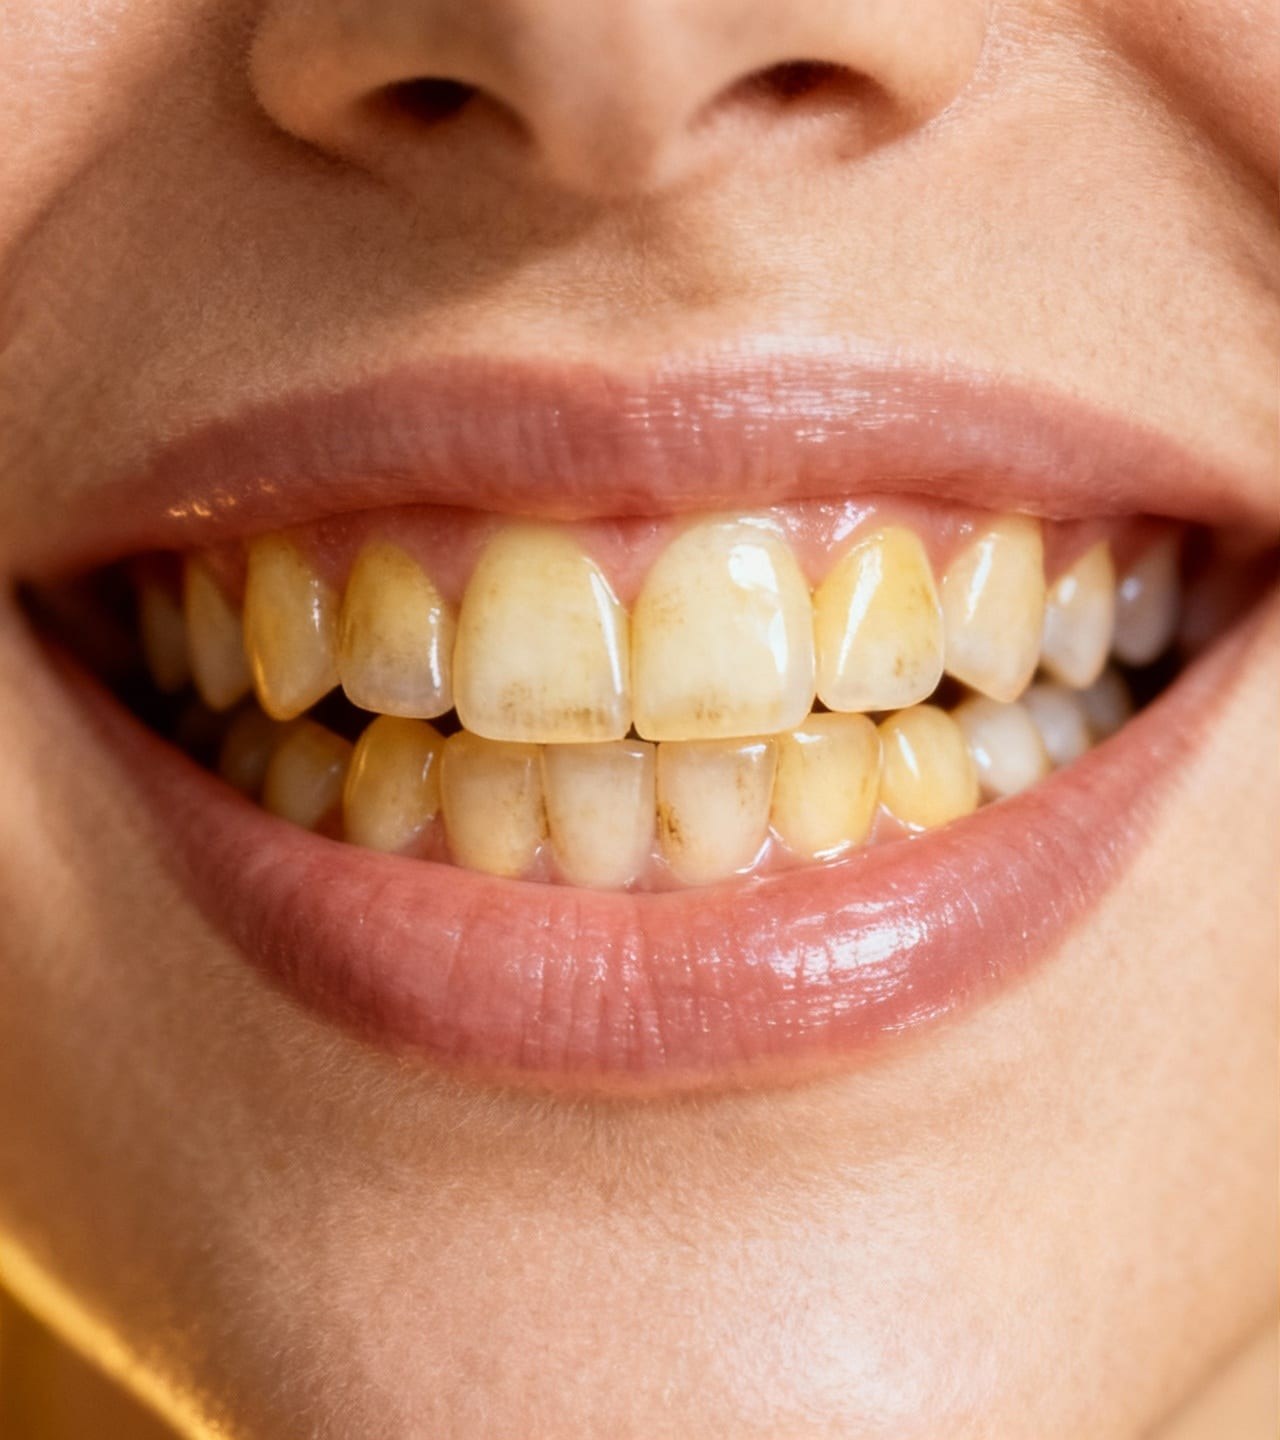
Portrait before correcting yellow tones in visible teeth
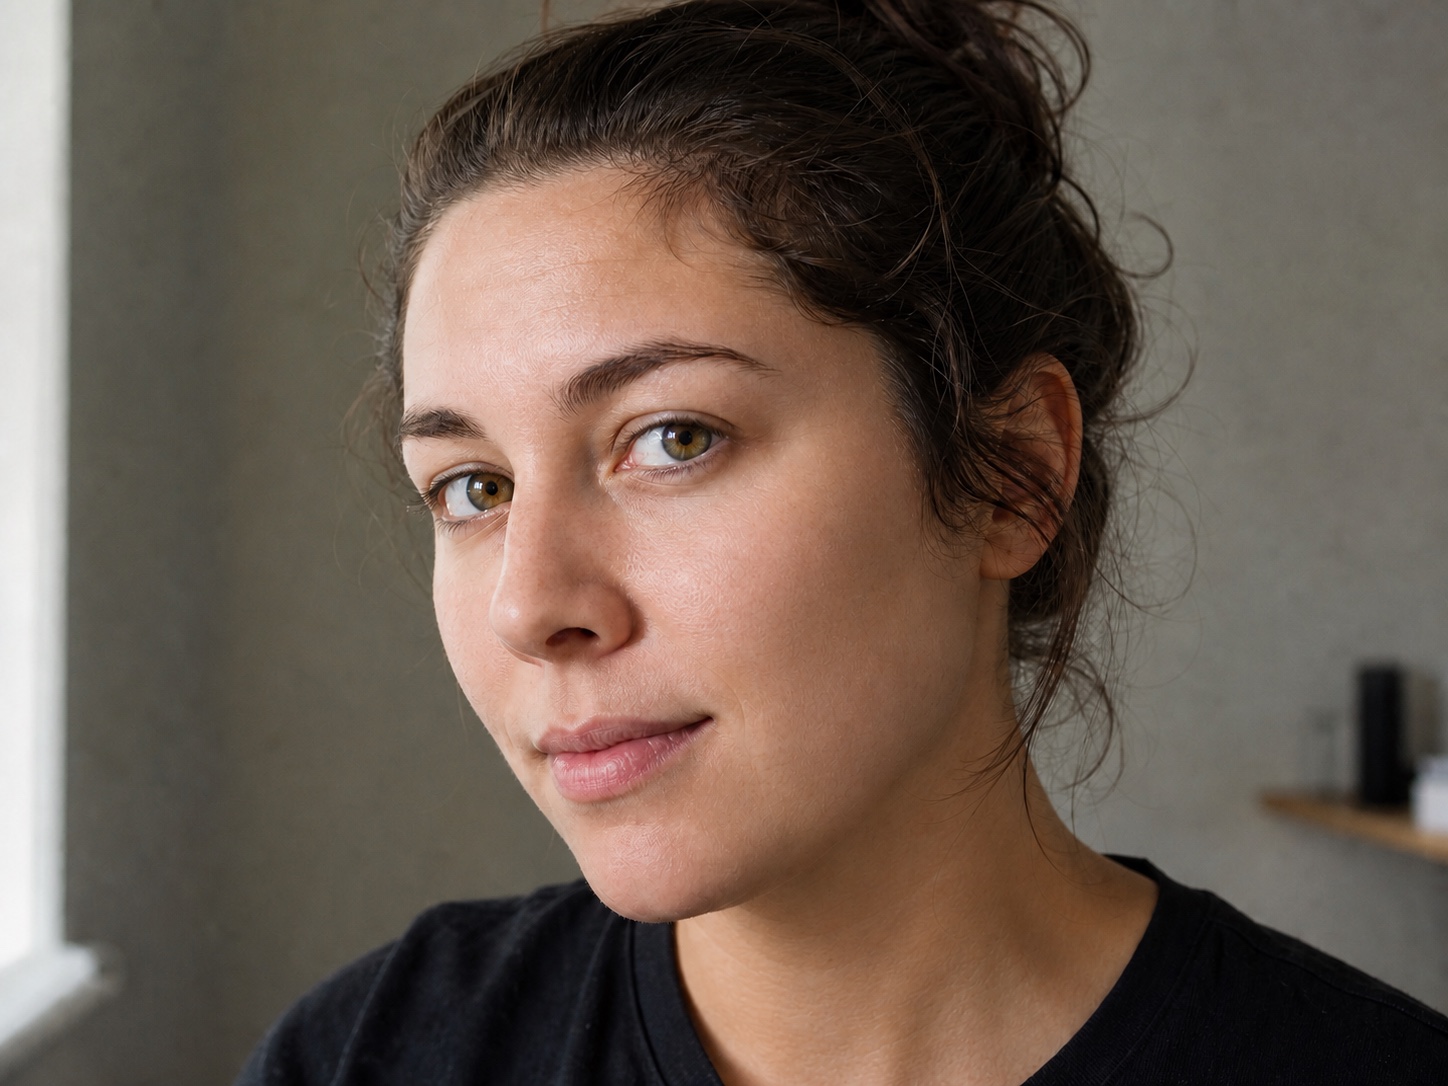
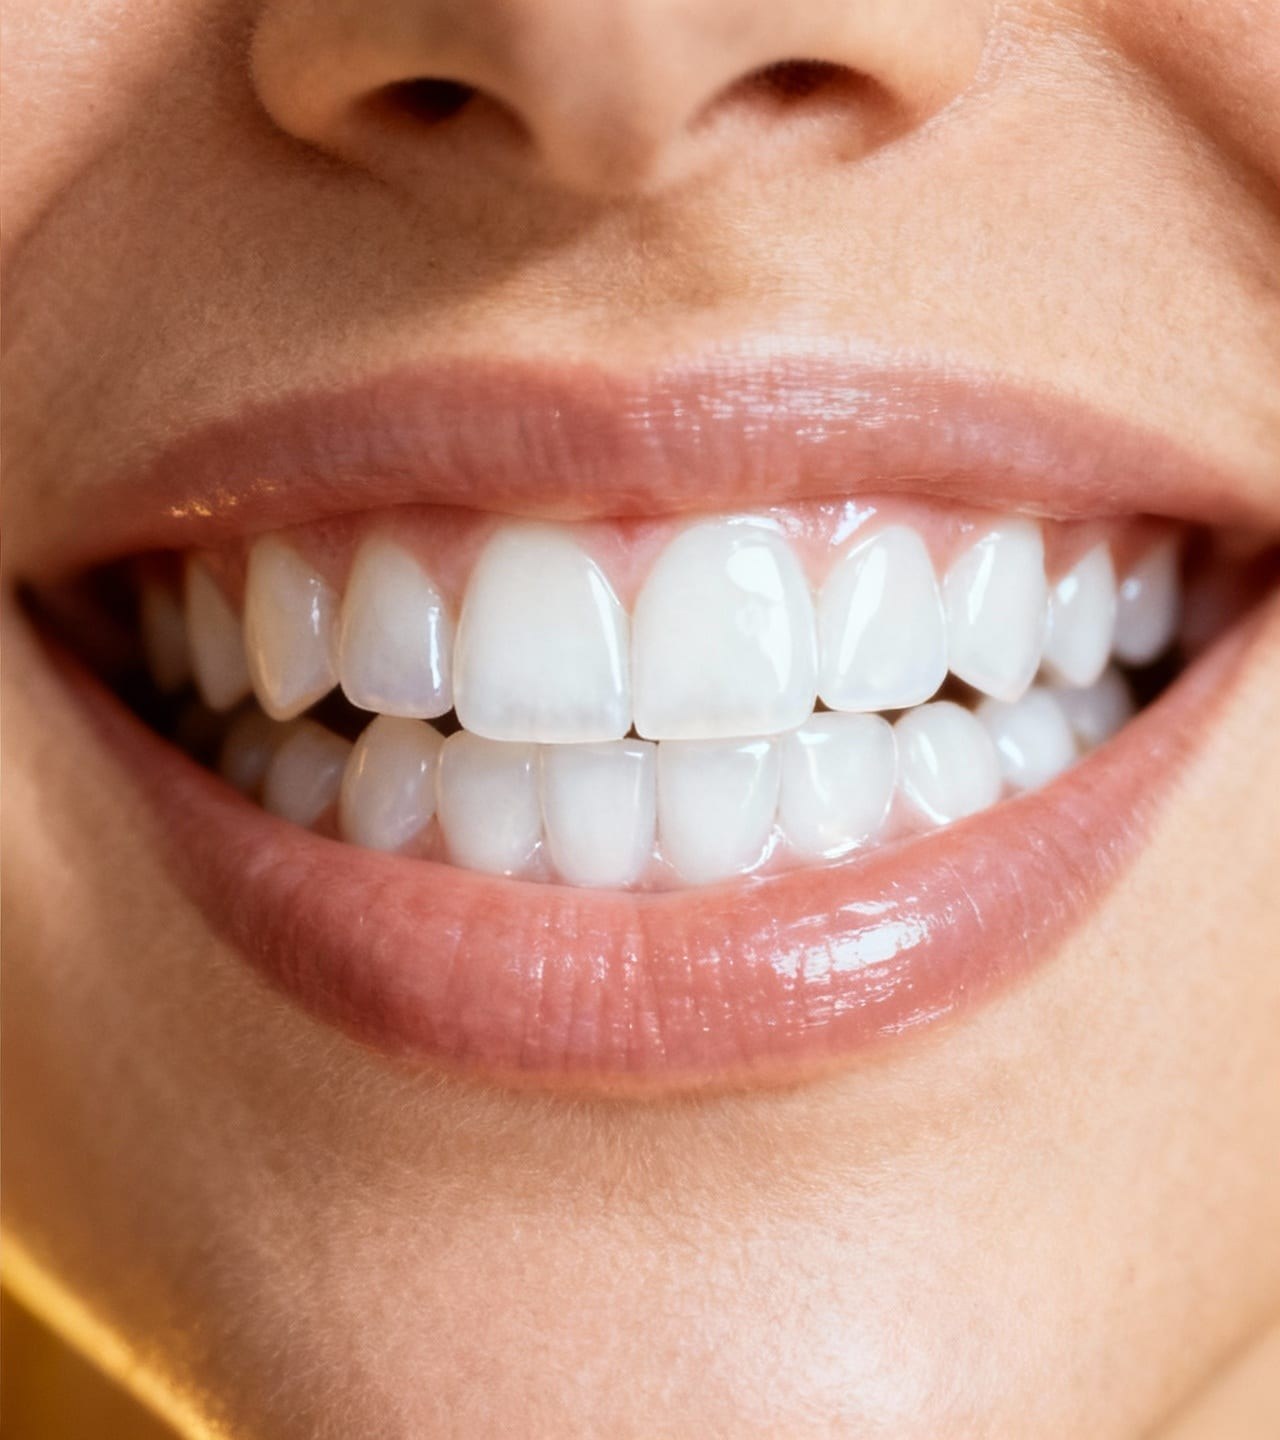
Portrait after teeth color correction while keeping the same smile
BeforeAfter

Brighten the teeth without changing the smile

The preset targets visible tooth color while asking the model to preserve identity, tooth shape, gum line, lips, skin texture, and the original light.

Keep enamel texture
Small shadows, tooth edges, and natural surface variation help the result remain part of the original portrait.
Preserve the gum line
The prompt keeps the same tooth spacing, gums, lips, mouth shape, and expression instead of rebuilding the smile.
Respect the scene lighting
Teeth should still share the warmth, shadows, and highlight level of the surrounding face and photograph.
Review at normal size
Compare the smile with skin tone and eye highlights. If the teeth become the brightest area, the correction is too strong.

Whiten teeth in three actions

Start with a clear portrait where the teeth are visible, in focus, and not hidden by deep shadow.

  1. 1

    Upload the portrait

    Choose the clearest original photo with visible teeth and enough resolution to inspect tooth edges.

  2. 2

    Generate a subtle correction

    The Teeth Whitening preset asks for a small reduction in yellow or dull tones without changing the rest of the face.

  3. 3

    Compare the smile

    Check tooth texture, gum line, lip color, skin tone, shadows, and the surrounding light before downloading.

Portraits that benefit from a small correction

The preset works best when lighting or camera white balance made visible teeth look warmer than the rest of the photo.

Profile photos

Correct a warm color cast in a dating, social, or creator profile photo without changing facial features.

Professional headshots

Balance visible tooth color with the surrounding skin and studio highlights while keeping the same expression.

Family photos

Reduce a yellow cast caused by indoor lighting while preserving the natural character of the smile.

Event portraits

Clean up a flash or white-balance issue in a sharp portrait before sharing or printing it.

Photo correction is not dental treatment

This tool changes pixels in a photograph. It does not whiten real teeth, assess dental health, diagnose stains, or replace professional care.

  • Do not use edited photos to make medical, dental, identity, or evidence claims.
  • Avoid strong whitening that removes texture, flattens shadows, changes tooth shape, or makes the smile look painted.
  • Use a new photo when the teeth are blurred, hidden, extremely small, or missing detail that the image cannot support.

Teeth whitening photo editor FAQ

Answers about natural-looking results, suitable photos, identity preservation, and realistic limits.

Yes. Upload a portrait and use the Teeth Whitening preset to reduce yellow or dull tones while preserving the original smile and face.

Upload a portrait and keep the correction subtle

The editor opens with Teeth Whitening selected so you can generate and compare the result with the original.

Upload a portrait to whiten teeth

JPG, PNG, or WebP. Teeth Whitening opens automatically.

Choose a portrait
Original keptPreset selectedSubtle color correction