
Edit real estate photosHandle cleanup, staging, light, and listing polish together.
One focused enhancement pass
Correct the photo. Keep the property real.
Balance exposure, neutralize color casts, recover a cleaner tonal range, and improve usable detail without adding furniture, removing objects, or changing the room design.
5.012 ratings on the US App StoreLight and color correctionNo virtual stagingReview against the original
Upload photos to enhance
Open the editor with real estate enhancement selected
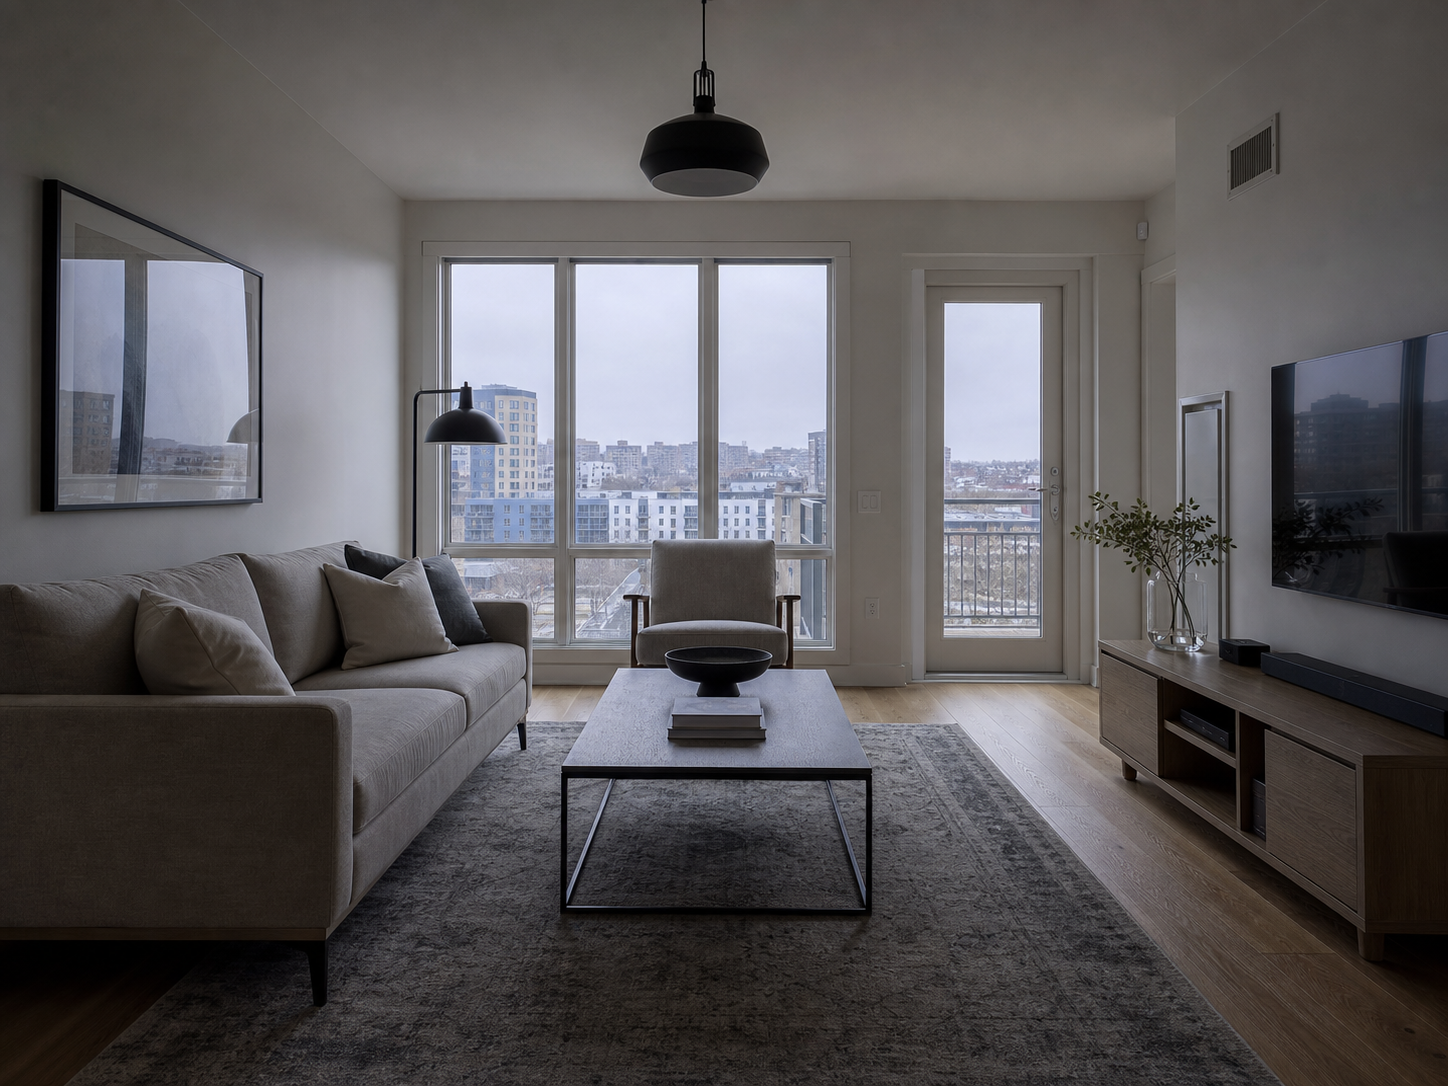
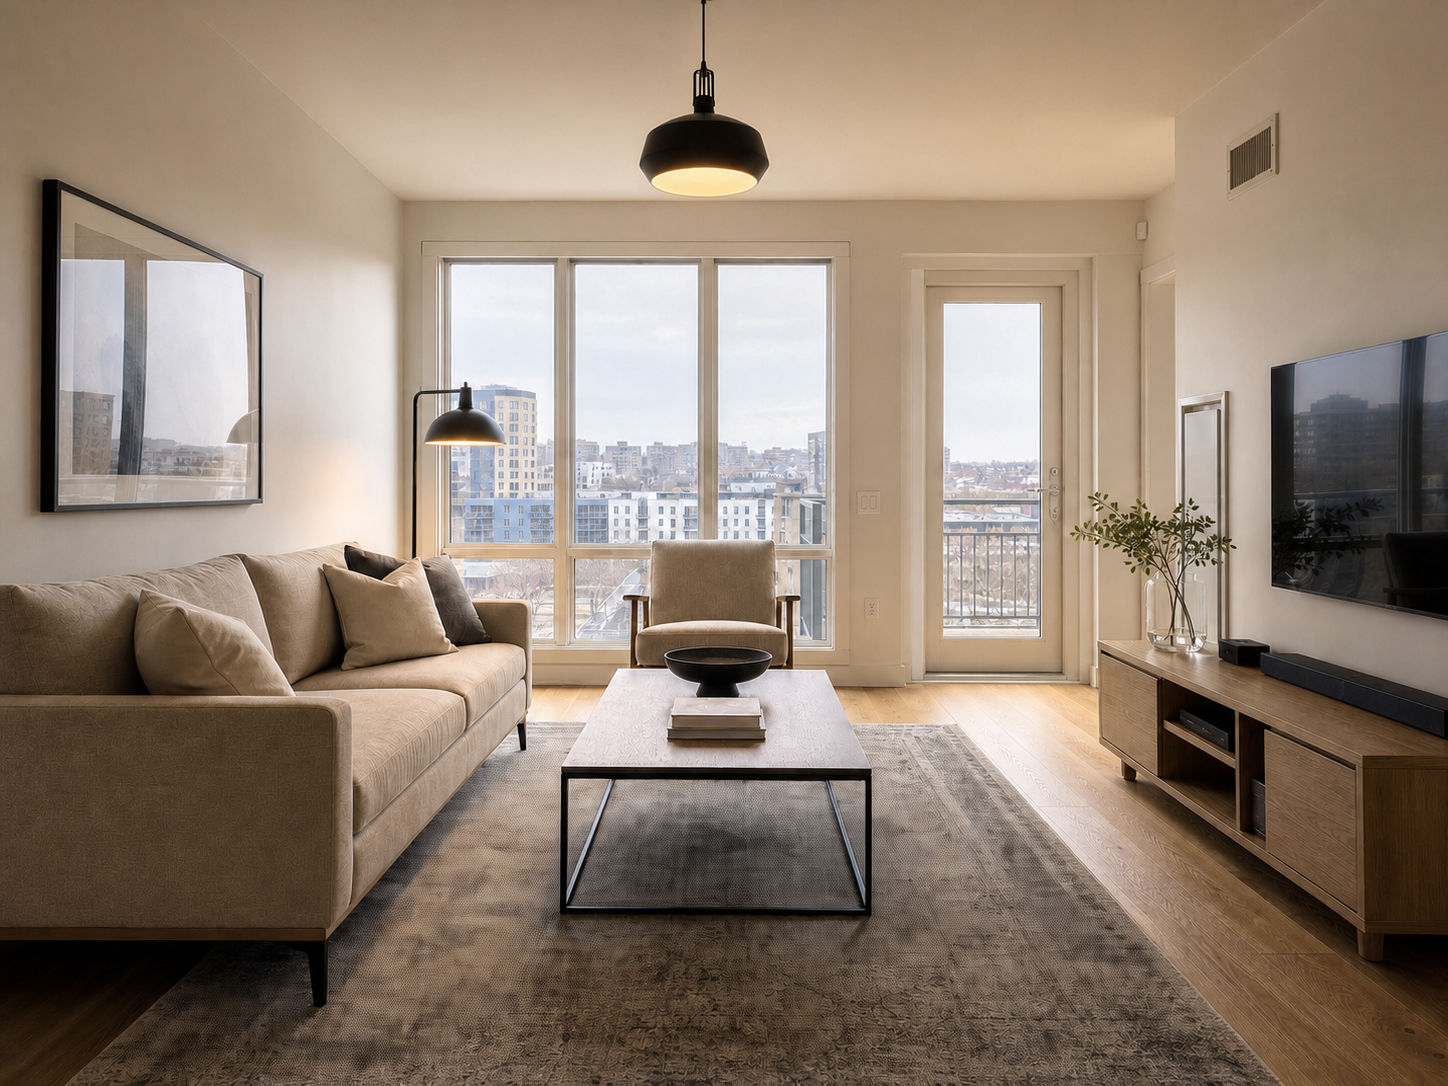
Natural interior enhancement
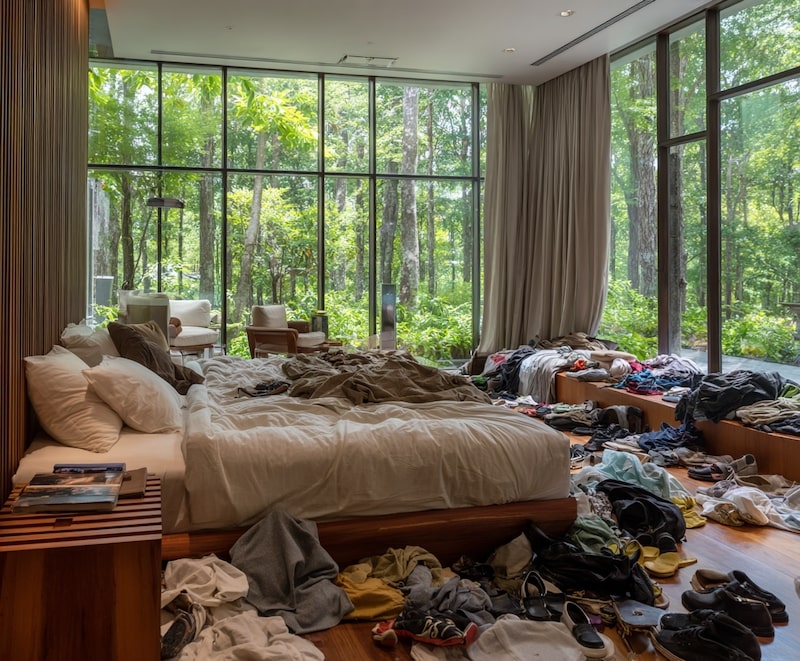
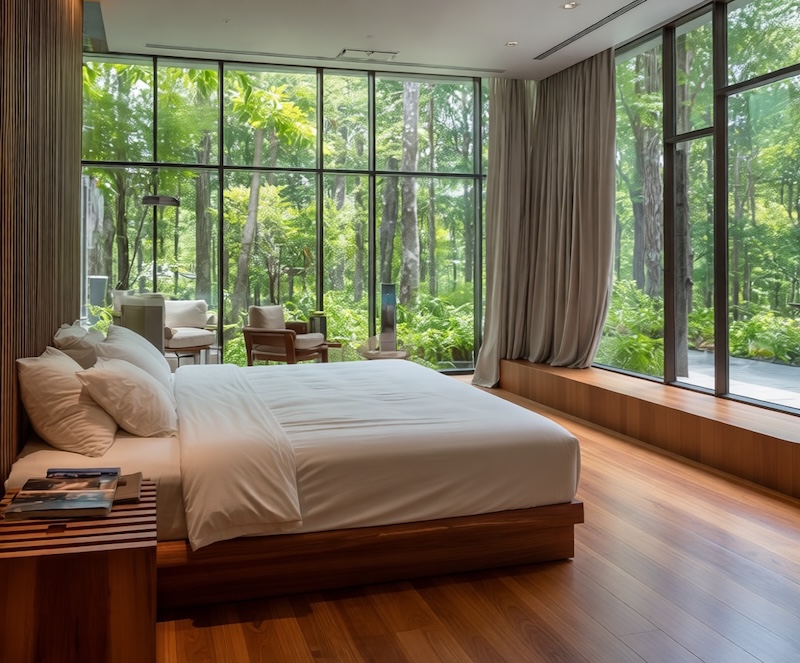
Real estate photo enhancement before and after
Enhancement works on the captured image itself. It should improve how the original exposure reads, not turn the property into a different scene.
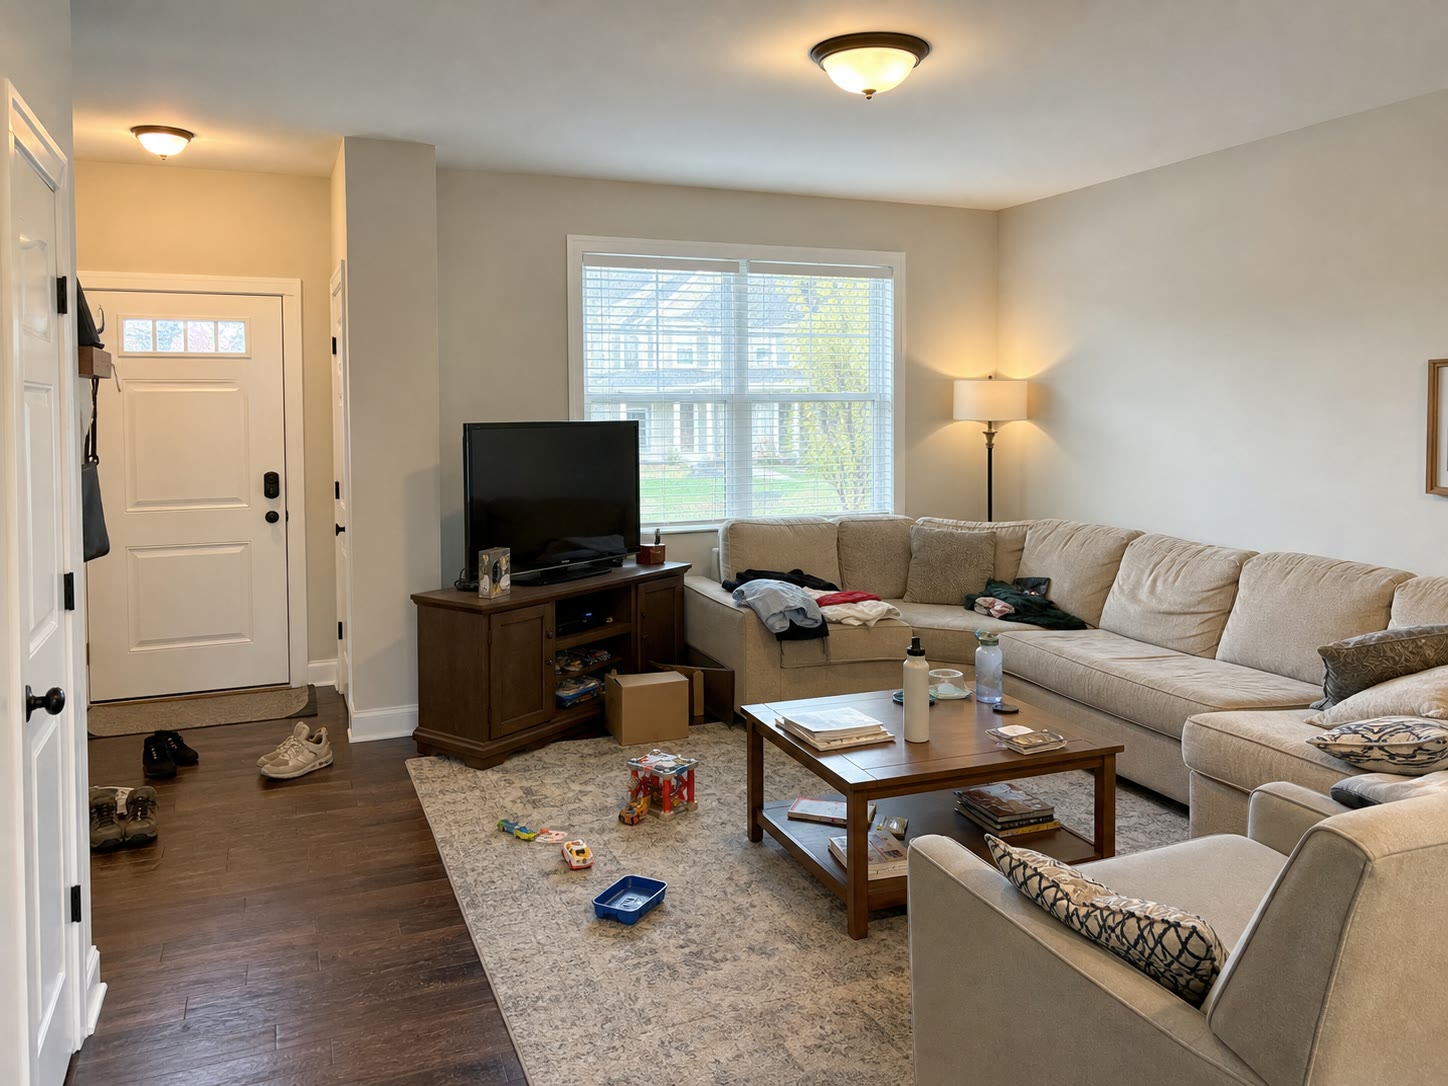
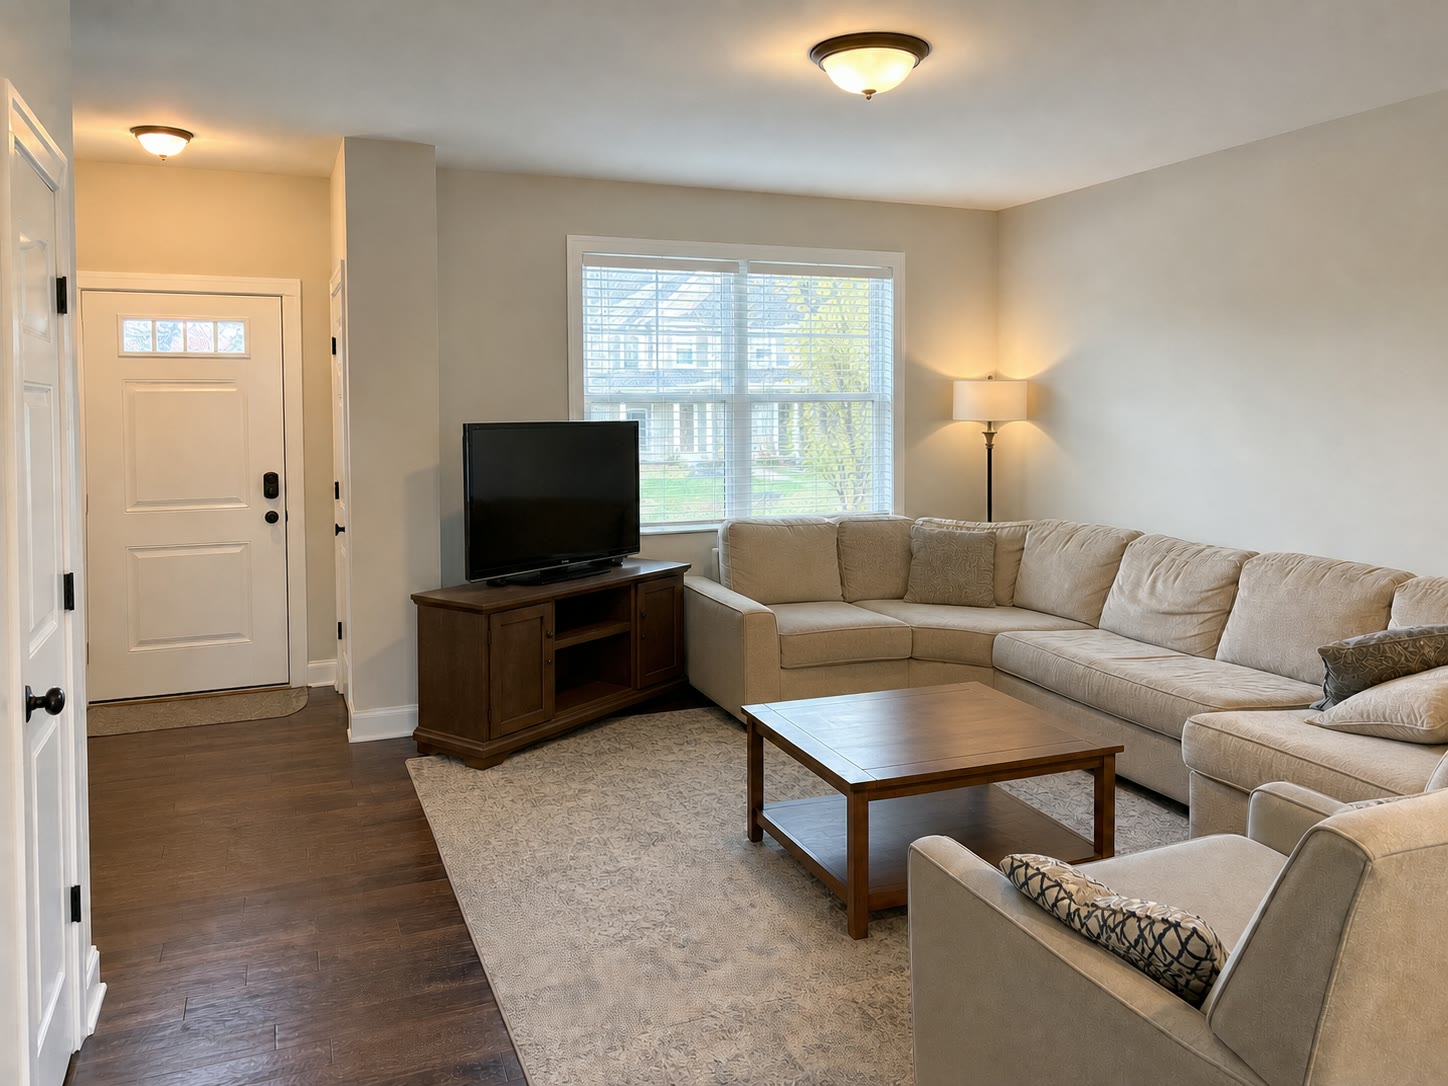
A brighter furnished interior
Balance the light and contrast while keeping the photographed furniture and room layout. Compare fixtures and edges before publishing.
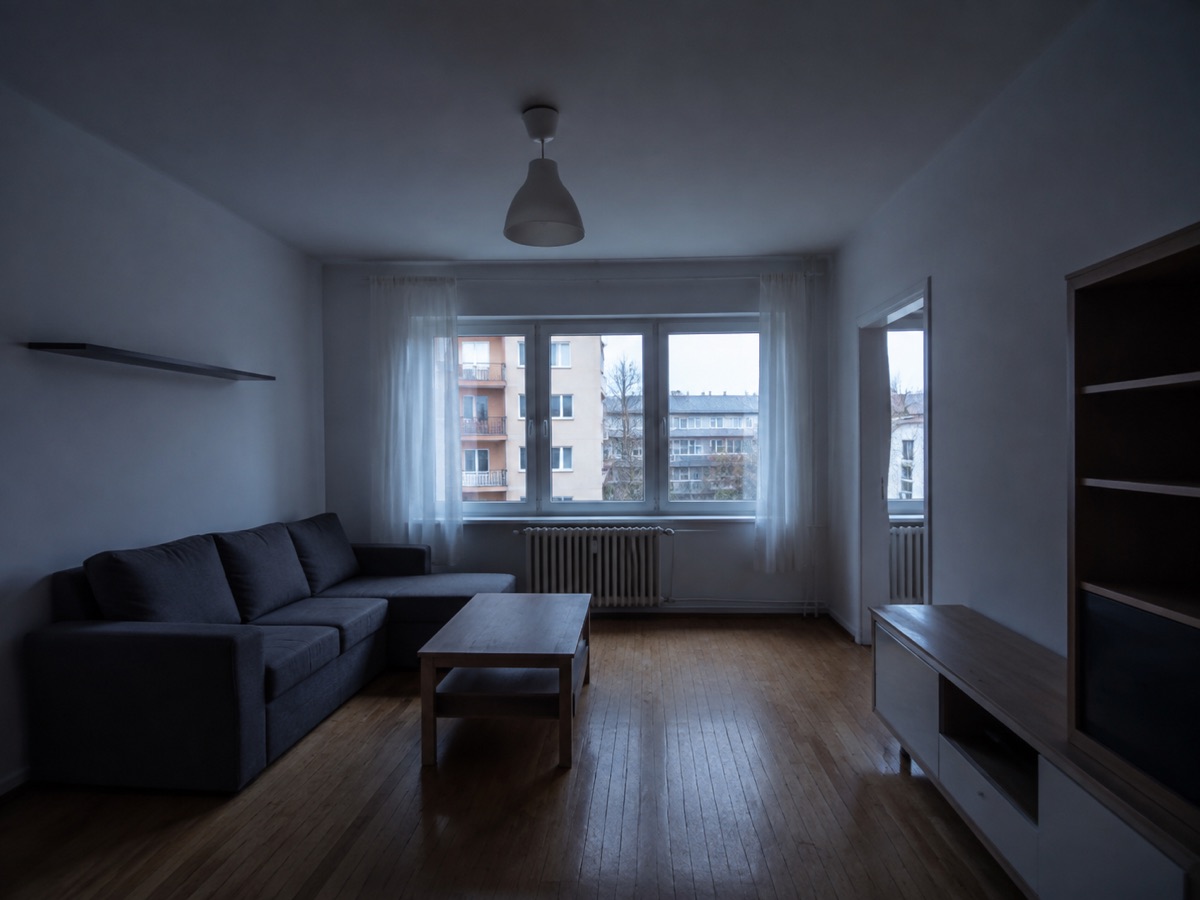
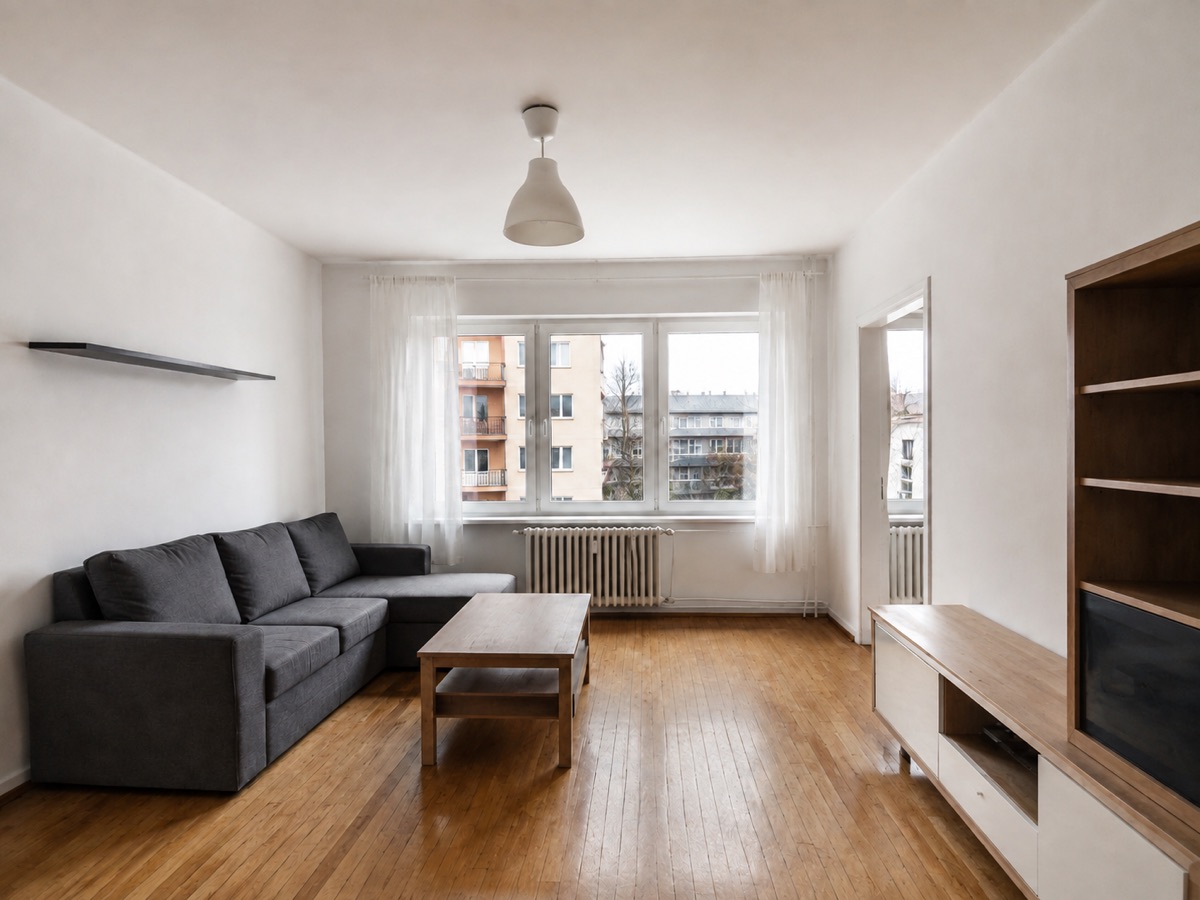
Lift a dim living room
Open up heavy shadows and reduce the blue cast. Keep the windows, furniture, materials, and outside view unchanged.
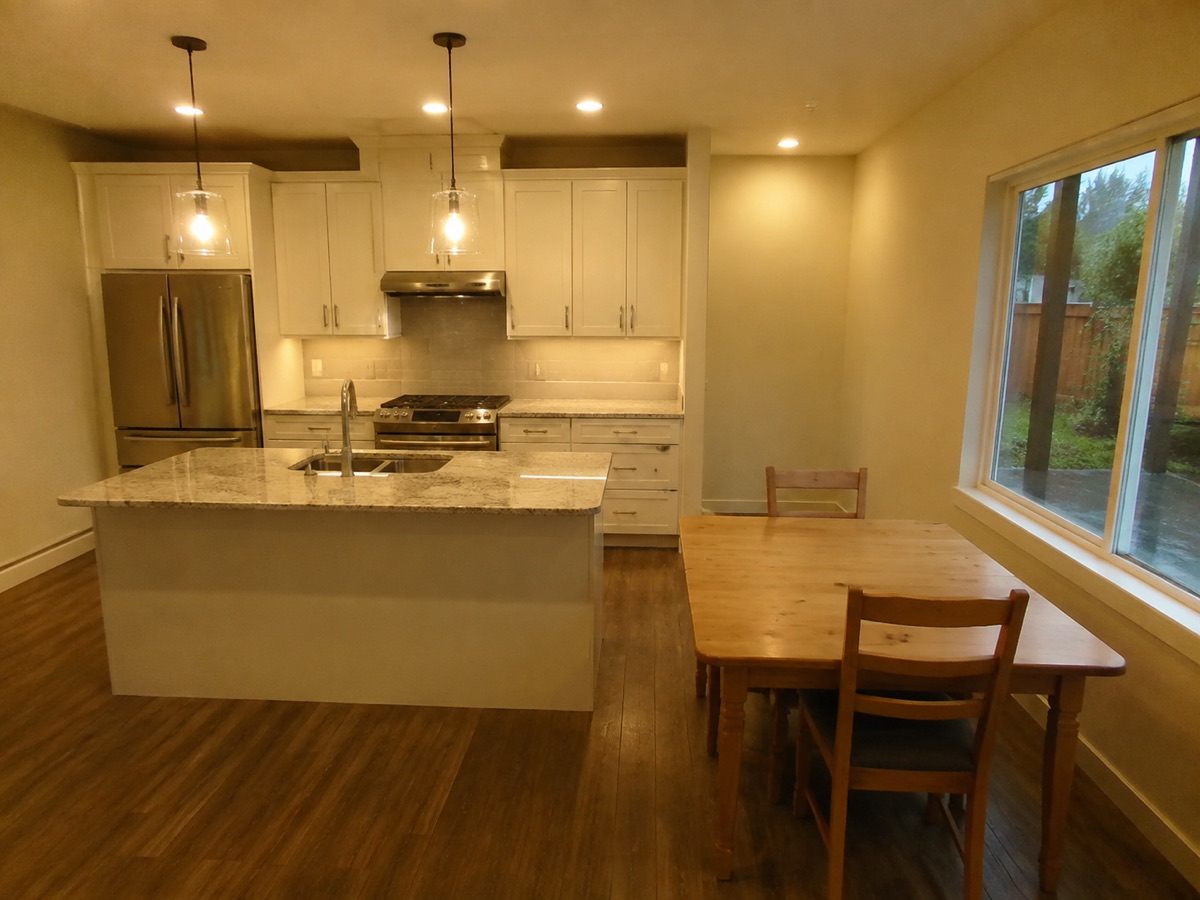
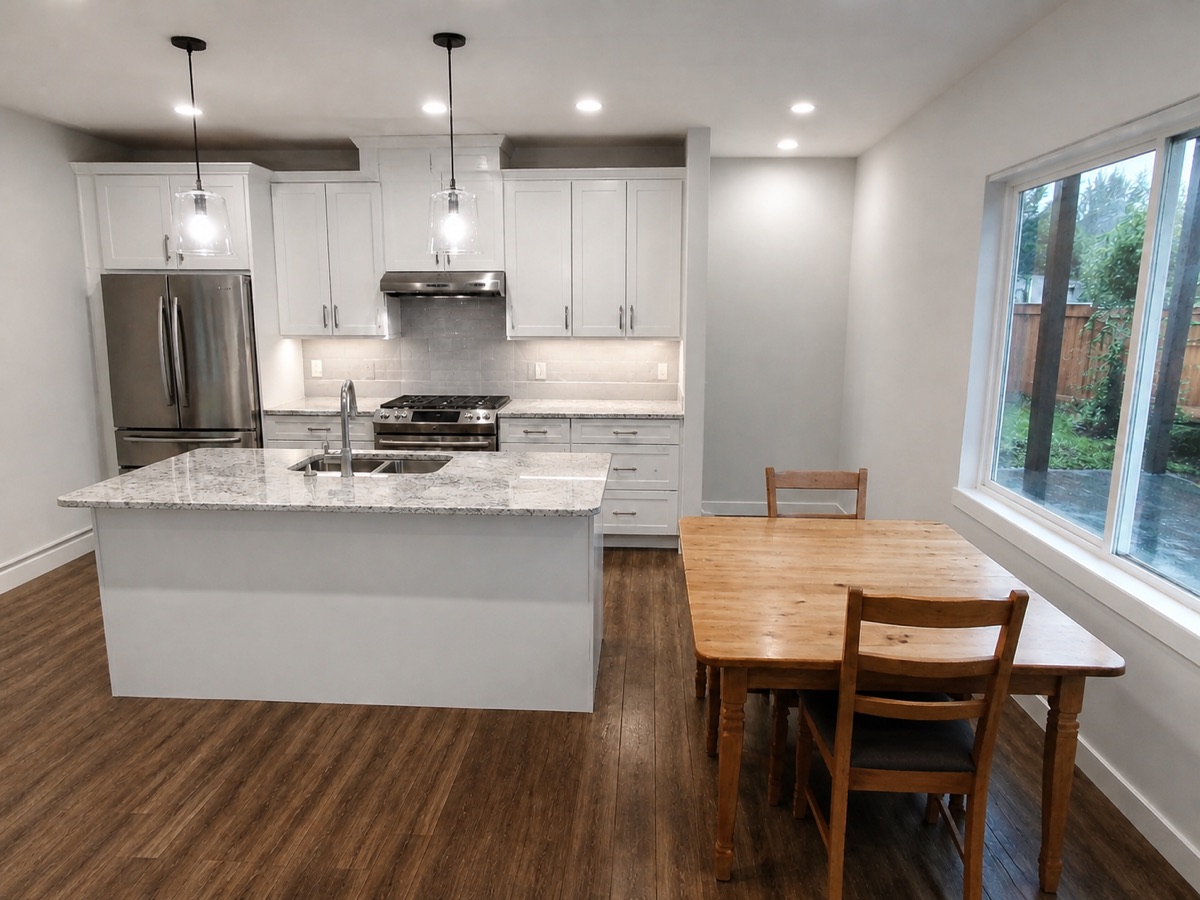
Correct yellow kitchen lighting
Reduce the yellow cast so cabinets, counters, and wood read more naturally. Review the result against the original finishes.
Property fidelity
Presentation improves. Property facts stay put.
A listing enhancement should remain easy to compare with the original camera file. Permanent features and the physical shape of the space are not part of the edit.
01
Keep walls, floors, windows, doors, and room geometry unchanged
02
Preserve permanent fixtures, material colors, and the real exterior view
03
Do not add staging, remove belongings, replace the sky, or green the lawn
Need scene cleanup or a marketing edit instead? Those belong in the full real estate photo editing hub.
Enhancement workflow
A short path from source file to corrected listing photo
Three steps take a camera file to a corrected listing photo you can compare directly against the original.
- 01
Upload the best original
Use the sharpest camera file available, with as much highlight and shadow detail as possible.
- 02
Run enhancement
Apply the focused property correction pass to light, tone, color, and clarity.
- 03
Compare at full size
Check windows, fixtures, paint, materials, and geometry against the source before publishing.
Real estate photo enhancement questions
This page focuses on photographic correction: exposure, white balance, color, contrast, and usable clarity. It does not cover object removal, virtual staging, twilight conversion, sky replacement, or grass greening.
More ways to perfect your photo
Quick edits. Professional results.
Upload photos to enhance
Open the editor with real estate enhancement selected
Need more than enhancement?
Declutter, remove, stage, replace, or transform the scene
Explore the complete property editing directory for real twilight, TV screens, removals, sky and weather replacement, grass greening, virtual staging, and more.
More real estate photo editing features