
How to Put Text on a Picture: Add a Caption or Headline
Put your words on a photo
Upload your picture, add a text layer and choose its font, color and position.

To put text on a picture, open the image in an editor, add a text box, type your words and adjust the font, size, color and position. Save the finished image with the text visible on top. Use your phone's Markup tools for a quick note, or a browser editor with movable text layers for a caption, headline or announcement.
Key takeaways
- A text box adds new words without replacing words already in the photo.
- Put the headline where the background is quiet and the letters are easy to read.
- Check the result at the size people will actually see, especially on a phone.
- You do not need AI generation to add a regular text overlay.
Add text or replace text: which do you need?
A text overlay is a separate layer placed over an image. It can be moved and styled while you edit; the exported picture shows the photo and the words together.
| Your goal | Best approach | Example |
|---|---|---|
| Add a new heading to a photo | Add a text layer | WEEKEND BLOOMS above a flower display |
| Add a short note to a screenshot | Markup or a text layer | An instruction beside a button |
| Change words printed on a sign | Replace existing image text | Update a shop notice |
| Change an existing interface label | Screenshot Editor | Correct a label in your app mockup |
| Remove words entirely | Remove Text | Clean up an unwanted caption |
How to put text on a picture online
1. Open your photo in the editor
Use the upload button in this guide to open your image in ClearCrowds Canvas. If you already have an image open in the full editor, choose the Canvas tool; on mobile it is under Edit → Canvas.
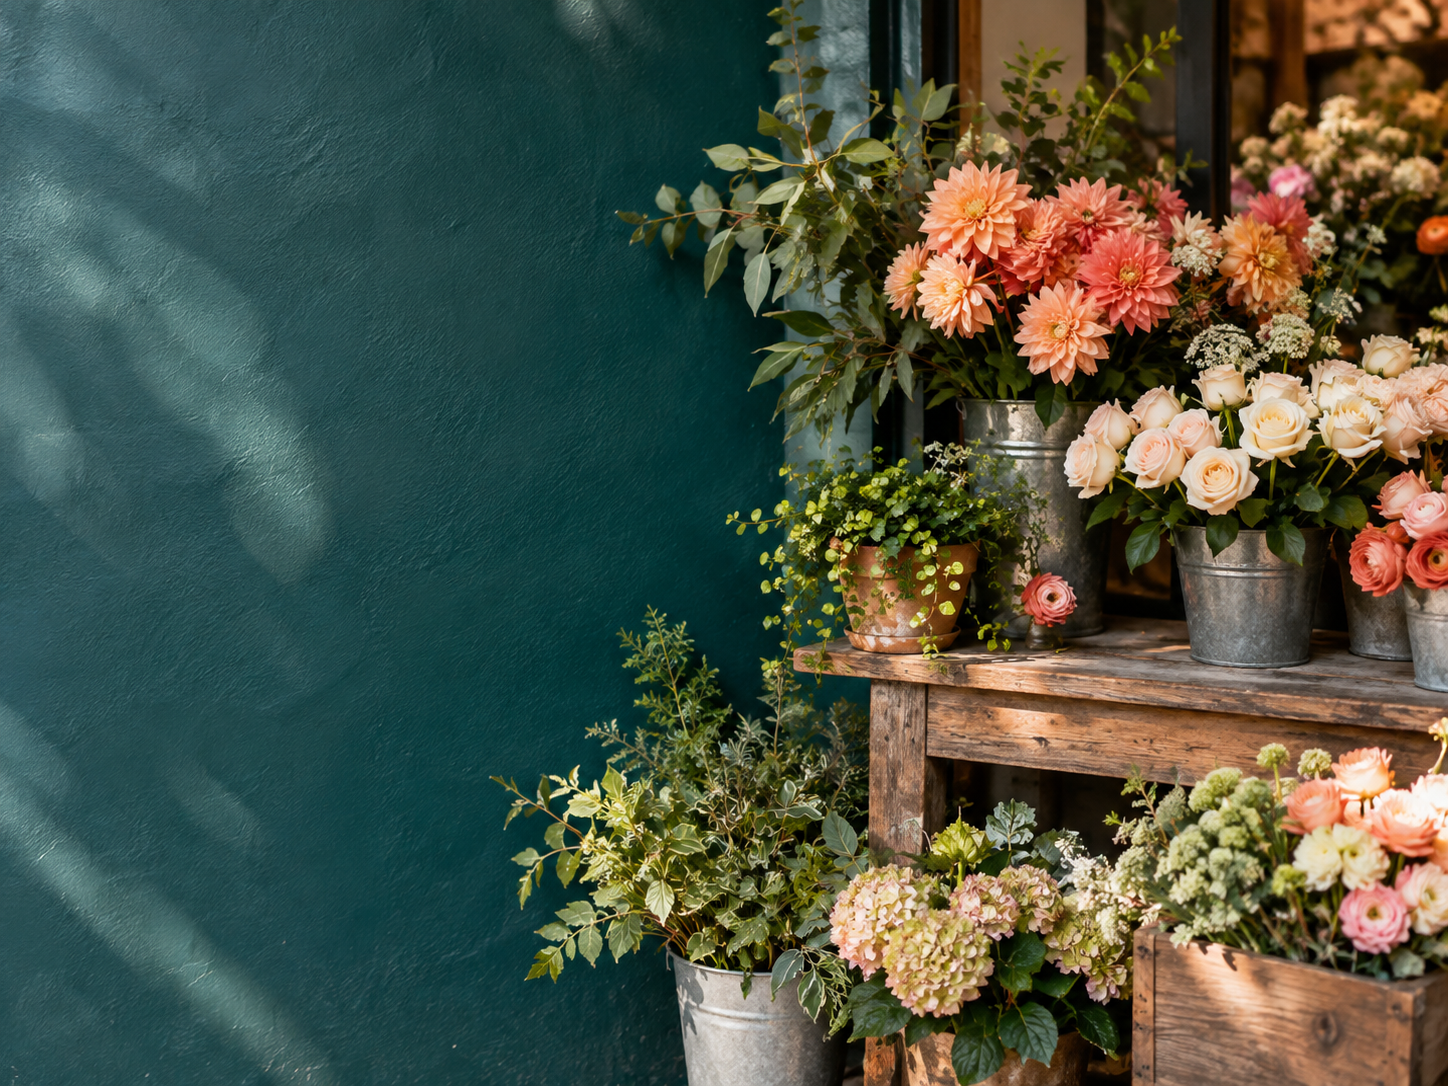
Start with a photo that has room for your message. In our flower-shop example, the display occupies the right side and the teal wall leaves space on the left. That makes the words visible without covering the flowers.
Put your words on a photo
- Move the text
- Choose a font
- Set the color
Upload your picture, add a text layer and choose its font, color and position.
2. Add a text layer and type your message
Choose the text tool and enter a short heading. For example, use WEEKEND BLOOMS as the main message and Fresh flowers. Bright days. as a smaller supporting line. Separate text layers let you position and size those lines independently.
Type the wording directly for a regular caption. An AI prompt is unnecessary when you simply want a clear line of text placed over the image.
3. Choose the font, size and color
Select the text to adjust its formatting. Use a clear font for small captions, and increase the heading size until it is readable in the whole-image preview. Choose a color that stands apart from the area behind it: light lettering works well on a dark wall, while dark lettering can work on a pale sky.
Keep the hierarchy simple. One large heading and one smaller supporting line usually make the message easier to understand than several competing styles.
4. Move the text into position
Drag the text into a quiet part of the photo. Leave space around the edges so the words are not cut off when the picture is displayed in a feed or shared as a preview. Avoid covering faces, the product or details needed to understand the photo.
This generated example illustrates the space used for the heading and supporting line.
5. Check and save the picture
Read every word, then look at the whole image at phone size. If the supporting line disappears, enlarge it or shorten it. Save the edit and download the resulting picture. Keep the original photo if you may want a different message later.
How to put text on a picture on iPhone or iPad
Open the picture in Photos, choose Edit, then open Markup. Use the add button to insert text, type your caption, and adjust its style and position. Save when the text is where you want it. Apple's Markup guide explains the text and shape controls.
For a quick reminder or label, this built-in route is often enough. If you need to continue on a different device, a browser editor offers another way to work with an uploaded copy.
How to add text using PowerPoint
Insert your photo, then use Insert → Text Box to place words over it. Adjust the font and move the box to the desired location. Microsoft's text-over-photo instructions cover the text-box method. Check your export options if you need an image file rather than a presentation slide.
Make the words readable
| Problem | Adjustment |
|---|---|
| The caption blends into the photo | Change its color or move it to a simpler background |
| The headline hides the subject | Place it in open space beside the subject |
| The text looks cramped | Shorten the wording or split it into two lines |
| Small text vanishes on mobile | Increase the size and check the full picture again |
| You actually need to change existing letters | Switch to an image text replacement tool |
Where ClearCrowds fits
ClearCrowds Canvas lets you add and position text on a photo using local editing controls. Use it for captions, shop announcements, invitation drafts and social graphics made from your own images.
If the image already contains words that need changing, use Edit Text in Image instead. For interface labels, follow how to edit a screenshot. Use your own or permissioned images and keep creator credit intact.
Frequently Asked Questions
How do I put text on a picture on my iPhone?
Open the picture in Photos, choose Edit and open Markup. Use the add button to insert text, type your words, then adjust the style and position before saving.
Can I add text to a photo without AI?
Yes. A regular text layer lets you type, move and style words on top of the picture. ClearCrowds Canvas supports this kind of local editing.
How do I change text that is already in a picture?
Use an image text editor to select and replace the existing words. Adding a new text box does not remove or replace the old letters.
Why is the text hard to read on my photo?
The letters may be too small or too close in color to the background. Move the text to a quieter area, increase its size and choose a contrasting color.
Summary
Add a text layer, type a short message, choose a readable style and position it where the photo has space. For a caption or headline, the most useful check is simple: can you read it at the size you plan to share?