
How to Fix a Pixelated Image: What Actually Helps
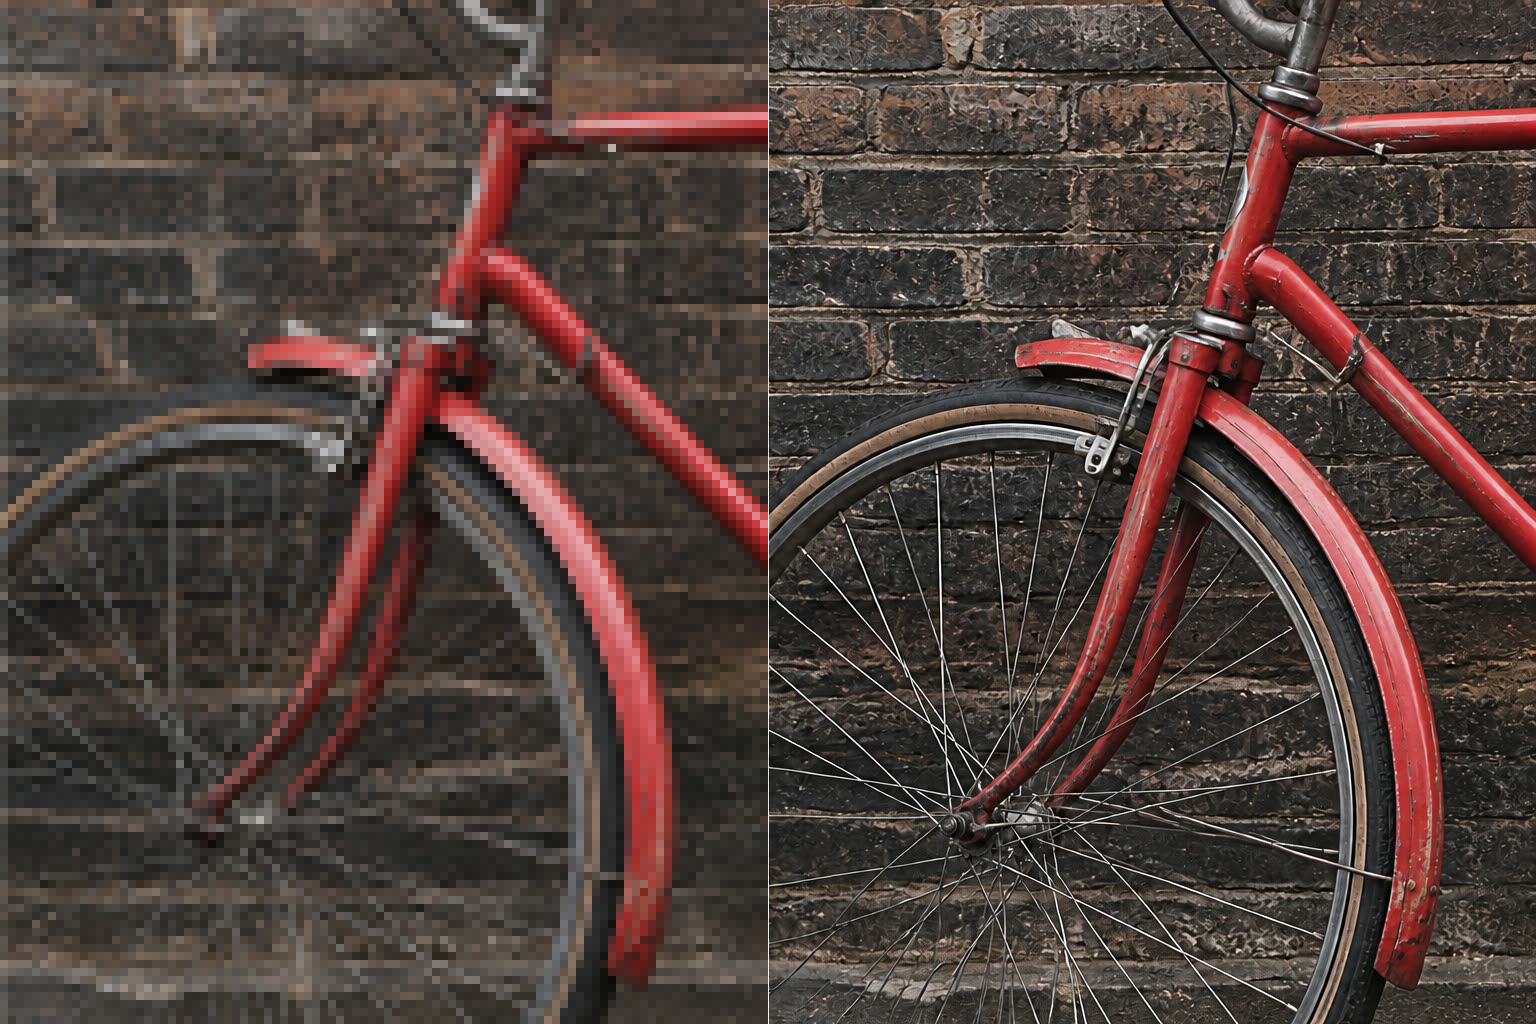
The best way to fix a pixelated image is to start with the least damaged original, identify why it looks blocky, and then resize or enhance it once. Sharpening can make edges look clearer, but it cannot restore detail that was never captured. AI super-resolution can create a more usable enlargement, though the added detail is an estimate and should be checked at full size.
If the image is soft rather than blocky, use the blurry-photo guide. If you see square pixels or stair-step edges after enlarging, the Unpixelate Image workflow is the better starting point.
Diagnose the problem before editing
Zoom to 100% and look at a detailed area such as hair, small text, a product edge, or a building line.
| What you see | Likely cause | First action |
|---|---|---|
| Square blocks and stair-step edges | A small image was enlarged | Return to the original or use one super-resolution pass |
| Soft edges across the whole photo | Missed focus or camera movement | Try mild sharpening; reshoot if the subject detail is gone |
| Halos and ringing around edges | Too much sharpening | Reduce sharpening or start again from the original |
| Smudges around text and high-contrast edges | Heavy JPEG compression | Find a less-compressed copy; avoid repeated JPEG exports |
| A sharp thumbnail that falls apart when opened | The preview hid the low source resolution | Find the full-size source before editing |
Pixelation and blur often appear together, but they need different treatment. Pixelation is a resolution problem. Blur is a focus or movement problem. Compression artifacts come from saving a lossy file too aggressively. Treating all three with a strong sharpen filter usually makes the damage easier to see.
Why an image becomes pixelated
Every raster image has a fixed number of pixels. If a 600-pixel-wide image is stretched to fill a 2400-pixel-wide area, the display has to turn each source pixel into a larger block or estimate new pixels between the originals.
Common causes include:
- downloading a thumbnail instead of the original file;
- enlarging a crop several times;
- sending a photo through apps that reduce its dimensions;
- taking a screenshot of an already small image;
- exporting the same JPEG repeatedly;
- placing a low-resolution logo or photo into a large print layout.
Check the pixel dimensions, not only the file size. A large file can still have small dimensions if it contains metadata or uses inefficient compression. A small file can be perfectly adequate for a small screen placement.
A practical repair workflow
1. Find the best source
Look for the camera original, the full-resolution upload, or the earliest export. Do not begin with an image copied from a message thread if the original still exists elsewhere.
2. Set the real output size
Decide where the image will appear. A small web card needs fewer pixels than a full-width landing page or a print. Enlarging beyond the actual output size creates more guessed data without improving the final placement.
3. Make one enlargement
Use a resampling method or a super-resolution tool once. Repeated small enlargements compound interpolation and make it harder to compare the result with the source.
4. Apply mild sharpening after resizing
Adobe describes sharpening as increasing contrast along edges and provides a Protect Detail option intended to reduce pixelation. That makes sharpening useful for edge definition, not for reconstructing a face, label, or texture that is absent from the source.
5. Compare at 100%
Check the original and result side by side. Inspect eyes, hair, lettering, jewelry, product labels, straight lines, and repeated textures. If the enhanced copy invents words, changes identity, creates double edges, or turns texture into plastic, use a more conservative result.
6. Keep the original
Save the repaired version as a new file. Adobe's filter guidance recommends non-destructive filter workflows, which let you lower or remove a filter instead of committing every experiment to the only copy.
Sharpening, resizing, and AI are different tools
| Method | What it does well | What it cannot promise |
|---|---|---|
| Standard resizing | Changes dimensions quickly | New real detail |
| Sharpening | Improves edge contrast | Recovery of missing features |
| Noise reduction | Calms grain and compression noise | Correct letters or facial detail |
| AI super-resolution | Produces a more coherent enlargement | A historically exact reconstruction |
ClearCrowds has separate image-enhancement and super-resolution workflows. The super-resolution preset is configured for low-resolution images with visible pixelation and stair-step edges. Use it as a repair attempt, then judge the result against the source. For a document, product listing, artwork, identity-sensitive portrait, or evidence-like image, guessed detail must not be treated as the original truth.
Export without damaging the result again
- Export once from the repaired master.
- Keep PNG when lossless edges or transparency matter.
- Use JPEG for photographs, but avoid an aggressively low quality setting.
- Do not enlarge the export again inside another app.
- Check the final uploaded version, because a website or social platform may create its own compressed copy.
- Keep the original and repaired master outside the publishing platform.
For the fastest test, crop one representative area that contains fine detail, run the repair on that crop, and compare it at full size. If the crop fails, processing the whole image will not fix the underlying limitation.
Frequently asked questions
Can a pixelated image become perfectly clear?
Sometimes a mild enlargement can look much cleaner. A heavily pixelated image has lost information, so no method can guarantee the exact original detail.
Does sharpening remove pixelation?
Not by itself. Sharpening increases edge contrast. It may make a modest resize look crisper, but too much can add halos and make square pixels more obvious.
Should I use AI upscaling for text?
Use extra caution. An AI tool may create plausible letter shapes instead of recovering the real text. Compare against another source or reshoot important text.
What is the safest ClearCrowds workflow?
Open Unpixelate Image, test the clearest original, and inspect one difficult area at 100%. Keep the result only if identity, text, geometry, and important details remain truthful.