
How to Turn a Photo into a Scanned Document
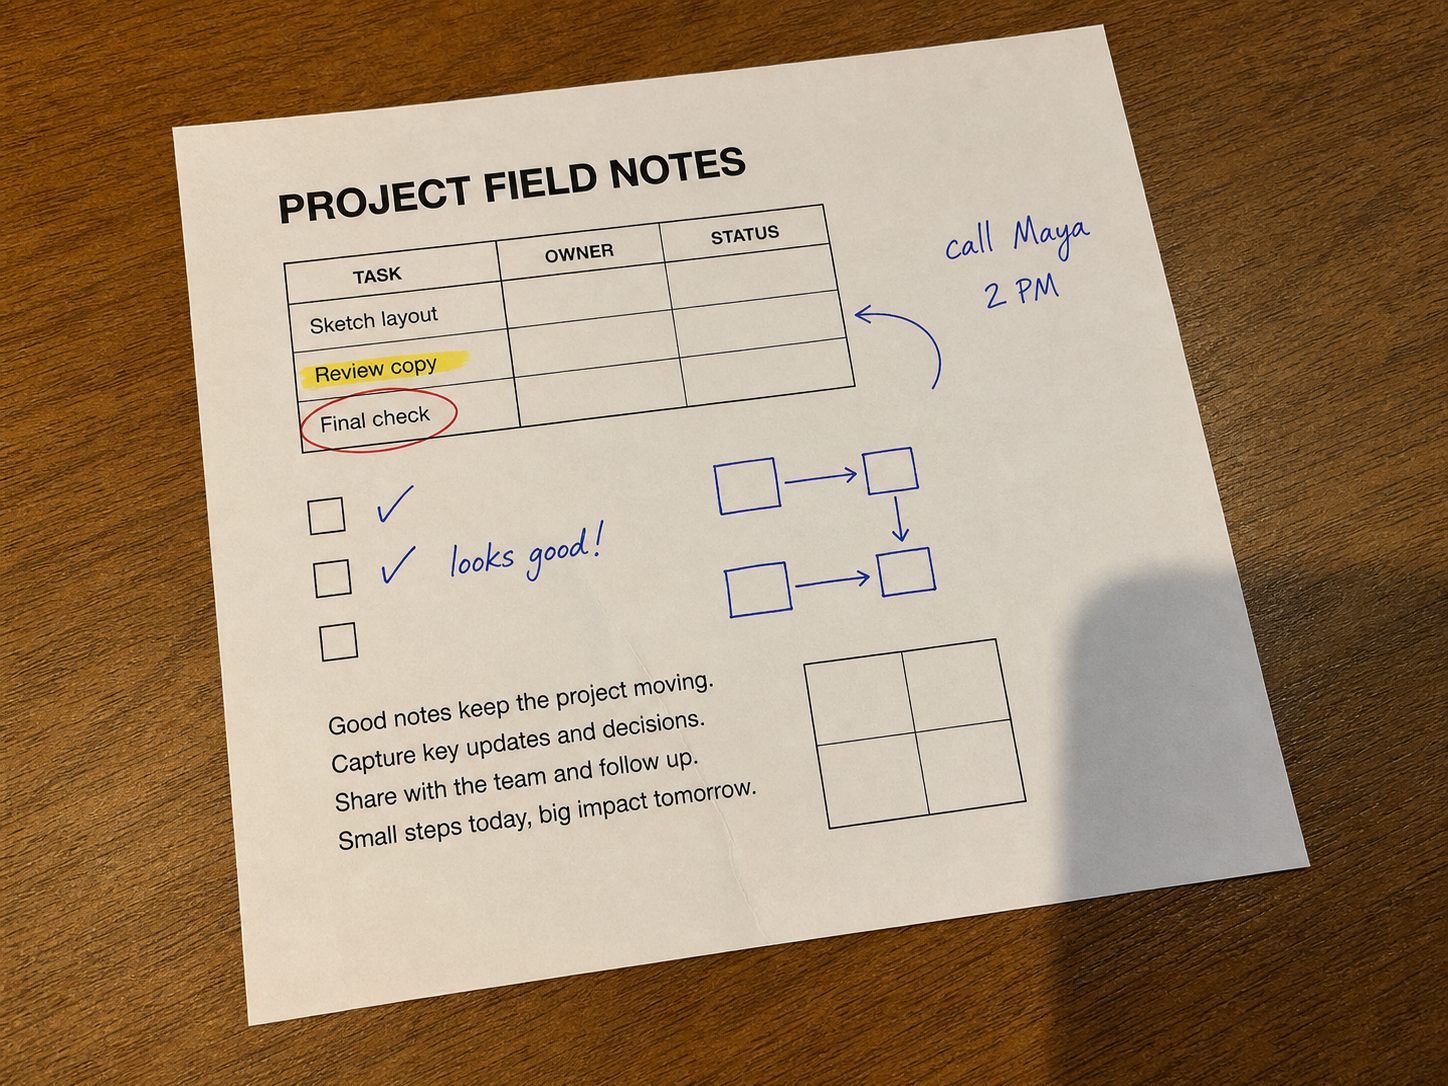
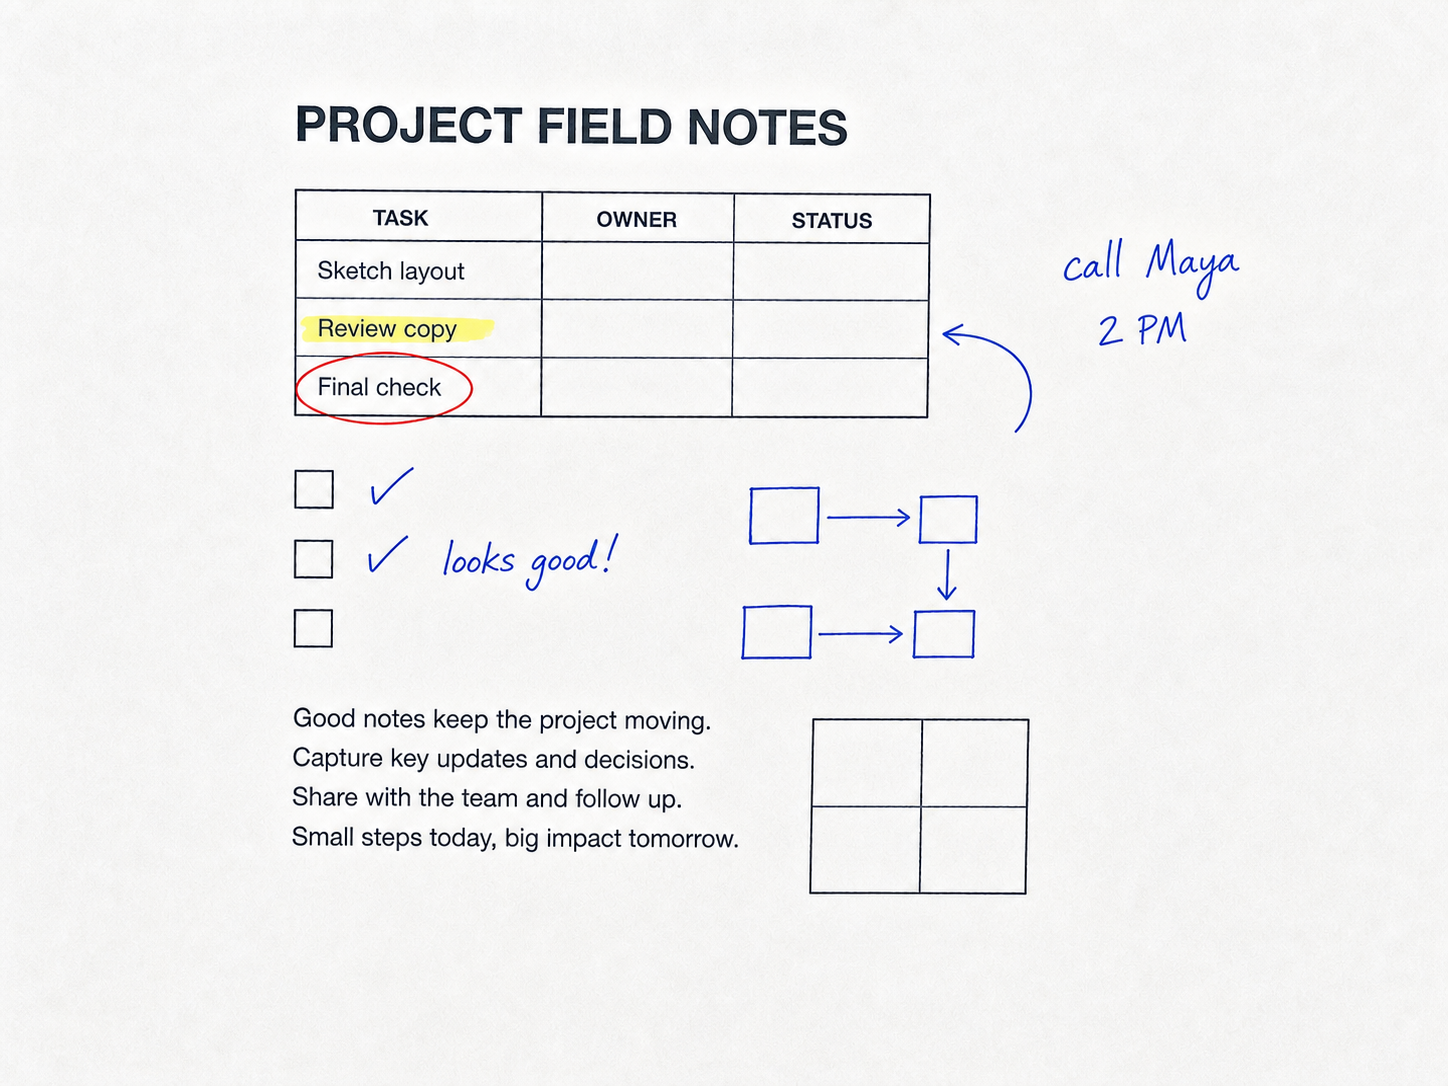
Illustrative example · results vary by photo
AI Photo EditingTurn your photo into a scanned document
Upload a document photo to reduce shadows, crop the page and correct perspective. Check the text before downloading.
View scanning toolTurn your photo into a scanned document
- Auto crop
- Correct perspective
- Review the result
Illustrative example · results vary by photo
Upload a document photo to reduce shadows, crop the page and correct perspective. Check the text before downloading.
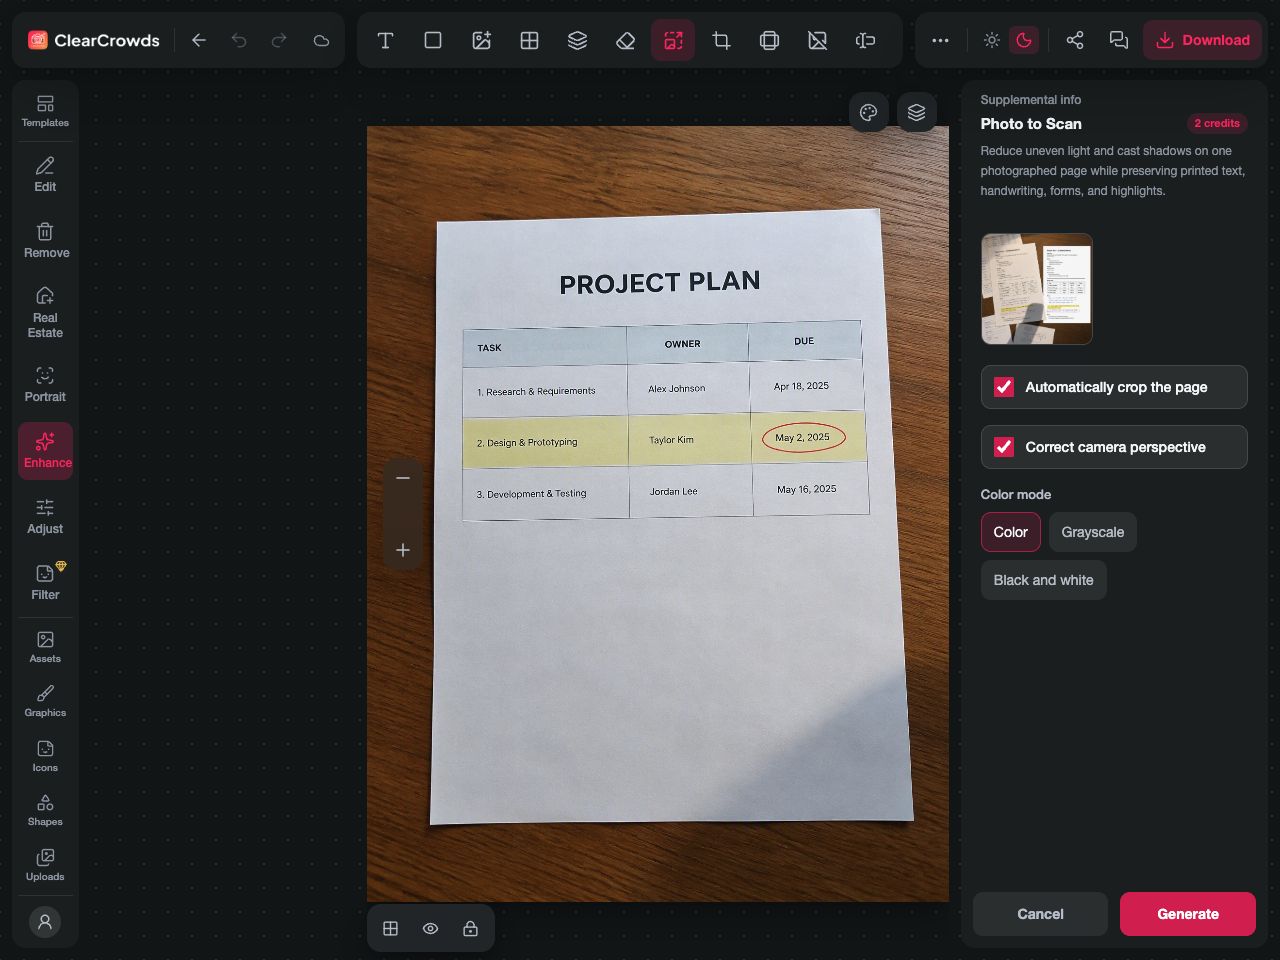
To turn a photo into a scanned document, start with a sharp picture of the whole page. Upload it to Photo to Scan, choose page cropping, perspective correction and a color mode, then compare the result with the original before downloading an image or a single-page PDF.
A cleaner-looking page is not the same thing as an accurate transcript. ClearCrowds uses AI for lighting cleanup, and AI may change letters, numbers or marks. Keep the original and check the result before sending it.
What changes when a photo becomes a scan?
A phone photo often includes a desk, an angled page and uneven light. A scan-like image puts the page first: its edges are cropped, its perspective is corrected and the paper is easier to read.
Those changes do not turn the printed letters into editable text. PDF is a file format; OCR is text recognition. An image inside a PDF can look neat while still containing no searchable text.
| Your goal | Use this tool | What you get |
|---|---|---|
| Crop and straighten a photographed page | Photo to Scan | A cleaned page image or single-page image-based PDF |
| Reduce a shadow while keeping the original framing | Remove Shadows from Photo | An edited photo to compare with the original |
| Put several reviewed page images into one file | Photo to Document | A multi-page image-based PDF |
| Copy words from a picture | Extract Text from Image | Recognized text to review and copy |
Take a photo that gives the tool enough information
Place the page on a flat surface with a contrasting background. Leave a little space around all four corners so the page boundary is visible. Hold the camera above the center of the page, focus on the text and avoid a reflection from an overhead lamp.
Read the smallest important text in the original photo before editing. If you cannot tell whether a digit is a 3 or an 8, cleanup cannot establish which one was printed. Retake the photo while you still have the page.
A phone or hand shadow is easier to reduce when the writing remains visible beneath it. Glare that turns a line white, a cropped margin or a dark patch that hides a word needs a better capture, rather than a plausible reconstruction.
If you need to capture a new page instead of cleaning an existing photo, Google Drive's document scanning instructions describe its camera capture, cropping and saving options. Check the requirements of whoever will receive the file before choosing an AI editing workflow.
Turn the document photo into a scan
- Open Photo to Scan. Choose a JPG, PNG or WebP containing one document page. The upload opens the editing app with the scan tool selected.
- Choose page cropping and perspective correction. Both are enabled by default. Keep the four page corners visible in your input; turn cropping off if you need the surrounding context in the saved image.
- Choose Color, Grayscale or Black & White. Start with Color when the document has highlights, stamps or colored handwriting.
- Run the edit and compare both versions. Check the text and the page edges before accepting the result. If the corners were detected badly or a detail changed, keep the original and try a clearer photo.
- Download the reviewed result. Save an image for your photo library or a single-page PDF for a document upload. The app displays the applicable credits, plan and export options.

The screenshot shows the current interface, rather than a drawing of the controls. The examples below illustrate the kinds of page details to check; they are illustrative pairs, not measured accuracy tests or a guarantee of the result on your own file.
Choose a color mode without losing useful marks
Color keeps color information in the output. Use it when a yellow highlight, a red correction or a blue handwritten note matters. Still check that the mark covers the same words and sits in the same place.
Grayscale removes color while retaining shades of gray. It can suit an ordinary printed page, but two different colored marks may become hard to distinguish.
Black & White gives a stronger paper-and-ink appearance. Check pale pencil, thin lines, small punctuation and lightly printed numbers: a high-contrast result can make these details less visible.
A table with a highlight and a circled figure
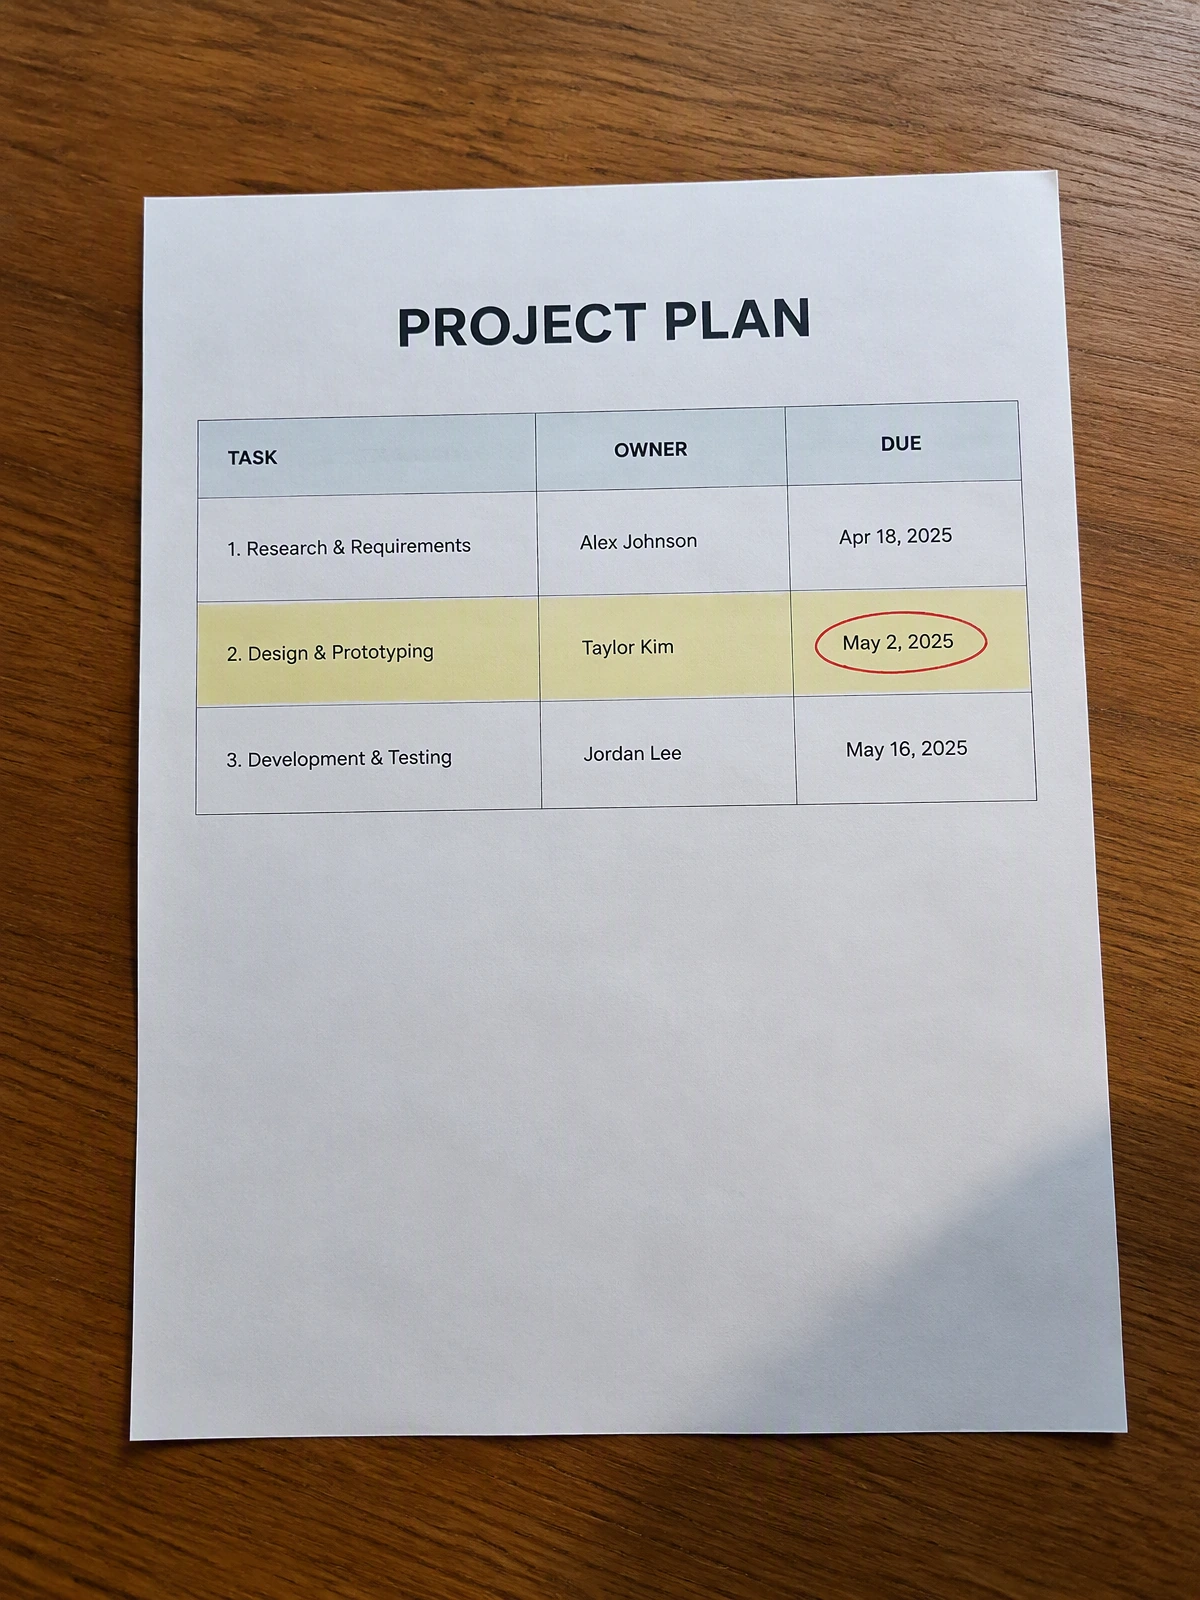
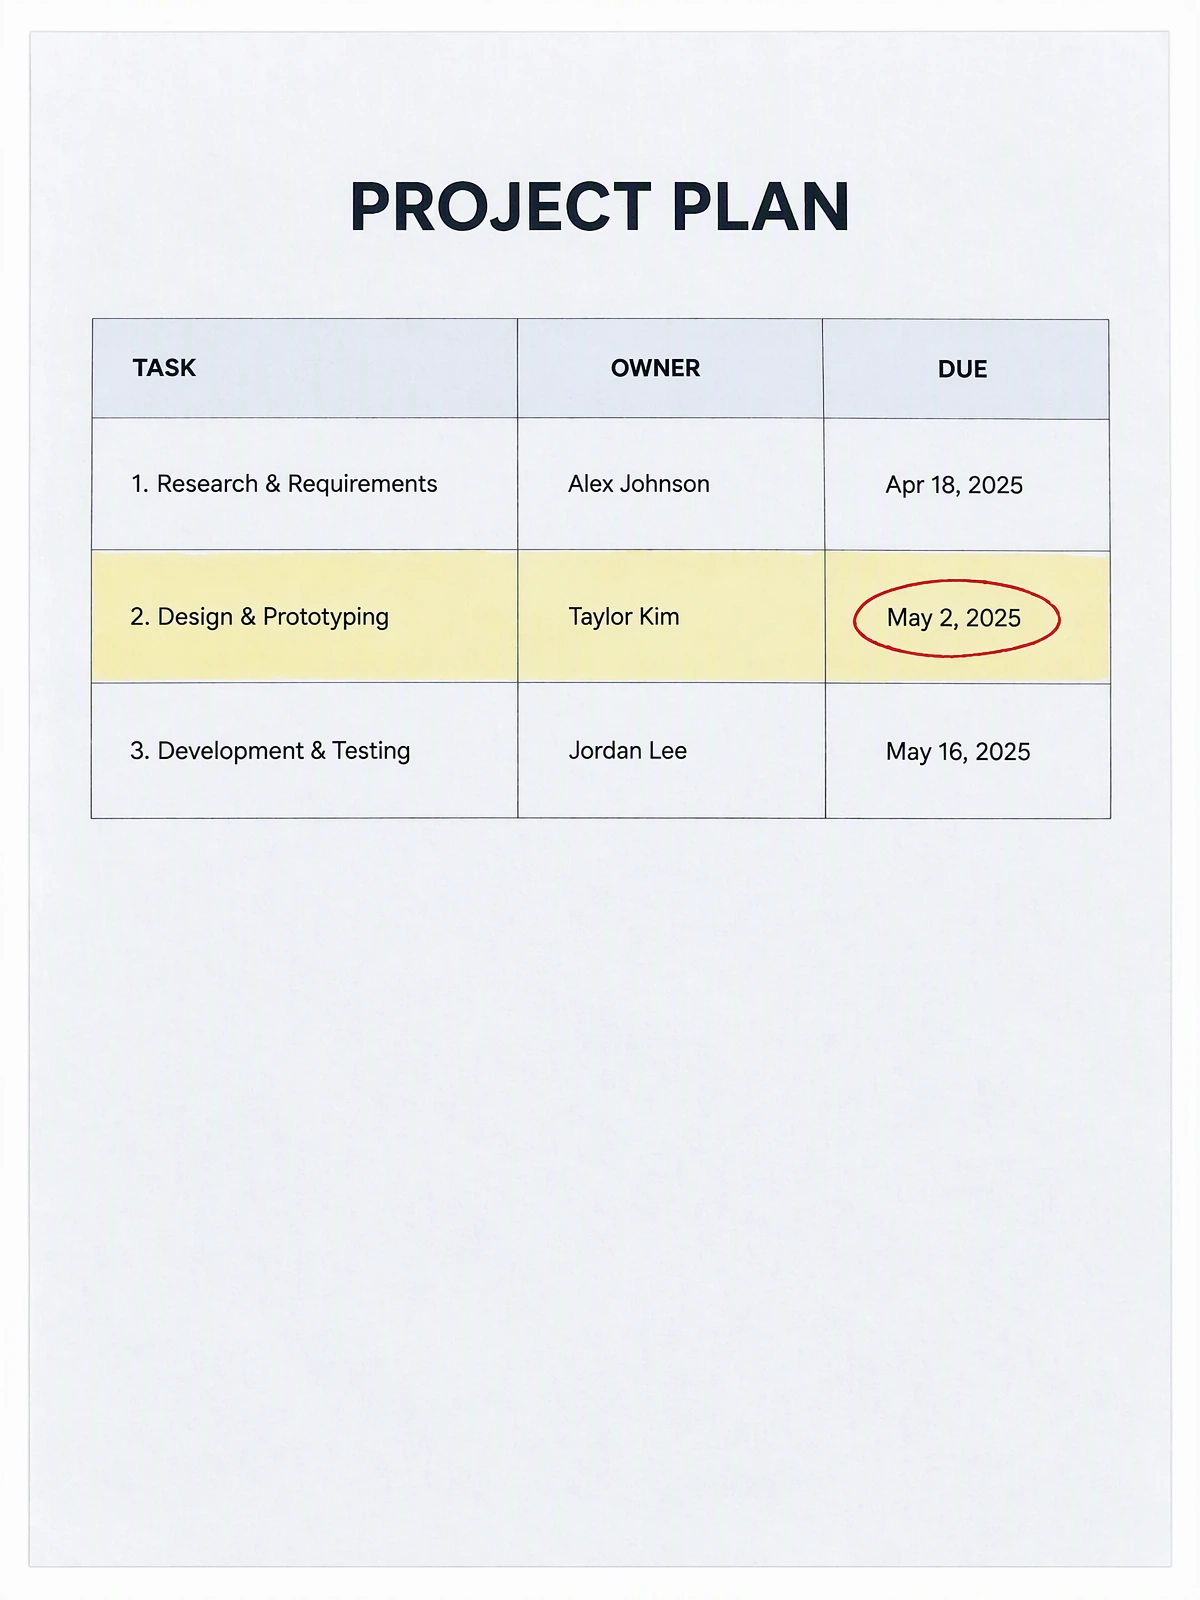
Look across each row and column. A straight table is useful only if the figures, row labels and marked cell still match the original. Color is the sensible starting mode for this example.
A worksheet with handwritten notes
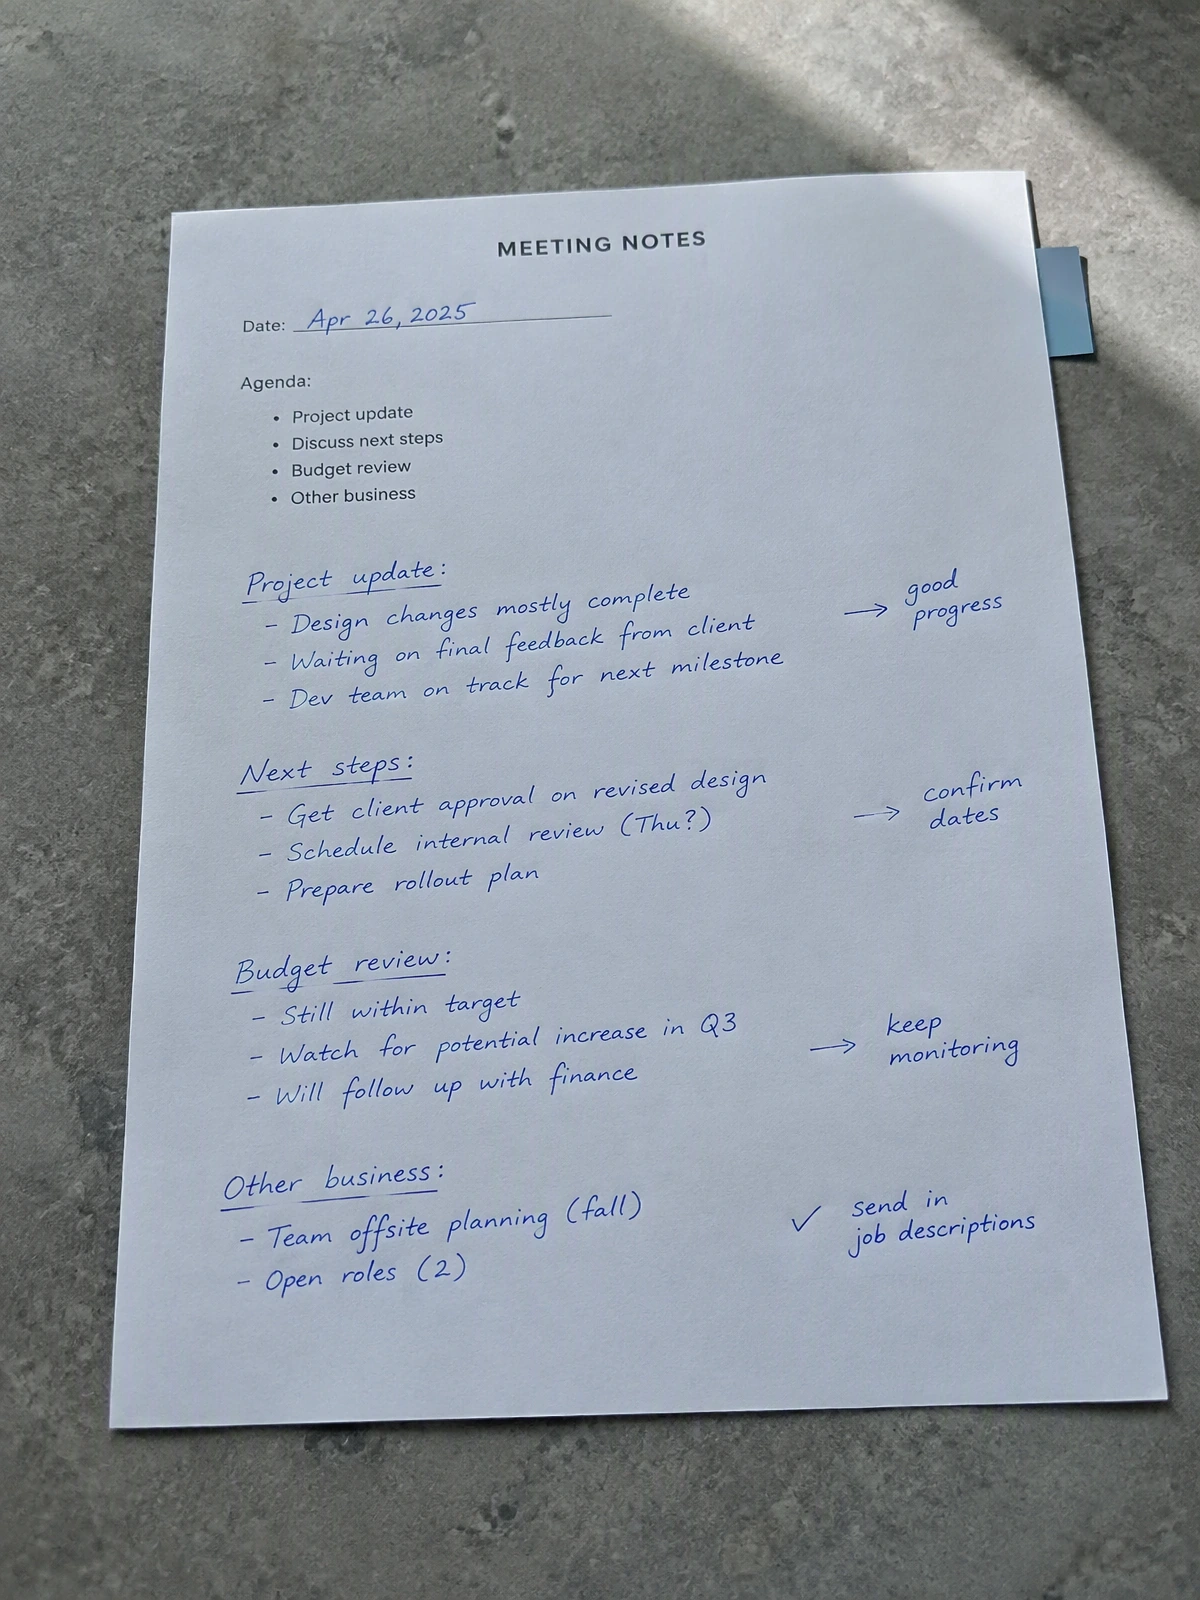
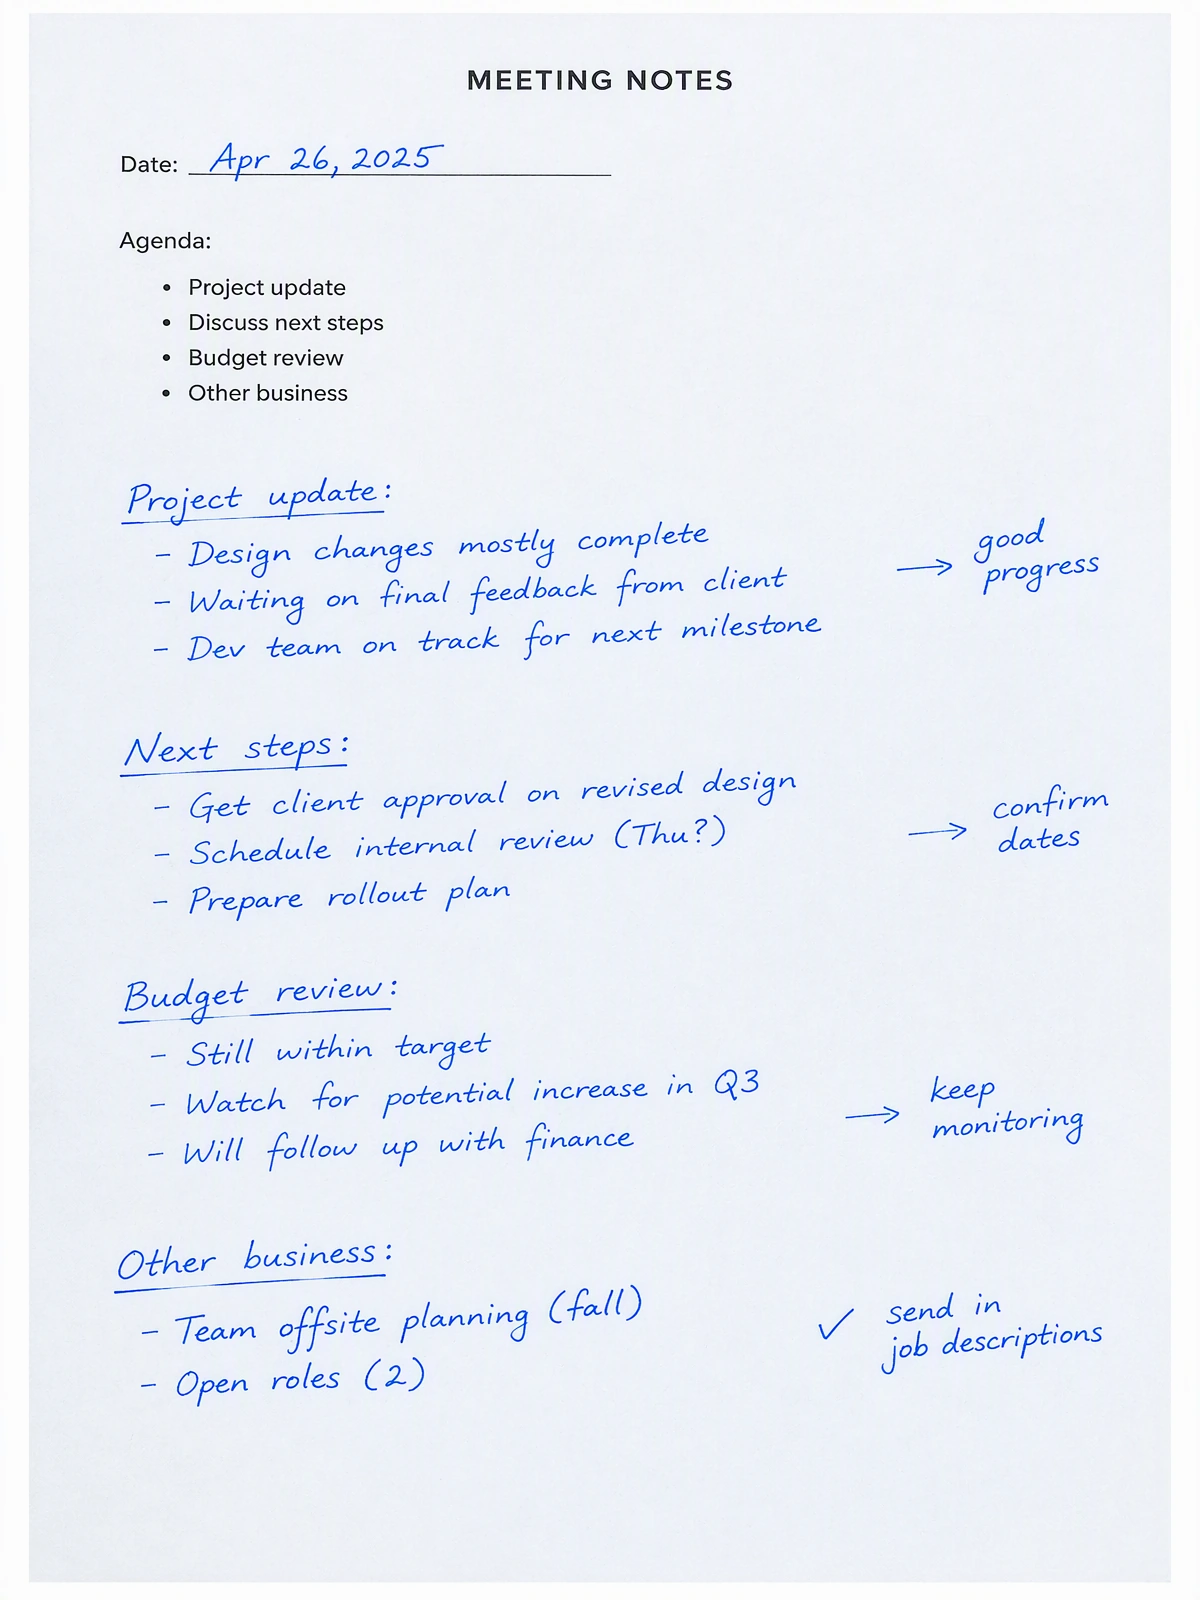
Check the arrow endpoints and each handwritten word. Processing a handwritten page is supported; recognizing handwriting with complete accuracy is not promised. Do not use the cleaned image to resolve an ambiguous letter in the original.
A checklist with ticks and a margin note
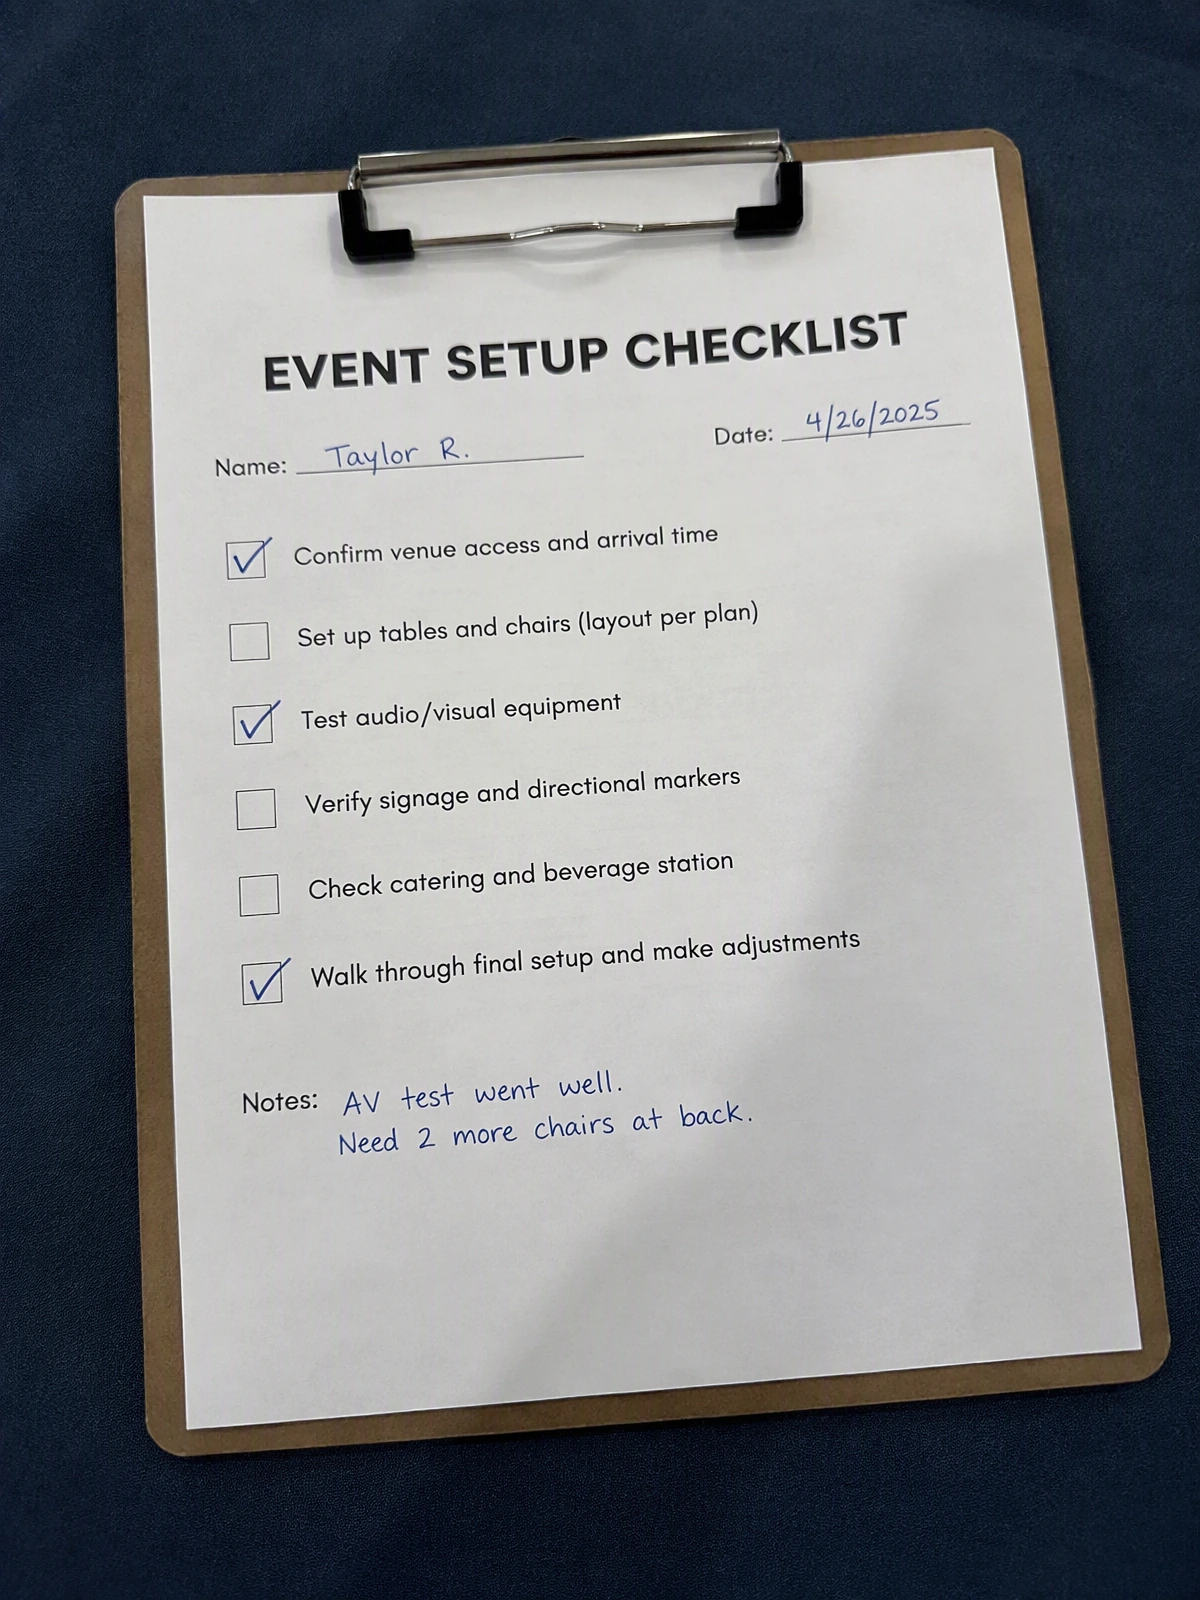
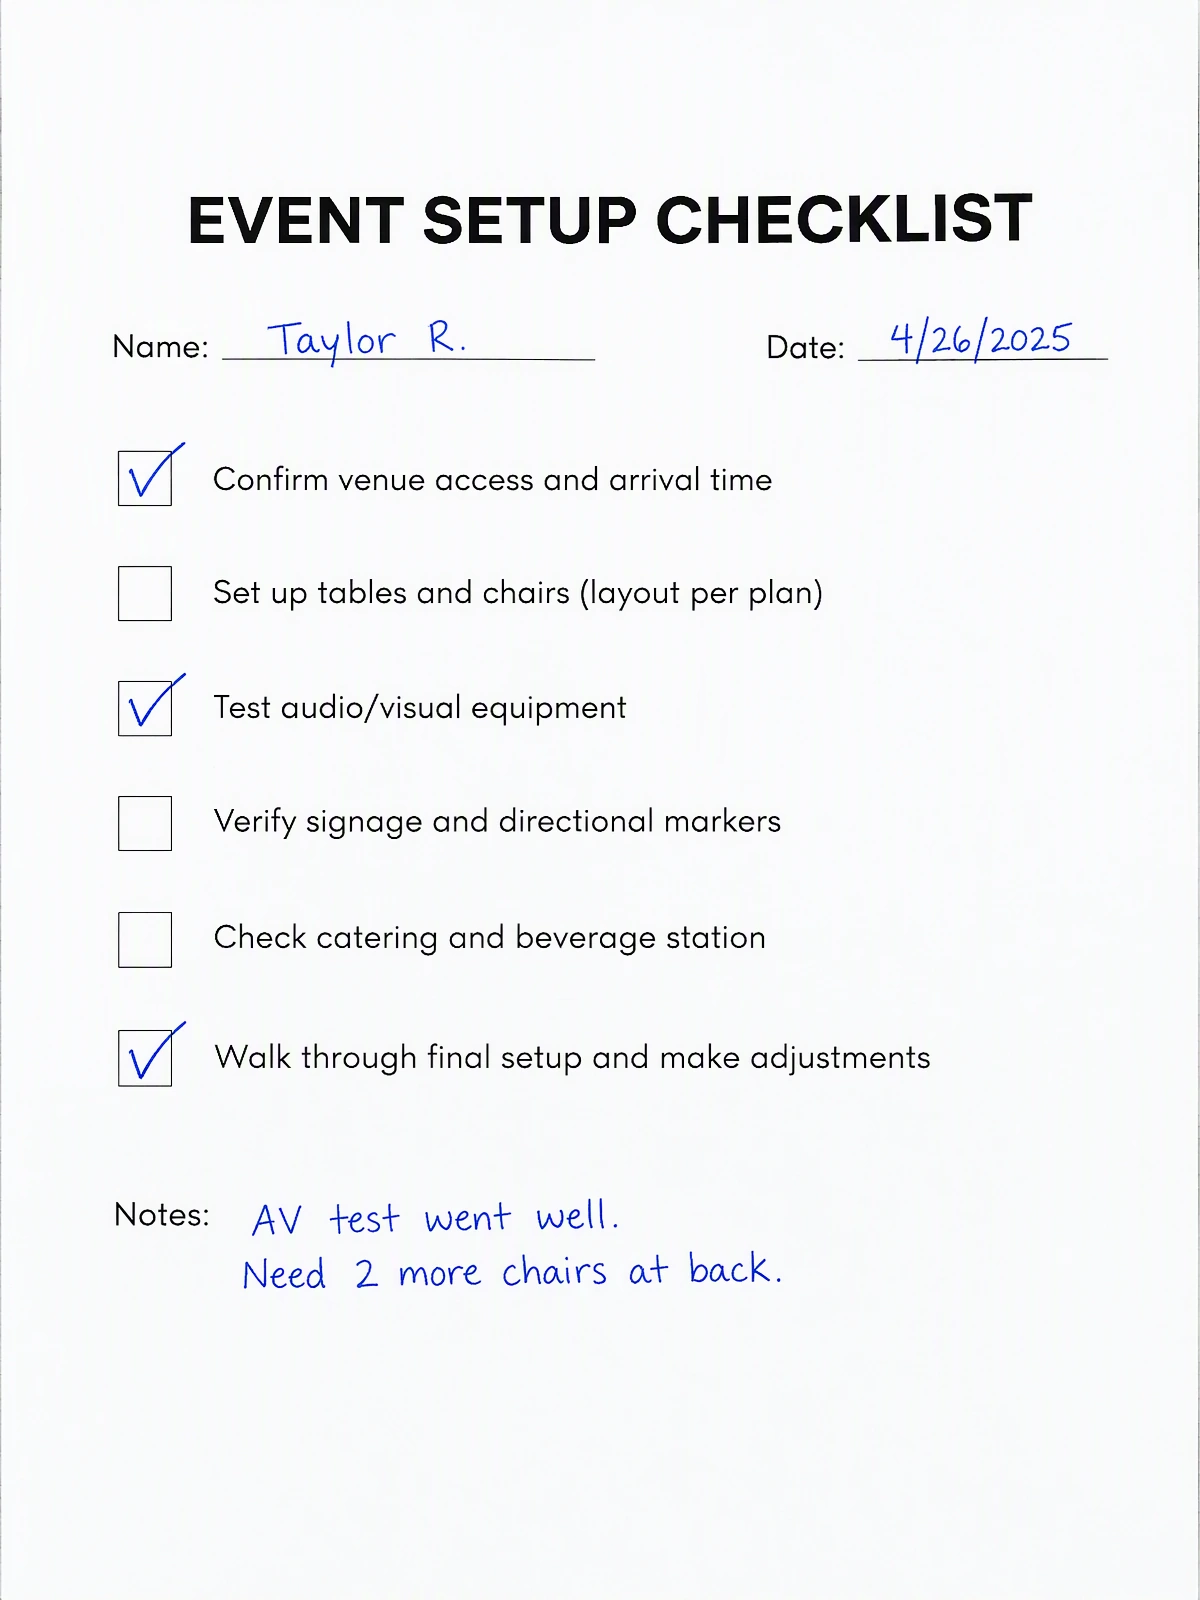
Inspect every tick and the outer margins. Cropping should leave the note and the last line intact. Compare the smallest checkbox before choosing a stronger black-and-white appearance.
Use shadow removal when the framing is already right
If the page is straight and a phone shadow is the only distraction, start with Remove Shadows from Photo. It targets lighting cleanup rather than the complete scan treatment. This also fits a product or label photo where the surroundings are part of the composition.
Use Photo to Scan when the document also needs page cropping or perspective correction. For a closer look at text beneath a phone shadow, read how to remove a phone shadow from a document photo.
Both workflows need a comparison with the original. Neither can establish the exact content of an area that was never captured.
Download a single page, or assemble a multi-page PDF
The scan editor processes one photographed page at a time. After reviewing it, choose an image or a single-page PDF. That PDF contains the page image, not an OCR text layer.
For several pages, download each checked result as an image, then open Photo to Document. Add up to 20 images, arrange the order, rotate pages as needed and choose A4, Letter or Original proportions before exporting. The tool accepts up to 20 MB per image and 40 megapixels per image.
This is a manual handoff: the scan editor does not automatically pass a set of results into the PDF builder. The builder fits complete photos onto pages and does not remove shadows or correct perspective itself. Its PDF uses JPEG page images with a longest-edge limit of 3200 pixels; inspect small text in the downloaded file.
OCR and handwritten text are separate from the scan effect
Use Extract Text from Image when you need words you can copy. Review names, punctuation, figures and reading order in the recognized text, particularly on tables or handwritten pages.
Copying recognized text does not add a searchable layer to the PDF from Photo to Scan or Photo to Document. If a recipient requires an editable document or searchable PDF, arrange that as a separate step and confirm the finished file meets the requirement.
Are files uploaded, and how long are they kept?
Photo to Scan and shadow removal upload your photo for processing. Ordinary images and results may remain in editing history after the session. This workflow has no fixed automatic deletion deadline, and deleting a history item is not a guarantee that stored image files are immediately erased.
The separate Photo to Document builder assembles the PDF in your browser without uploading the image data. That local step does not make an earlier AI scan upload local. Review the privacy policy and use an appropriate capture and storage method for confidential material.
Check the file before you send it
- All page edges and the final line are present.
- Names, dates, amounts, punctuation and table entries match the original.
- Handwriting, signatures, highlights and ticks have not changed meaning.
- The page order is correct if you assembled several images.
- Small text is readable in the downloaded file, not just the on-screen preview.
- The recipient accepts an image-based PDF; you have not mistaken it for OCR text.
Keep the source photo alongside the result. If the cleaned version changes something important, use the original or take another photo.
Frequently asked questions
How do I turn a photo into a scanned document?
Photograph the whole page, upload it to Photo to Scan, choose cropping, perspective correction and a color mode, then compare the result with the original before downloading an image or single-page PDF.
Does a scan-like PDF include searchable text?
No. ClearCrowds' scan export is an image-based PDF. Use Extract Text from Image for copyable text; that separate tool does not add a searchable text layer to the scan PDF.
Can I combine several scans into one PDF?
Yes. Process and check each page, download the images, then add up to 20 images to Photo to Document. Arrange them and download one image-based PDF.
Are photos uploaded and deleted after scanning?
Photo to Scan uploads images for processing. Ordinary photos and results may remain in editing history after the session, with no fixed automatic deletion deadline. Photo to Document assembles PDFs in the browser without uploading image data.