
8 Easy Couple Photo Poses for Natural Pictures Together
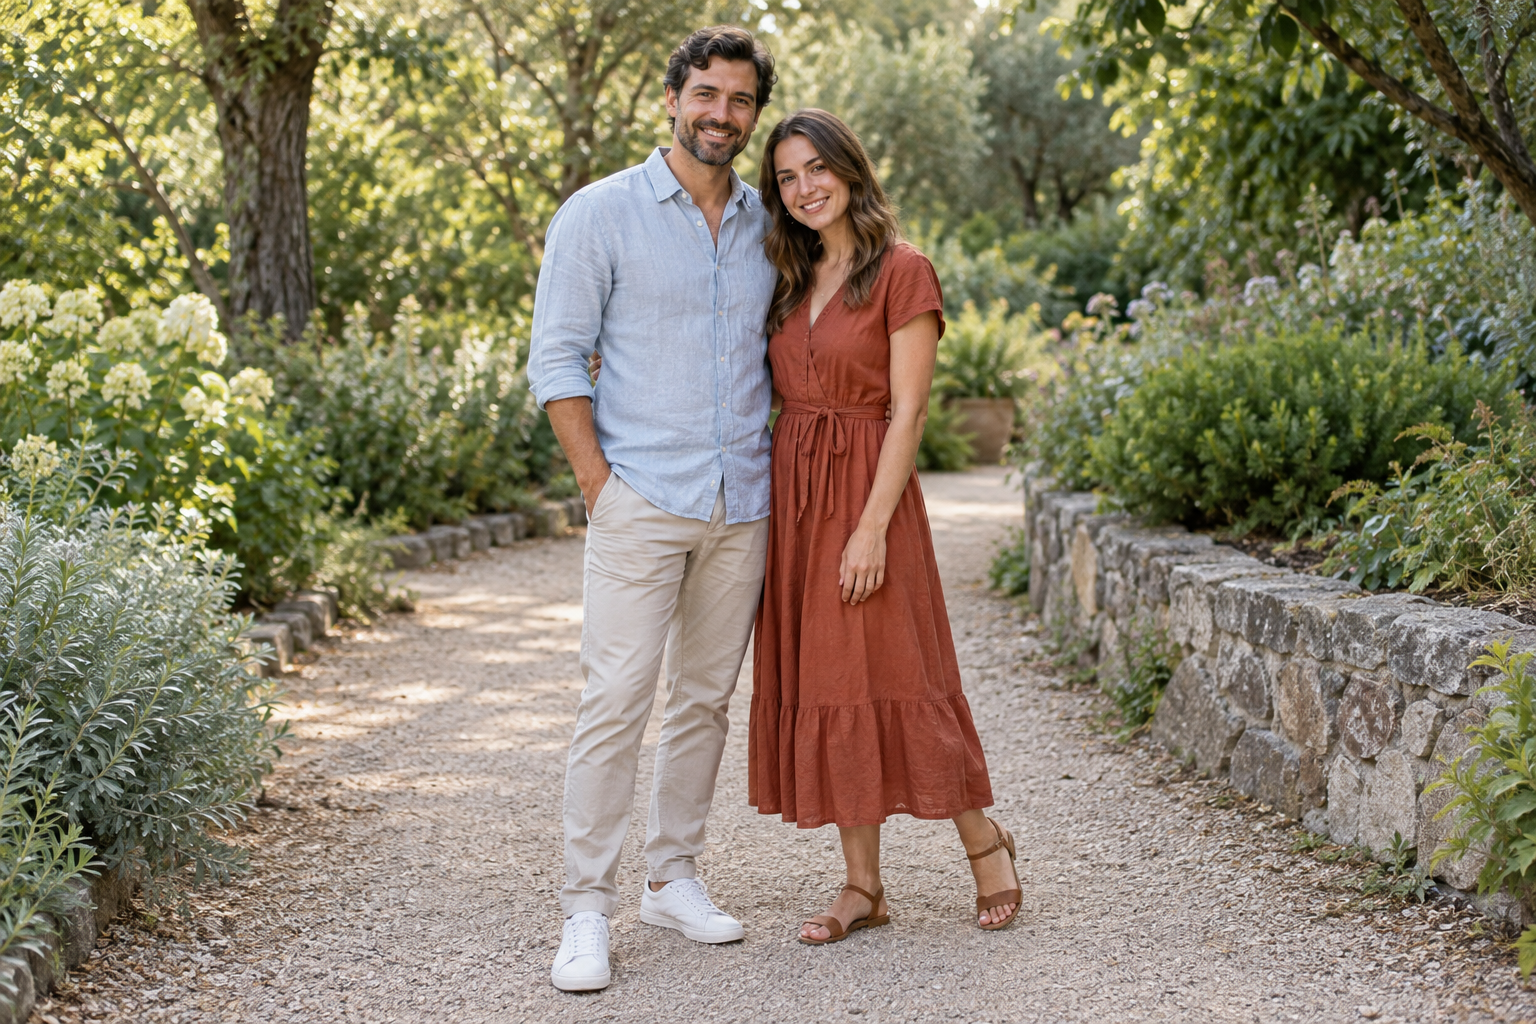
For natural couple photo poses, start with a comfortable position: stand beside each other, turn face to face, try a loose hug, or sit together. Give your hands somewhere to rest, keep both faces visible, and change one thing between shots. You can build a varied set of pictures without memorizing a long posing routine.
This guide includes eight ideas for engagement photos, holiday snapshots, anniversary pictures, or an afternoon with a phone and a timer. Either partner can take either position. Choose the amount of closeness that feels comfortable to you.
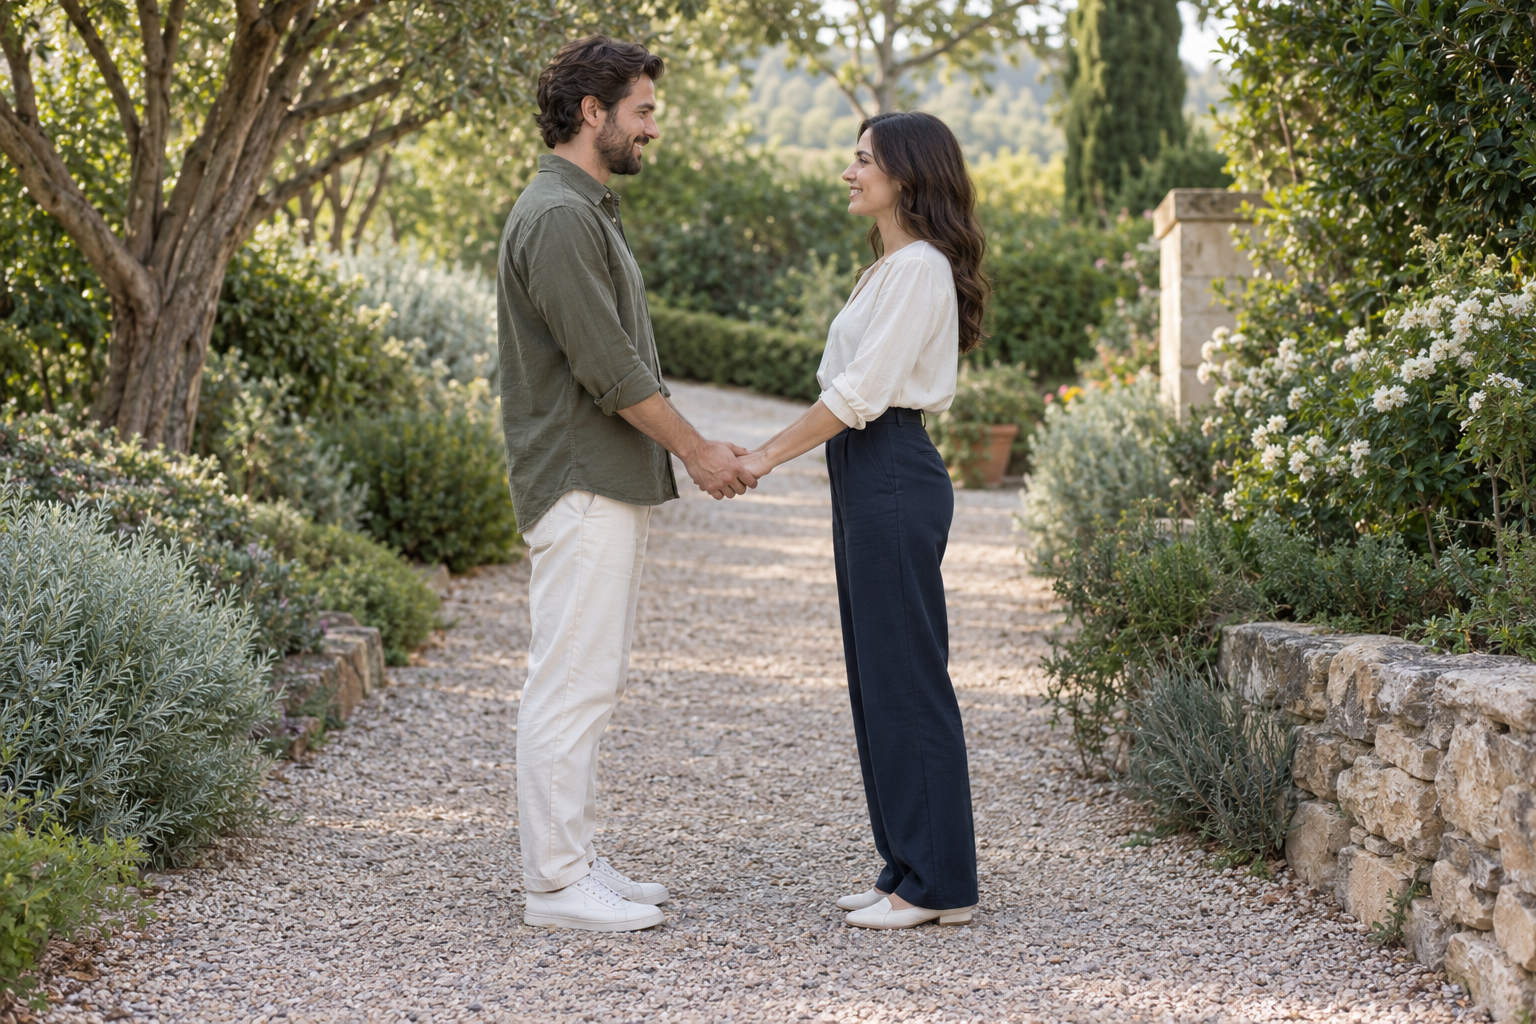
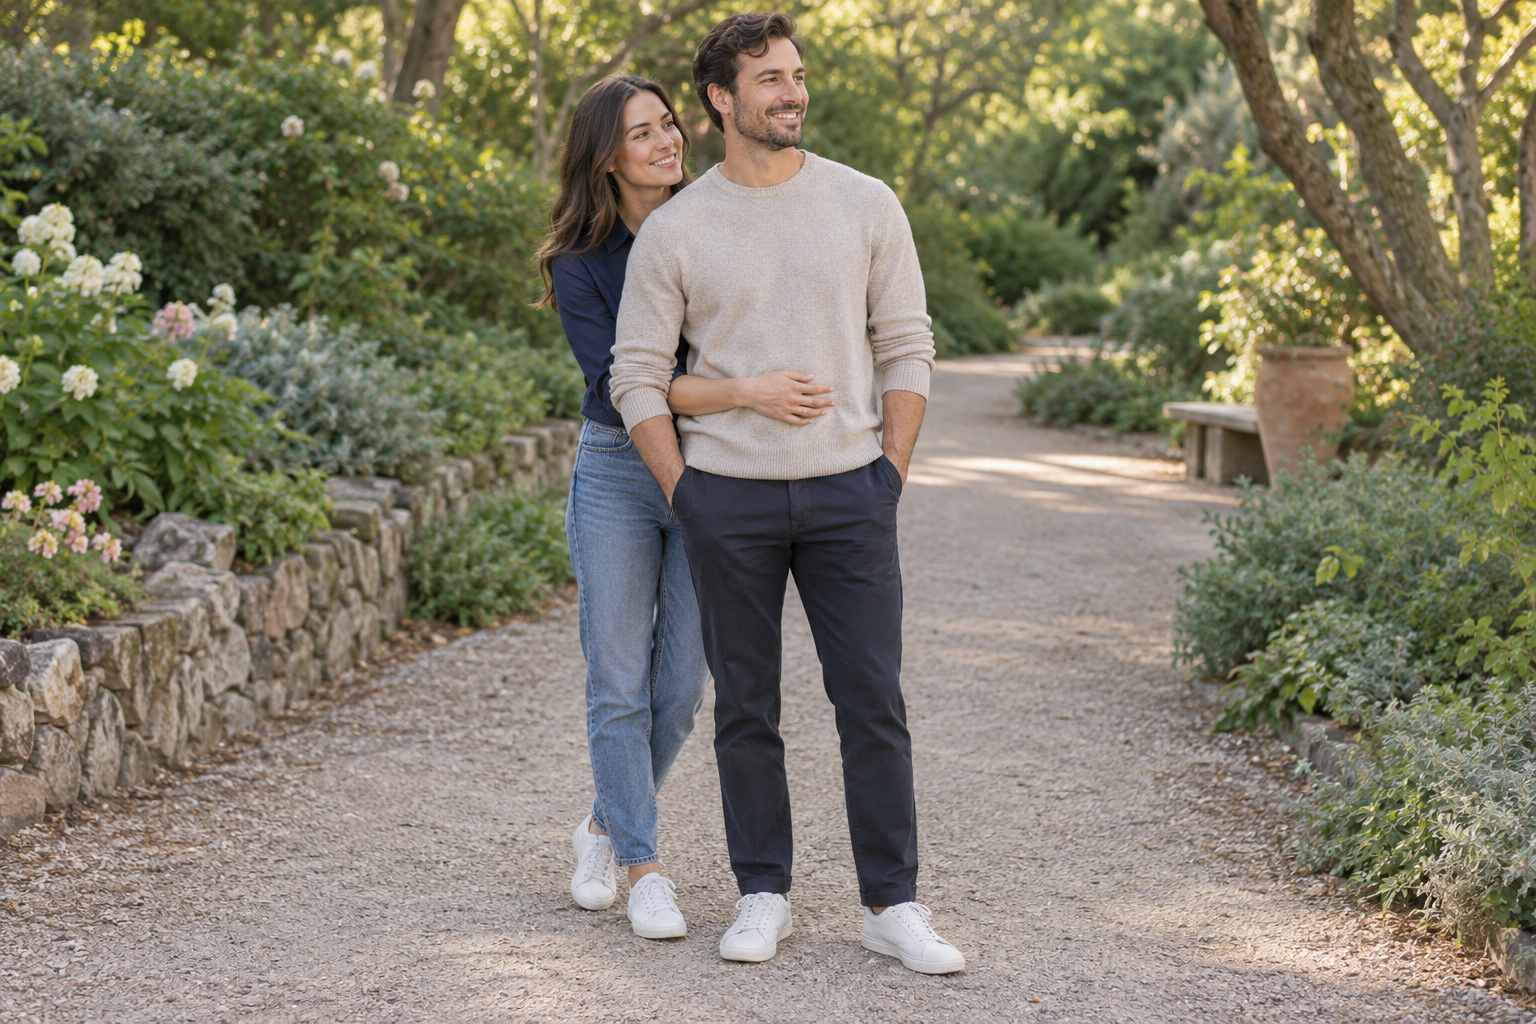
The four pose illustrations in this guide were generated with AI. They show positioning ideas, not client photographs or ClearCrowds editing results.
Key takeaways
- Pick a standing or seated position before deciding where to look.
- Let hands rest on a waist, an arm, a thigh, or in a pocket instead of holding them in midair.
- Take one picture looking at the camera and another looking at each other.
- Check both faces, the frame edges, and your hands before changing the pose.
- Save the sharp original before trying any portrait edits.
Choose a couple photo pose for your setting
A base pose is the starting arrangement of two people. You can keep that arrangement and make several pictures by changing your gaze, hand placement, or crop.
| Your situation | Start with | What to check |
|---|---|---|
| You want a photo for family | Side by side | Both faces turned toward the camera |
| Looking into the lens feels awkward | Face to face | Hands held low enough to leave faces clear |
| You want a close, relaxed portrait | Offset hug | The person behind is still visible |
| You want a quieter standing pose | Shoulder lean | Neither neck is stretched |
| Your heights differ or you want to sit | Seated conversation | Comfortable support for feet and backs |
| Standing still feels stiff | Walk and pause | A clear path and a sharp frame at the pause |
| You want the location in the picture | Shared view | Space around the couple and the landmark |
| You are taking a selfie | Cheek to cheek | Both faces at a similar distance from the lens |
Four standing poses to start with
The starting-position approach is inspired by Yael Pachino Photography's guide to four base poses. These short directions adapt that idea without assigning positions by gender.
1. Side by side, turned inward
Stand beside each other. One partner faces the camera while the other turns slightly inward. Rest an arm around each other's back, soften your knees, and look toward the lens. Swap positions to see which arrangement you prefer.
The cover image shows this starting position.
2. Face to face
Turn toward each other and hold hands near waist level. Leave enough room to stand without leaning backward. Look at your partner, then try a closer frame with a gentle embrace if that feels comfortable.
3. The offset hug
One partner stands behind and slightly beside the other, with a loose arm around the waist. Keep both faces visible. The front partner can rest a hand over the arm or leave a hand in a pocket.
4. The shoulder lean
Stand beside your partner and take a small step back. Turn toward their upper arm and lean in only as far as feels easy. Keep your face visible beside the shoulder, with your neck relaxed.
Four more poses for casual couple pictures
5. Sit together and have a conversation
Choose a bench or two stable chairs at a comfortable height. Sit with your feet supported and turn slightly toward each other. Hands can rest on your own thighs; touching is optional.
Ask each other a specific question, such as which stop you liked best on your trip. Take pictures during the answer rather than holding a smile through a countdown. If one person disappears behind the other, move the camera a little toward that side until both faces are clear.
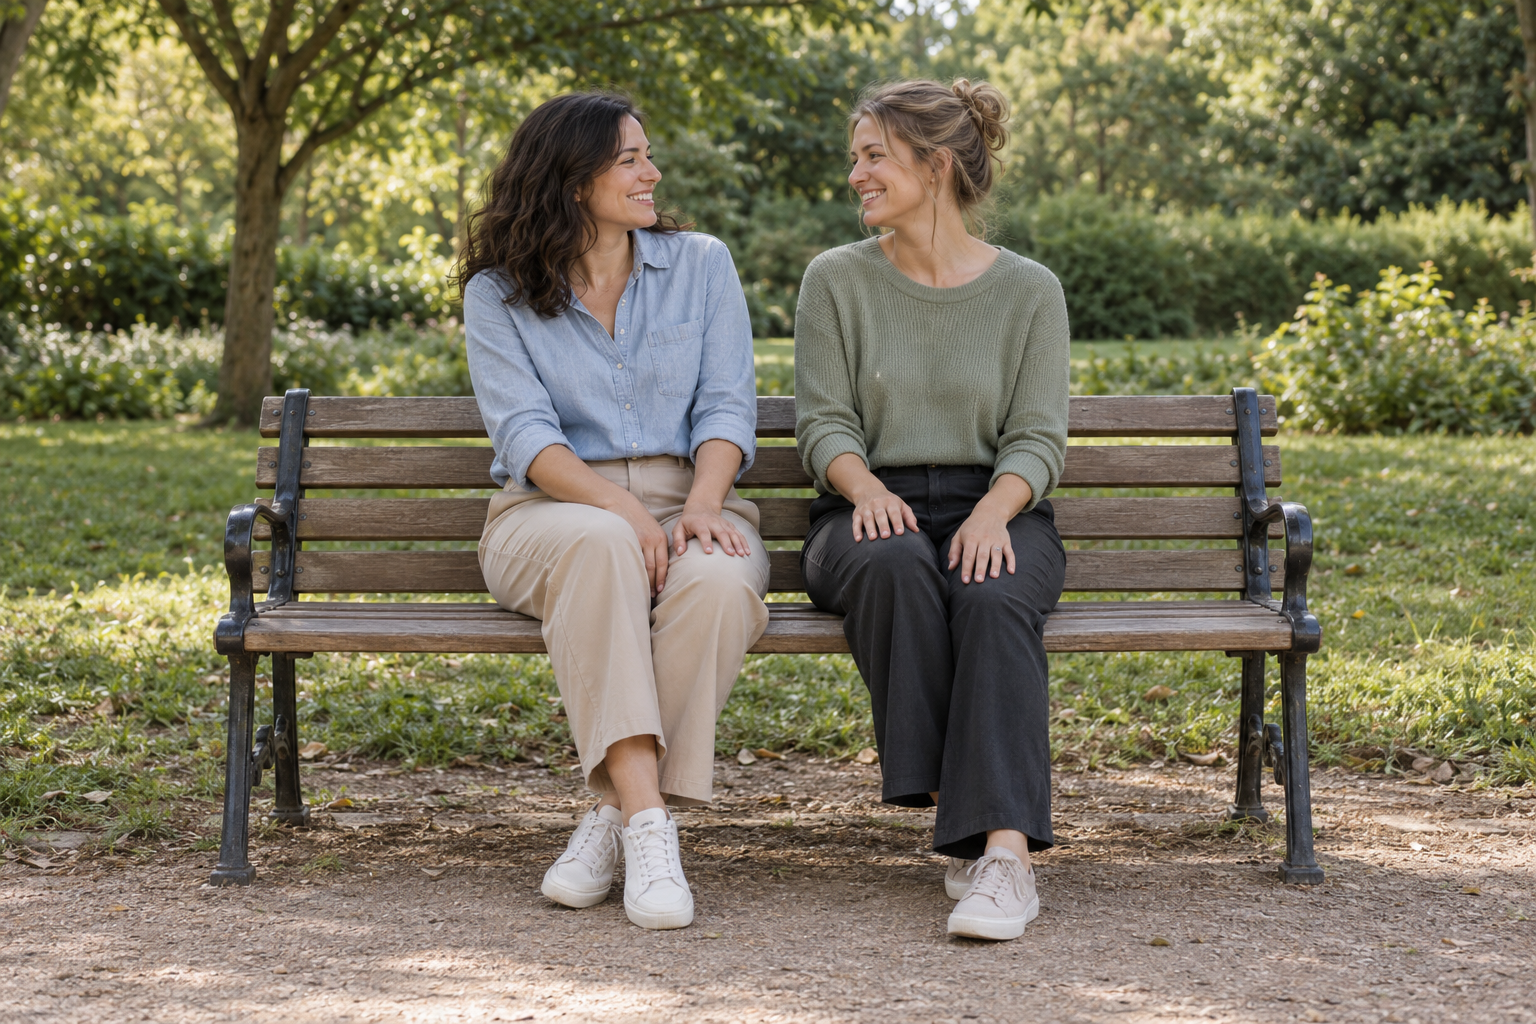
Seated variation: let the conversation supply the expression while the bench supplies support.
6. Walk together, then pause
Pick a short, level stretch of path. Walk beside each other at an easy pace, holding hands if you want, and pause after a few steps. The person taking the photo can shoot during the approach and again at the stop.
For a phone timer, make the pause your main shot. It is easier to keep the framing predictable when you return to the same spot. If your faces look blurred when you zoom in, try another stationary frame before moving on.
7. Look at a shared view
Stand beside each other facing the landscape, then turn partway back toward the camera. Pick something real to look at: a boat, a building detail, or the end of a path. One person can point it out while the other follows their gaze.
Leave enough space around yourselves to explain where you are. Before shooting, check whether a tree trunk or sign appears to grow out of a head. A small camera move can separate those shapes without changing your pose.
8. Cheek to cheek for a selfie
Bring your faces close and keep them at a similar distance from the phone. Hold the camera far enough away to include both heads with a little space around them. Look at the lens for one frame, then at each other for a second.
If a face near the edge looks stretched, move both faces toward the center. For a wider picture that includes your outfits, put the phone on a stable support and use a timer instead of stretching your arm farther.
How to take couple photos with a phone and a timer
Choose three poses before you start: one looking at the camera, one looking at each other, and one seated or moving. That is enough variety for a short session.
- Find even light. Try open shade or a large window. Check that one face is not in bright sun while the other is in shadow.
- Set the frame with one person in place. Put the phone on a stable support near face height and leave room for the second person. Include feet if you want a full-length picture.
- Make a test photo. Check sharpness on the face, background distractions, and the edges of the frame before you both settle in.
- Set the timer. Choose enough delay to walk into position without rushing. Use a remote shutter if you already have one.
- Try a small sequence. Look at the lens, look at each other, then say something. Repeat the timer for each variation, or use interval shooting if your camera offers it. Keep your feet in the same place so you are only changing the expression.
- Review before relocating. Zoom in on both faces. Keep the sharp frames and repeat any pose where a blink, hidden hand, or awkward crop spoiled the picture.
Clothing does not need to match. Wear something you can sit, turn, and walk in. If you are planning makeup, the makeup-for-photos guide includes a test-frame routine to check the result in your chosen light.
Fix common posing problems while you shoot
| What you see | Try this adjustment |
|---|---|
| One face is hidden | Move the rear partner sideways until both eyes are visible |
| Hands look tense | Release the grip, shake out your hands, and rest them somewhere supported |
| A smile looks strained | Stop looking at the lens for a moment and resume the conversation |
| A tall partner is bending their neck | Try sitting, or make a wider frame that includes the height difference |
| One person looks much larger | Bring both people to a similar distance from the camera |
| Shoes or fingers are cut off | Step the camera back or choose a deliberate tighter crop |
| A passerby overlaps your faces | Wait for a clear frame or change the angle before relying on an edit |
Frequently Asked Questions
What is the easiest couple photo pose for beginners?
Start side by side with your bodies turned slightly toward each other. Rest a hand around your partner's back or on your own hip. Take one photo looking at the camera and one looking at each other.
How do we pose without looking awkward?
Give yourselves something small to do, such as answering a question or taking a few steps. If a position feels uncomfortable, change it. You do not have to hug, kiss, or hold a fixed smile to make a good picture together.
What works when partners have different heights?
Try sitting together, or stand side by side and keep the natural height difference in the frame. For a close crop, adjust your position until both faces are visible without either person bending their neck for a long time.
Where should we put our hands in couple photos?
Rest them on a partner's arm or waist, on your own thigh, or in a pocket. For held hands, keep the grip loose. Check that a hand does not appear to float out from behind someone else's body.
Can we take good couple photos without a photographer?
Yes. A phone on a stable support, a timer, and a test frame are enough to try these poses. Start with a stationary setup so you can check the framing and focus before adding movement.
Summary
Choose three comfortable poses, make sure both faces are visible, and vary your gaze before rearranging your whole body. Check your pictures while you are still in the same light and location. A quick reshoot is useful when the problem is a blink, blur, or a person blocking your face.
Where ClearCrowds fits
Once you have a picture you like, ClearCrowds can help with a distracting background or a different portrait finish. Any photo. Fixed in one click. Start with one change, compare the result with your original, and keep the version you both prefer.
Here are four options for your couple photos and the individual portraits you take during the same session:
- Remove background crowds: try it when passersby distract from the two of you. Check that both partners remain intact, especially where a background person overlaps hair or clothing. The people-removal guide explains the cleanup process.
- Try Makeup Effect: explore a makeup finish on a clear individual portrait. Compare eyes, lips, skin texture, and expression with the original before keeping it.
- Try a portrait without glasses: use this when you want the frames removed. Hidden eye detail has to be generated, so inspect that area; it is not a recovery of the eyes behind opaque lenses.
- Create a professional headshot: use a separate solo photo from the session for a work profile. Start with the home-headshot setup guide if you need a clearer source photo.
Use photos you own or have permission to edit, and agree with your partner before changing their appearance. AI edits can alter details you meant to keep, so save the original and review both faces before sharing.
Keep the couple. Clean up the background.
- Keep your original
- Compare both faces
- Review before sharing
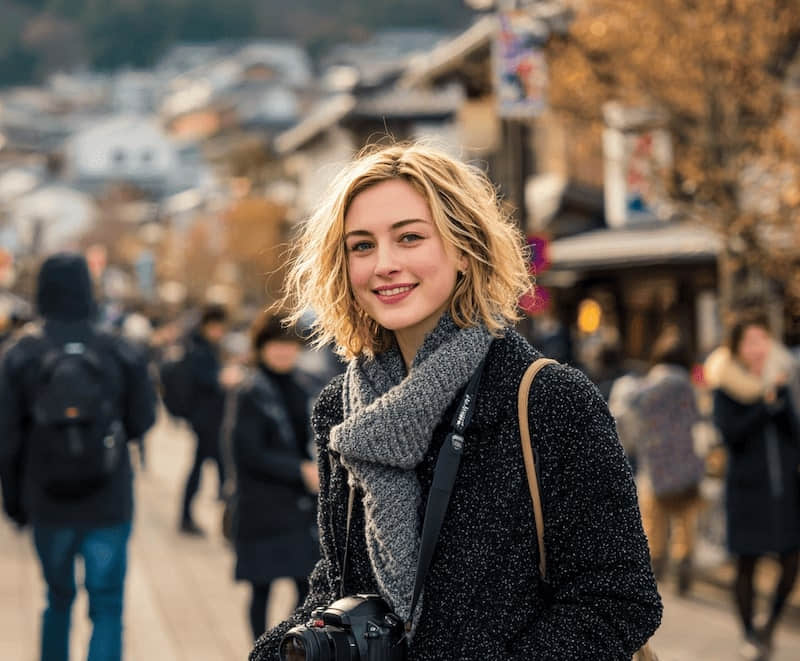
Upload your favorite shot to remove distracting background people, then compare both faces and the surrounding details before saving.