
How to Apply Makeup for Photos: A Camera-Ready Step-by-Step Guide
Direct answer
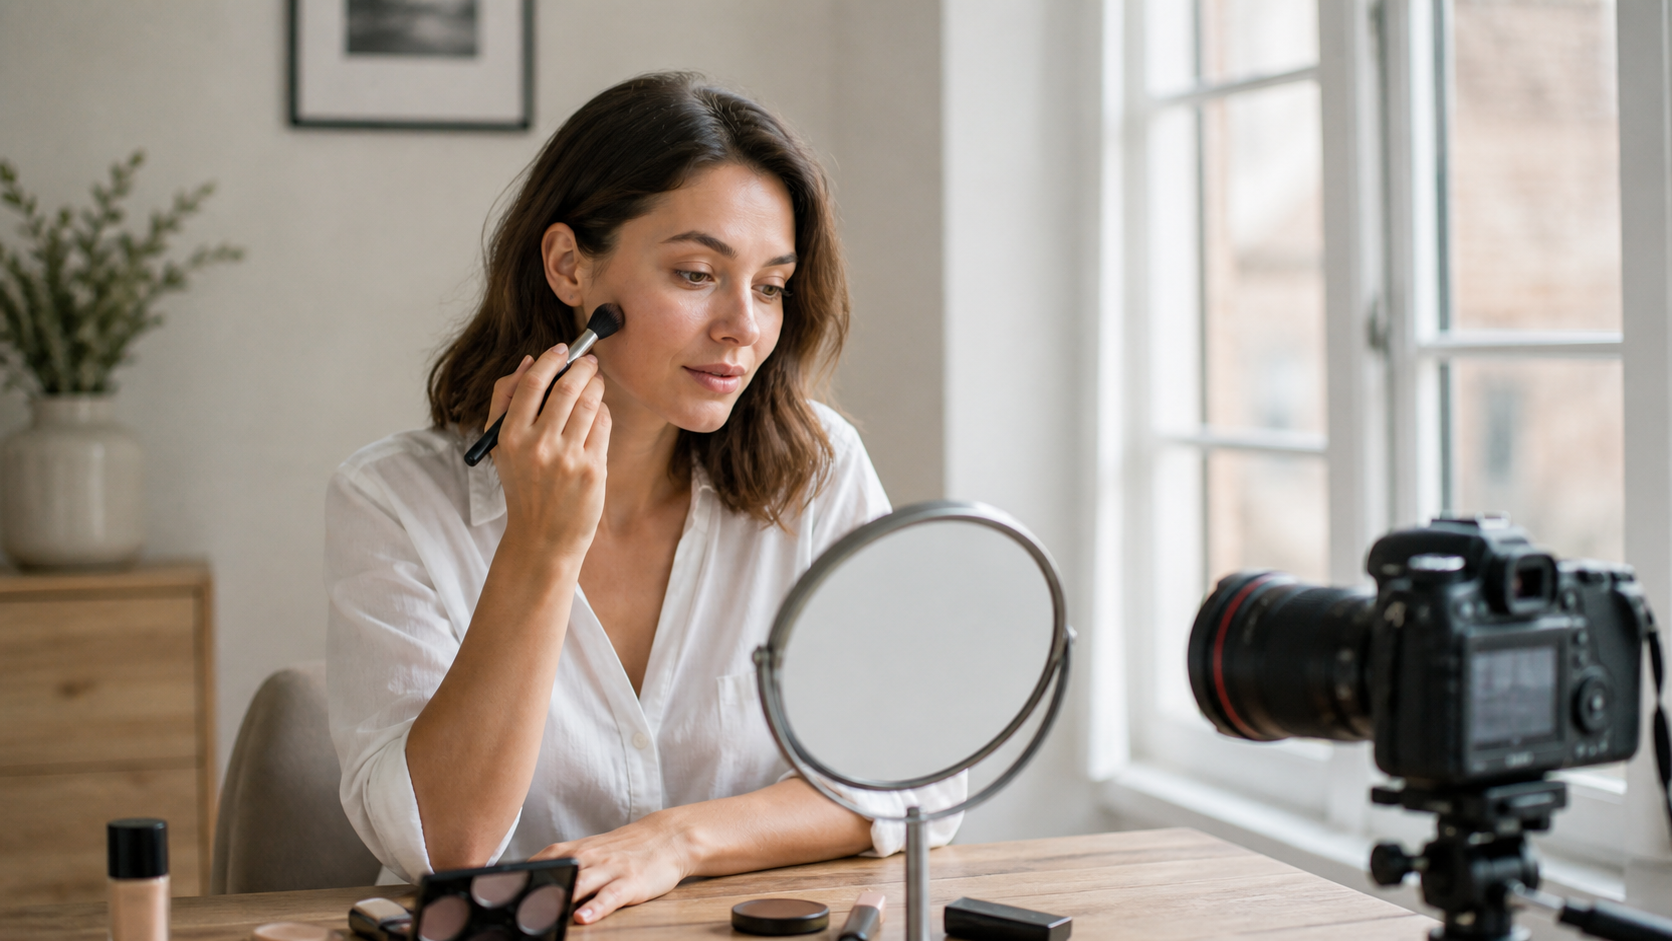
To apply makeup for photos, prepare your skin, work in thin layers, control shine where the light will hit, and add enough definition for the camera to see your features. Start with the light and camera you will actually use, then take one test frame before the final photo. A mirror can look perfect while the camera loses your brows, blush, or lip color, so the test frame is part of the application process.
The goal is not to look like a different person. It is to make your real features read clearly while keeping texture, expression, and skin tone believable.
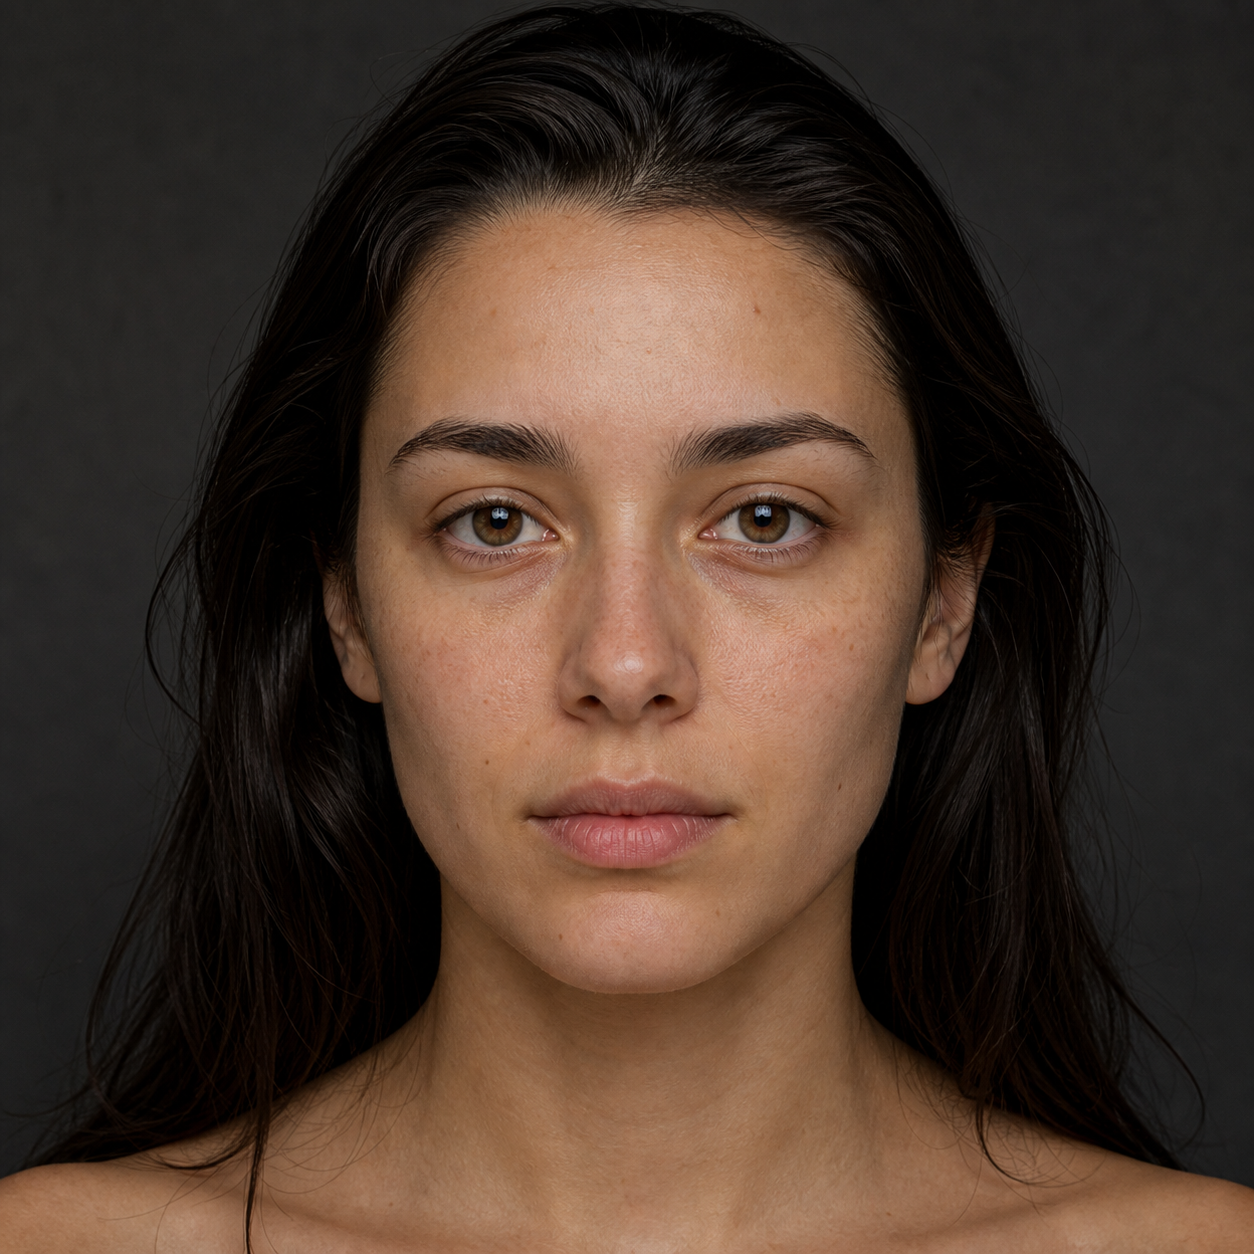
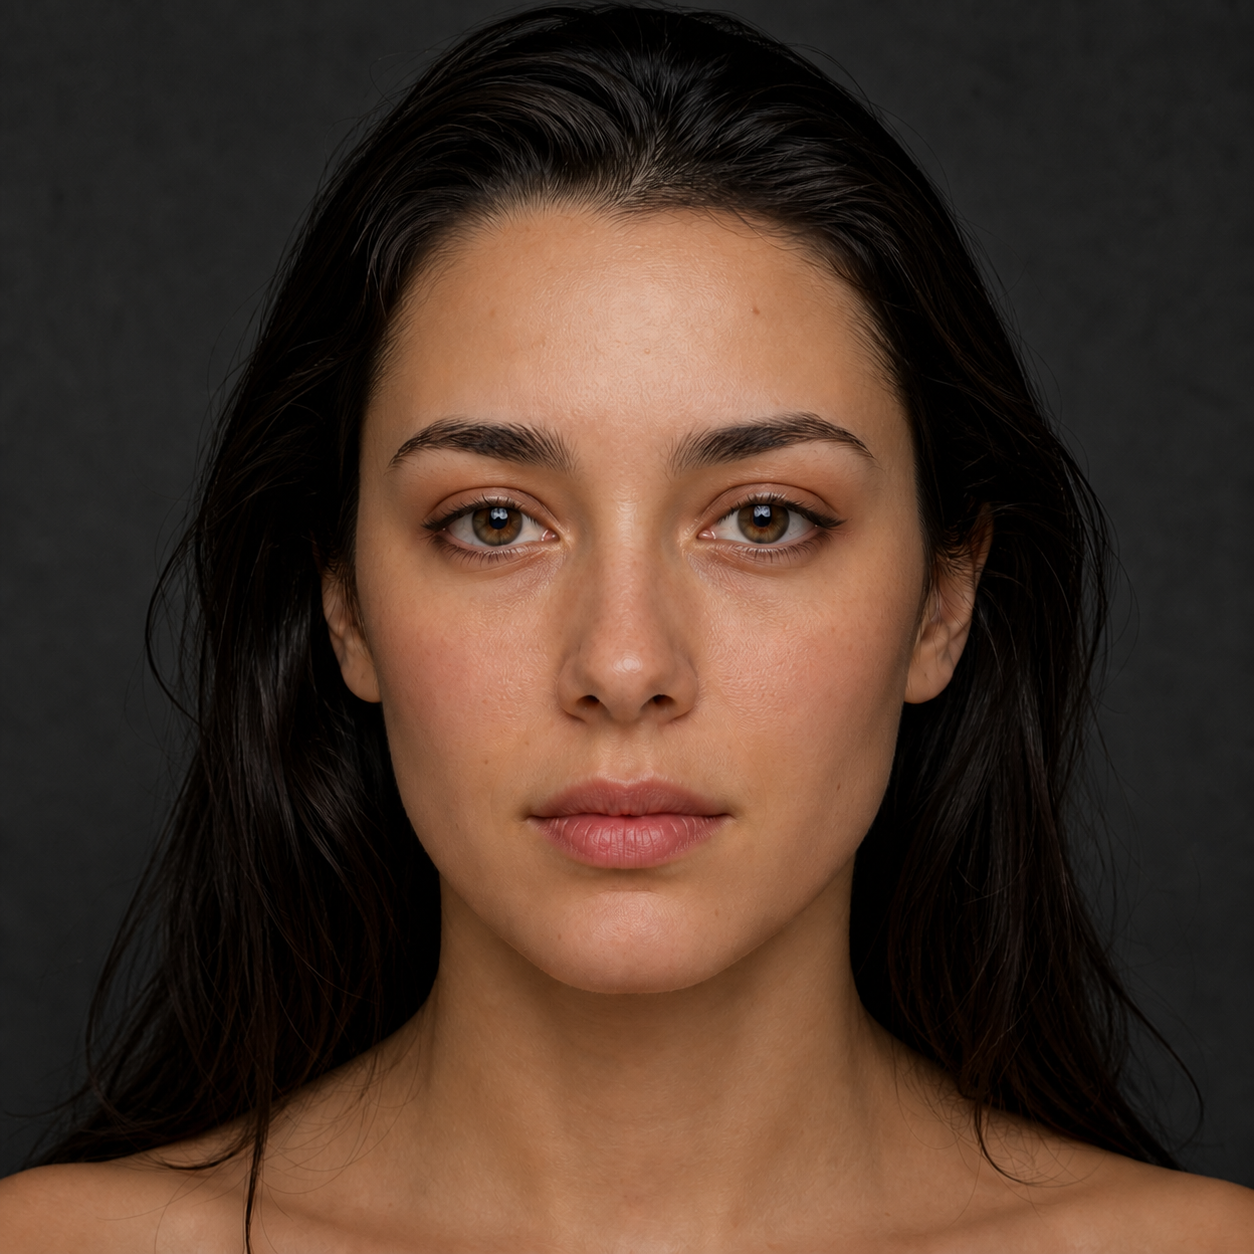
Try a subtle makeup finish
- makeup direction
- Compare with the orig…
- Use the crop you need
Upload a portrait, compare the Makeup Effect result with the original, and keep the edit only when your identity and natural texture still look right.
Key takeaways
- Plan the makeup around the light, camera, and final photo use.
- Moisturizer and primer help create a more even base, but new products should be tested before the shoot.
- Use thin layers and set only the areas that reflect. A completely matte face can look flat.
- Add definition to brows, eyes, cheeks, and lips because cameras can reduce contrast.
- Take a test frame from the final camera position before you finish.
- If you use digital makeup, compare the result with the original and reject identity drift.
1. Start with the photo, not the product drawer
Decide what you are shooting first. A close portrait under a window, a flash-lit event photo, a wedding group shot, and a professional headshot each show shine and color differently. Put the camera at the position you expect to use and check the background, direction of light, and whether the final crop will be tight around the face.
The L'Oréal Paris photo-makeup guide puts primer and an intentional application order early in the routine. That order is useful, but the correct finish still depends on your own skin and the light. Do not copy a product list if you have not checked how it looks on your face.
2. Prep skin and let the base settle
Cleanse gently, moisturize with a product you already know your skin tolerates, and give it a moment to settle. If your skin is dry, extra time for moisturizer can keep the base from catching on flaky areas. If your skin is oily, use a lightweight layer and plan to control shine later rather than piling on a heavy, drying base.
Primer is optional, but it can make the surface more even and help makeup sit consistently. Apply it where it solves a real problem, such as visible pores or makeup that separates around the nose. Give it time to set before foundation.
Avoid introducing a new exfoliant, active treatment, foundation, or fragrance immediately before an important photo. A reaction or unexpected texture is harder to fix than a familiar product that is not quite perfect.
3. Build a thin, even base
Apply a small amount of foundation or skin tint from the center of the face outward. Add coverage only where you need it, then blend the edges into the jaw and hairline. The camera rewards an even transition more than a thick mask.
Use concealer for targeted areas instead of covering every part of the face again. Check the under-eyes, sides of the nose, chin, and forehead from the camera position. If the base looks heavy in a test frame, remove a little before adding more powder.
For flash or strong directional light, be cautious with products that reflect more than you expect. The Lipstick Queen photoshoot guide emphasizes choosing a finish for camera light and controlling shine before it becomes distracting. That does not mean every photo needs a flat matte base. Keep a small amount of natural dimension on the cheekbones and other areas that should look like skin.
4. Add definition the camera can read
Brows and eyes
Brush brows into place and fill only sparse areas. A soft pencil or powder that matches the existing hair usually looks more natural than a solid block. Curl lashes if that is part of your normal routine, then add mascara close to the lash line. For a professional portrait, a soft liner or neutral shadow can give the eyes shape without becoming the main subject.
Cheeks
Place blush where it supports the face shape and blend the edges. Cameras can reduce contrast, so the shade may need to be slightly more visible than it is in the mirror, but it should not become a hard stripe. A small amount of matte or satin contour can restore depth if the light is very even.
Lips
Moisturize first, then use a lip color that is close enough to your intended look that you will not keep checking it. A little definition around the edges helps the mouth stay readable. If you use gloss, take a test frame because a small highlight can turn into a bright spot under flash.
The Faithful Photography guide also puts skin preparation and a planned light check ahead of the final color decisions. The camera should confirm the choices, not surprise you after the shoot.
5. Set the areas that reflect
Press a small amount of finely milled powder into the T-zone, under the eyes if needed, and any area that becomes bright in the test frame. Keep the cheeks and outer face lighter if they already look balanced. Setting spray can help the layers sit together, but it cannot replace a good base or make an unfamiliar formula predictable.
Take a photo from the final camera position. If you will use flash, test with flash. If you will use a phone in window light, test in that window light. Check the forehead, nose, under-eyes, cheeks, lips, hairline, and the edge of the jaw at full size. Step back and look at the entire frame too.
A two-minute camera check before you finish
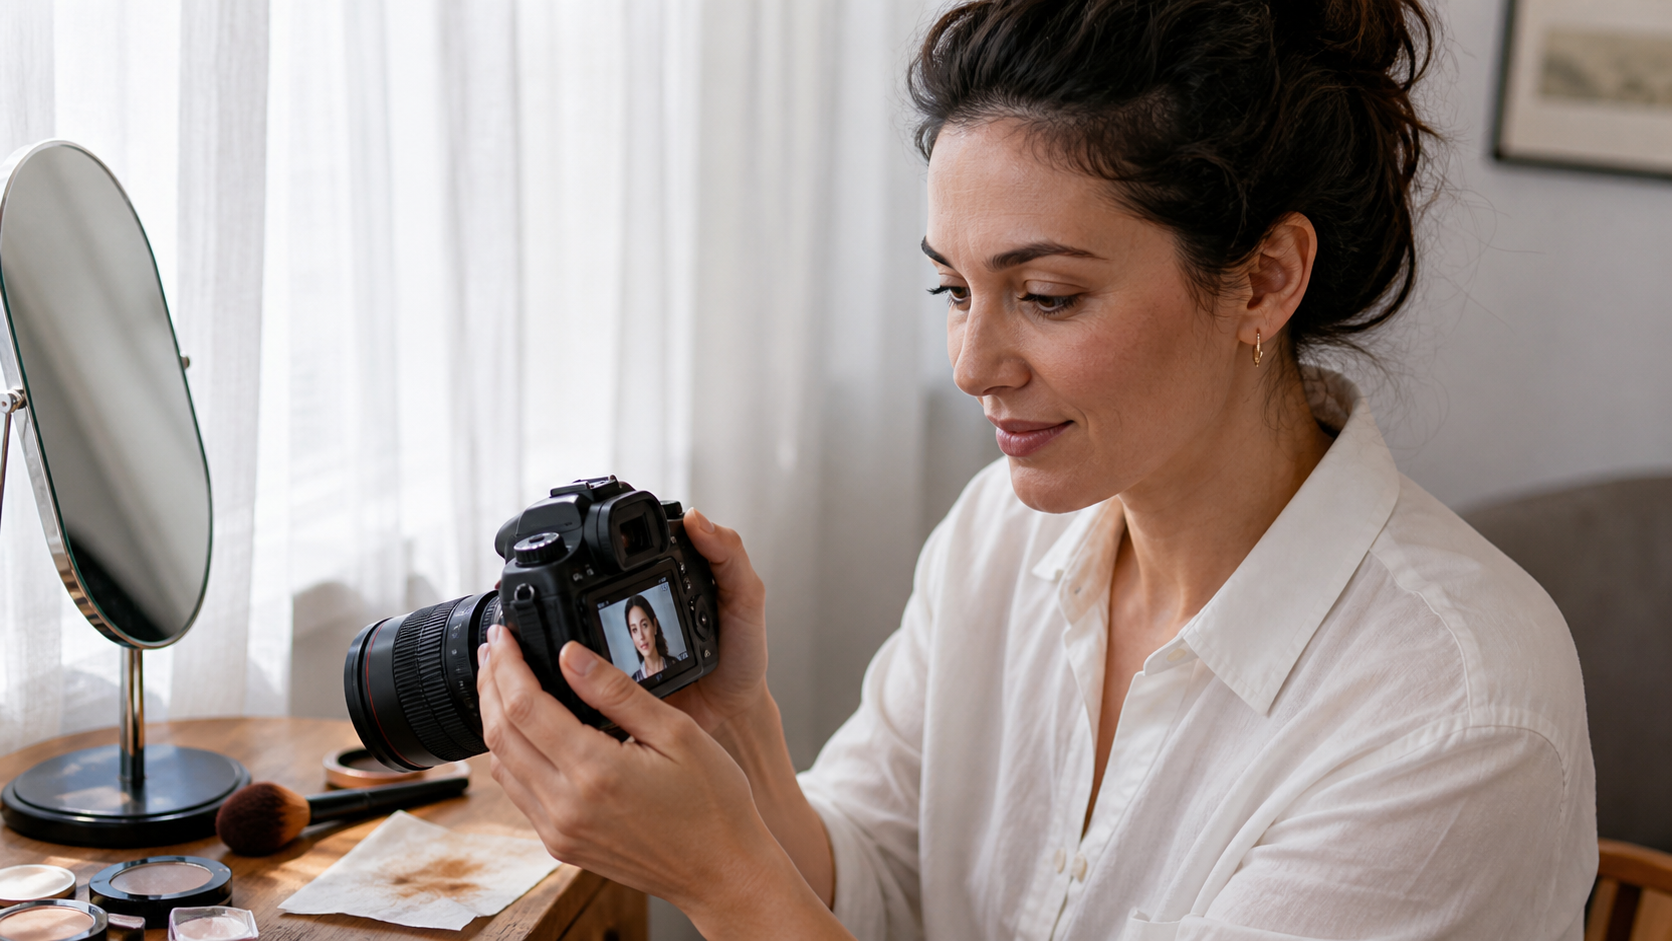
Use the camera check as a short loop, not a second makeup routine.
- Take one frame from the final camera position with the planned light.
- Zoom in once and check the T-zone, under-eyes, jawline, brows, and lip edge.
- Return to the full frame and check whether one feature dominates the face.
- Change one thing only, such as blotting shine or softening a brow edge.
- Take another frame from the same position and stop when the change fixes the visible problem.
Changing one variable makes the result easier to judge. If you change powder, blush, lip color, light, and camera angle at the same time, you will not know which change helped.
6. Adjust for the kind of photo you are making
| Photo situation | What to prioritize | What to check |
|---|---|---|
| Soft window light | Even base, gentle blush, natural skin texture | Does the face still have dimension without looking shiny? |
| Flash or event photos | Controlled T-zone, readable eyes and lips, familiar products | Are there bright patches, glittery hotspots, or flashback? |
| Professional headshot | Recognizable features, tidy brows, restrained color, clean crop | Does the result still look like you at profile-photo size? |
| Group or wedding photo | Wear time, comfortable layers, lip and cheek balance | Does the makeup hold up when the face is smaller in the frame? |
For a professional portrait, compare the final frame with the professional headshot setup guide. Makeup cannot rescue a blurry source, a backlit face, or a crop that cuts into the head and shoulders.
7. Common mistakes
Applying only for the mirror
The mirror gives you a close, moving view. A camera compresses the scene into one frame and may reduce contrast. Take the test photo early enough to make a calm adjustment.
Powdering every inch of skin
Too much powder can remove the texture that makes skin look real. Set the areas that reflect and leave controlled dimension elsewhere.
Trying a new routine on shoot day
A new product can change color, texture, wear time, or flash response. Test it in advance under the same light.
Making one feature much stronger than the others
Very dark brows, sharp contour, or a bright lip can dominate a close portrait. Build definition gradually and review the whole frame after each change.
Forgetting glasses and hair edges
Glasses can catch a window or flash reflection, and hair can cast a small shadow across the face. Turn slightly, adjust the light, or clean the reflection before adding more makeup.
Before-you-shoot checklist
- The base is even at the jaw, hairline, and around the nose.
- The forehead, nose, and cheeks do not have distracting hotspots.
- Brows, eyes, cheeks, and lips remain readable at the final crop.
- The expression and face shape still look like the original person.
- Glasses, hair edges, earrings, and clothing are free of strange reflections or smears.
- The test frame was taken with the same camera position and light as the final photo.
- You have a touch-up product you already trust, not a new experiment.
Optional digital finishing with ClearCrowds
If the source photo is sharp and recognizable but the makeup is uneven, you can try Makeup Effect in ClearCrowds. It is intended for subtle natural makeup: light complexion correction, restrained blush, softly defined eyes, and a natural lip tint. Upload the original portrait, review the generated result, and compare it side by side with the source.
Keep the original if the edit changes identity, face shape, expression, age cues, skin tone, pores, glasses, hair, clothing, or the direction of the light. A generated edit is an option for a usable portrait, not proof that every face will receive the same result. For a work profile, the AI professional headshot page explains the broader portrait workflow and crop choices.
FAQ
Should I apply more makeup for photos?
Usually, add definition rather than a thick layer. Build a thin base, make brows, eyes, cheeks, and lips readable in the planned light, then take a test frame before adding more.
Can sunscreen cause flashback in photos?
Some sunscreen and complexion products can reflect strongly under flash. Do not change a product for the first time on shoot day. Test the full combination with the same camera and light you plan to use.
How do I keep makeup from looking shiny in pictures?
Use a finish that suits your skin, set the T-zone and other reflective areas lightly, and check the result in a test frame. Keep some natural dimension instead of powdering the whole face flat.
What makeup is best for a professional headshot?
A comfortable, recognizable look with even skin, tidy brows, softly defined eyes, a natural lip, and a finish that matches the light usually works better than a dramatic trend.
Can ClearCrowds add makeup to a photo?
ClearCrowds has a Makeup Effect tool that can add subtle natural makeup to a portrait. Compare the generated result with the original and keep it only when identity, skin texture, expression, and lighting still look right.