
How Do I Whiten Yellow Teeth in a Photo Without Making the Smile Look Fake?
歯のホワイトニング
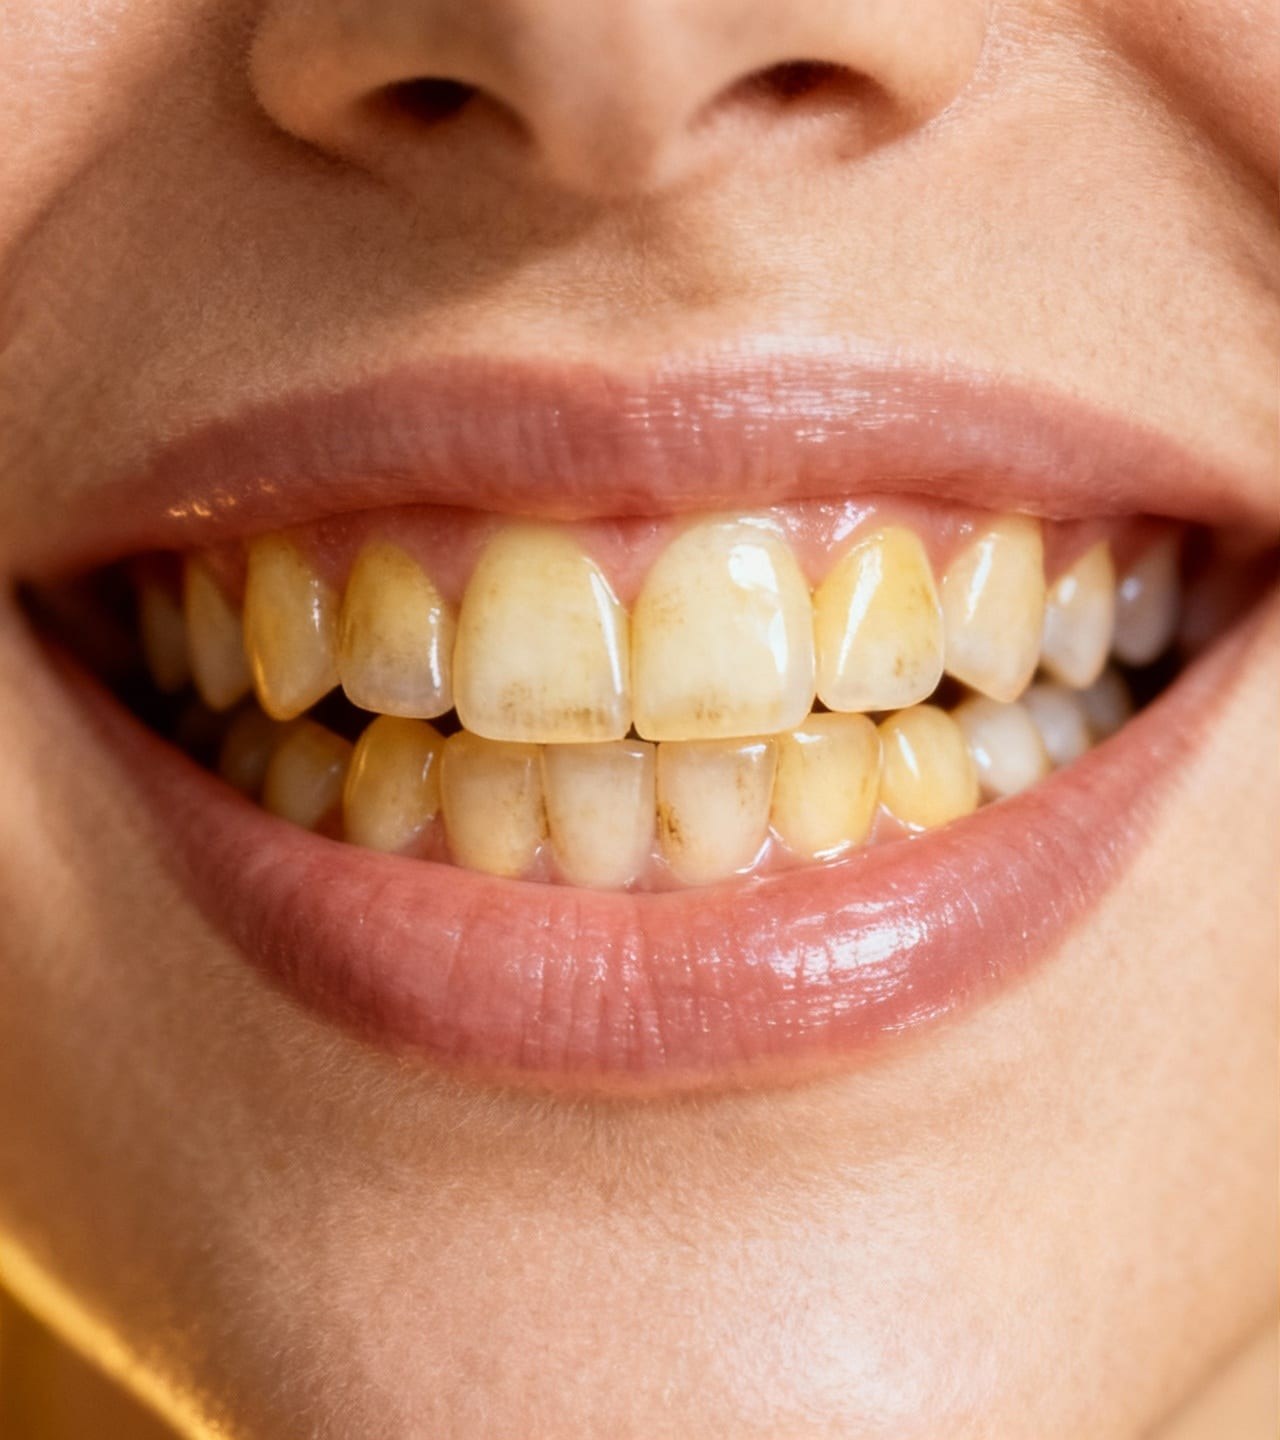
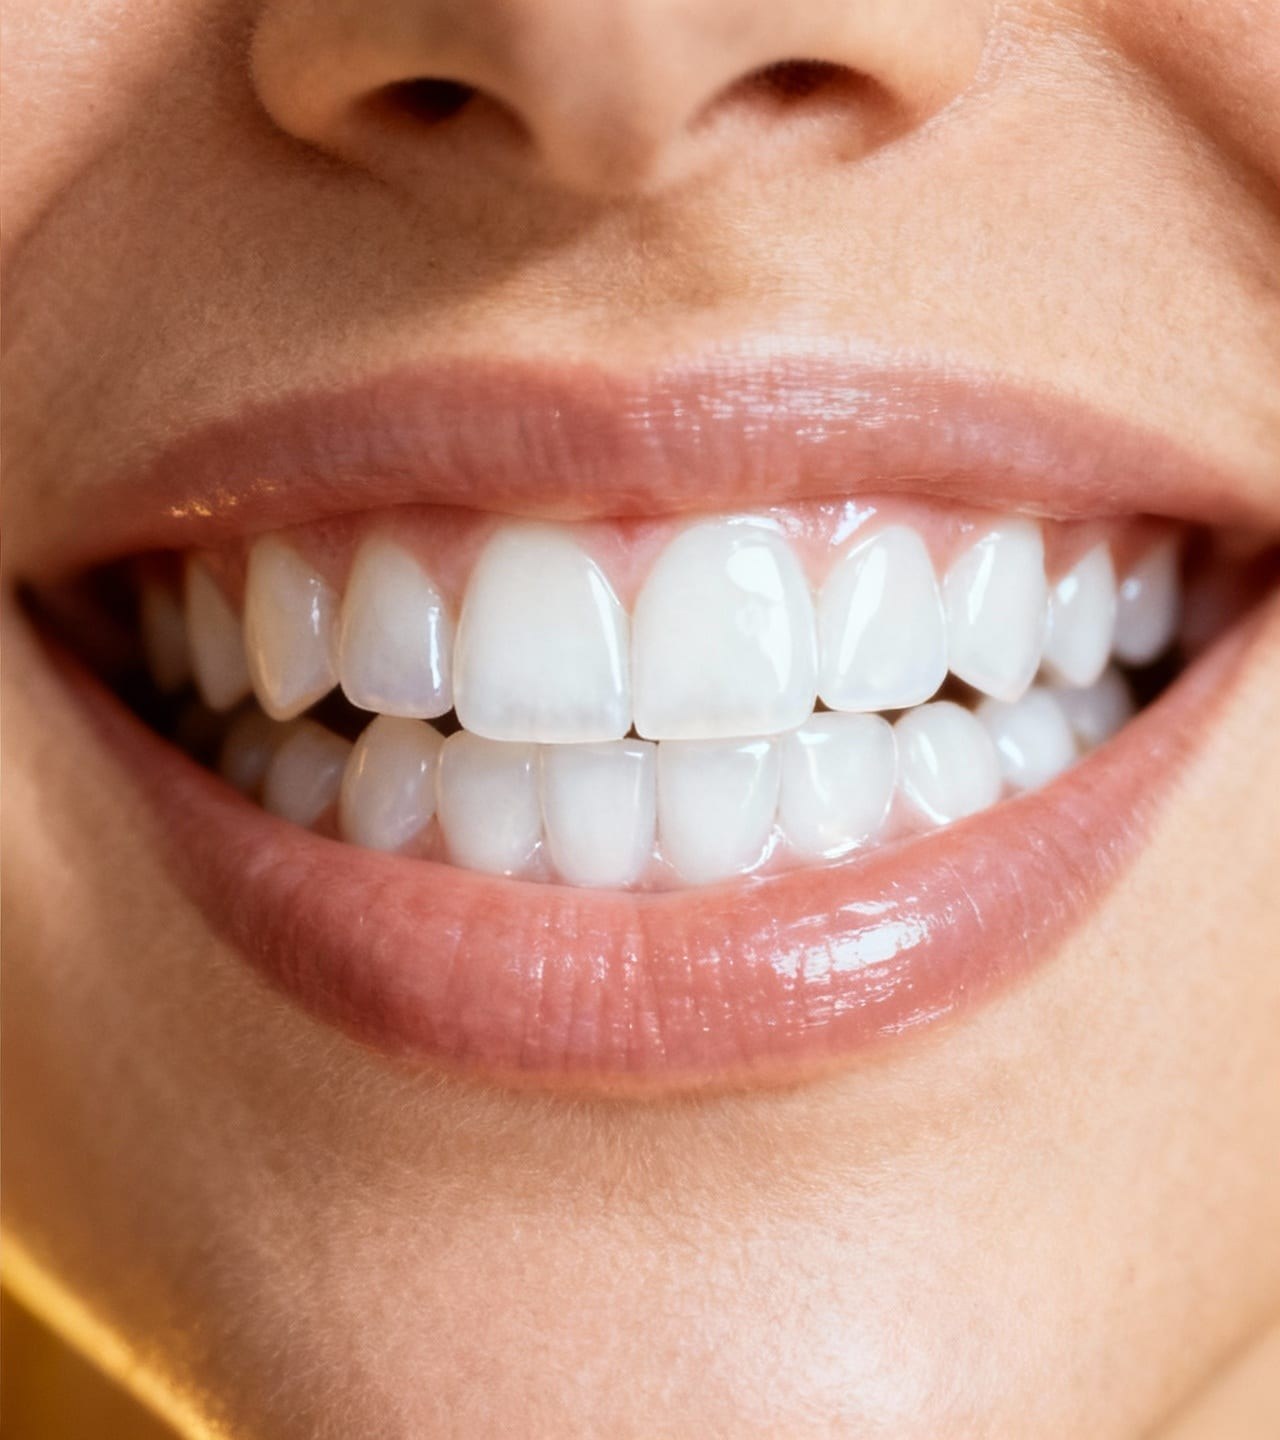
Whiten only visible teeth slightly while keeping the same person, smile shape, gum line, lip color, face texture, and natural lighting.
View tool details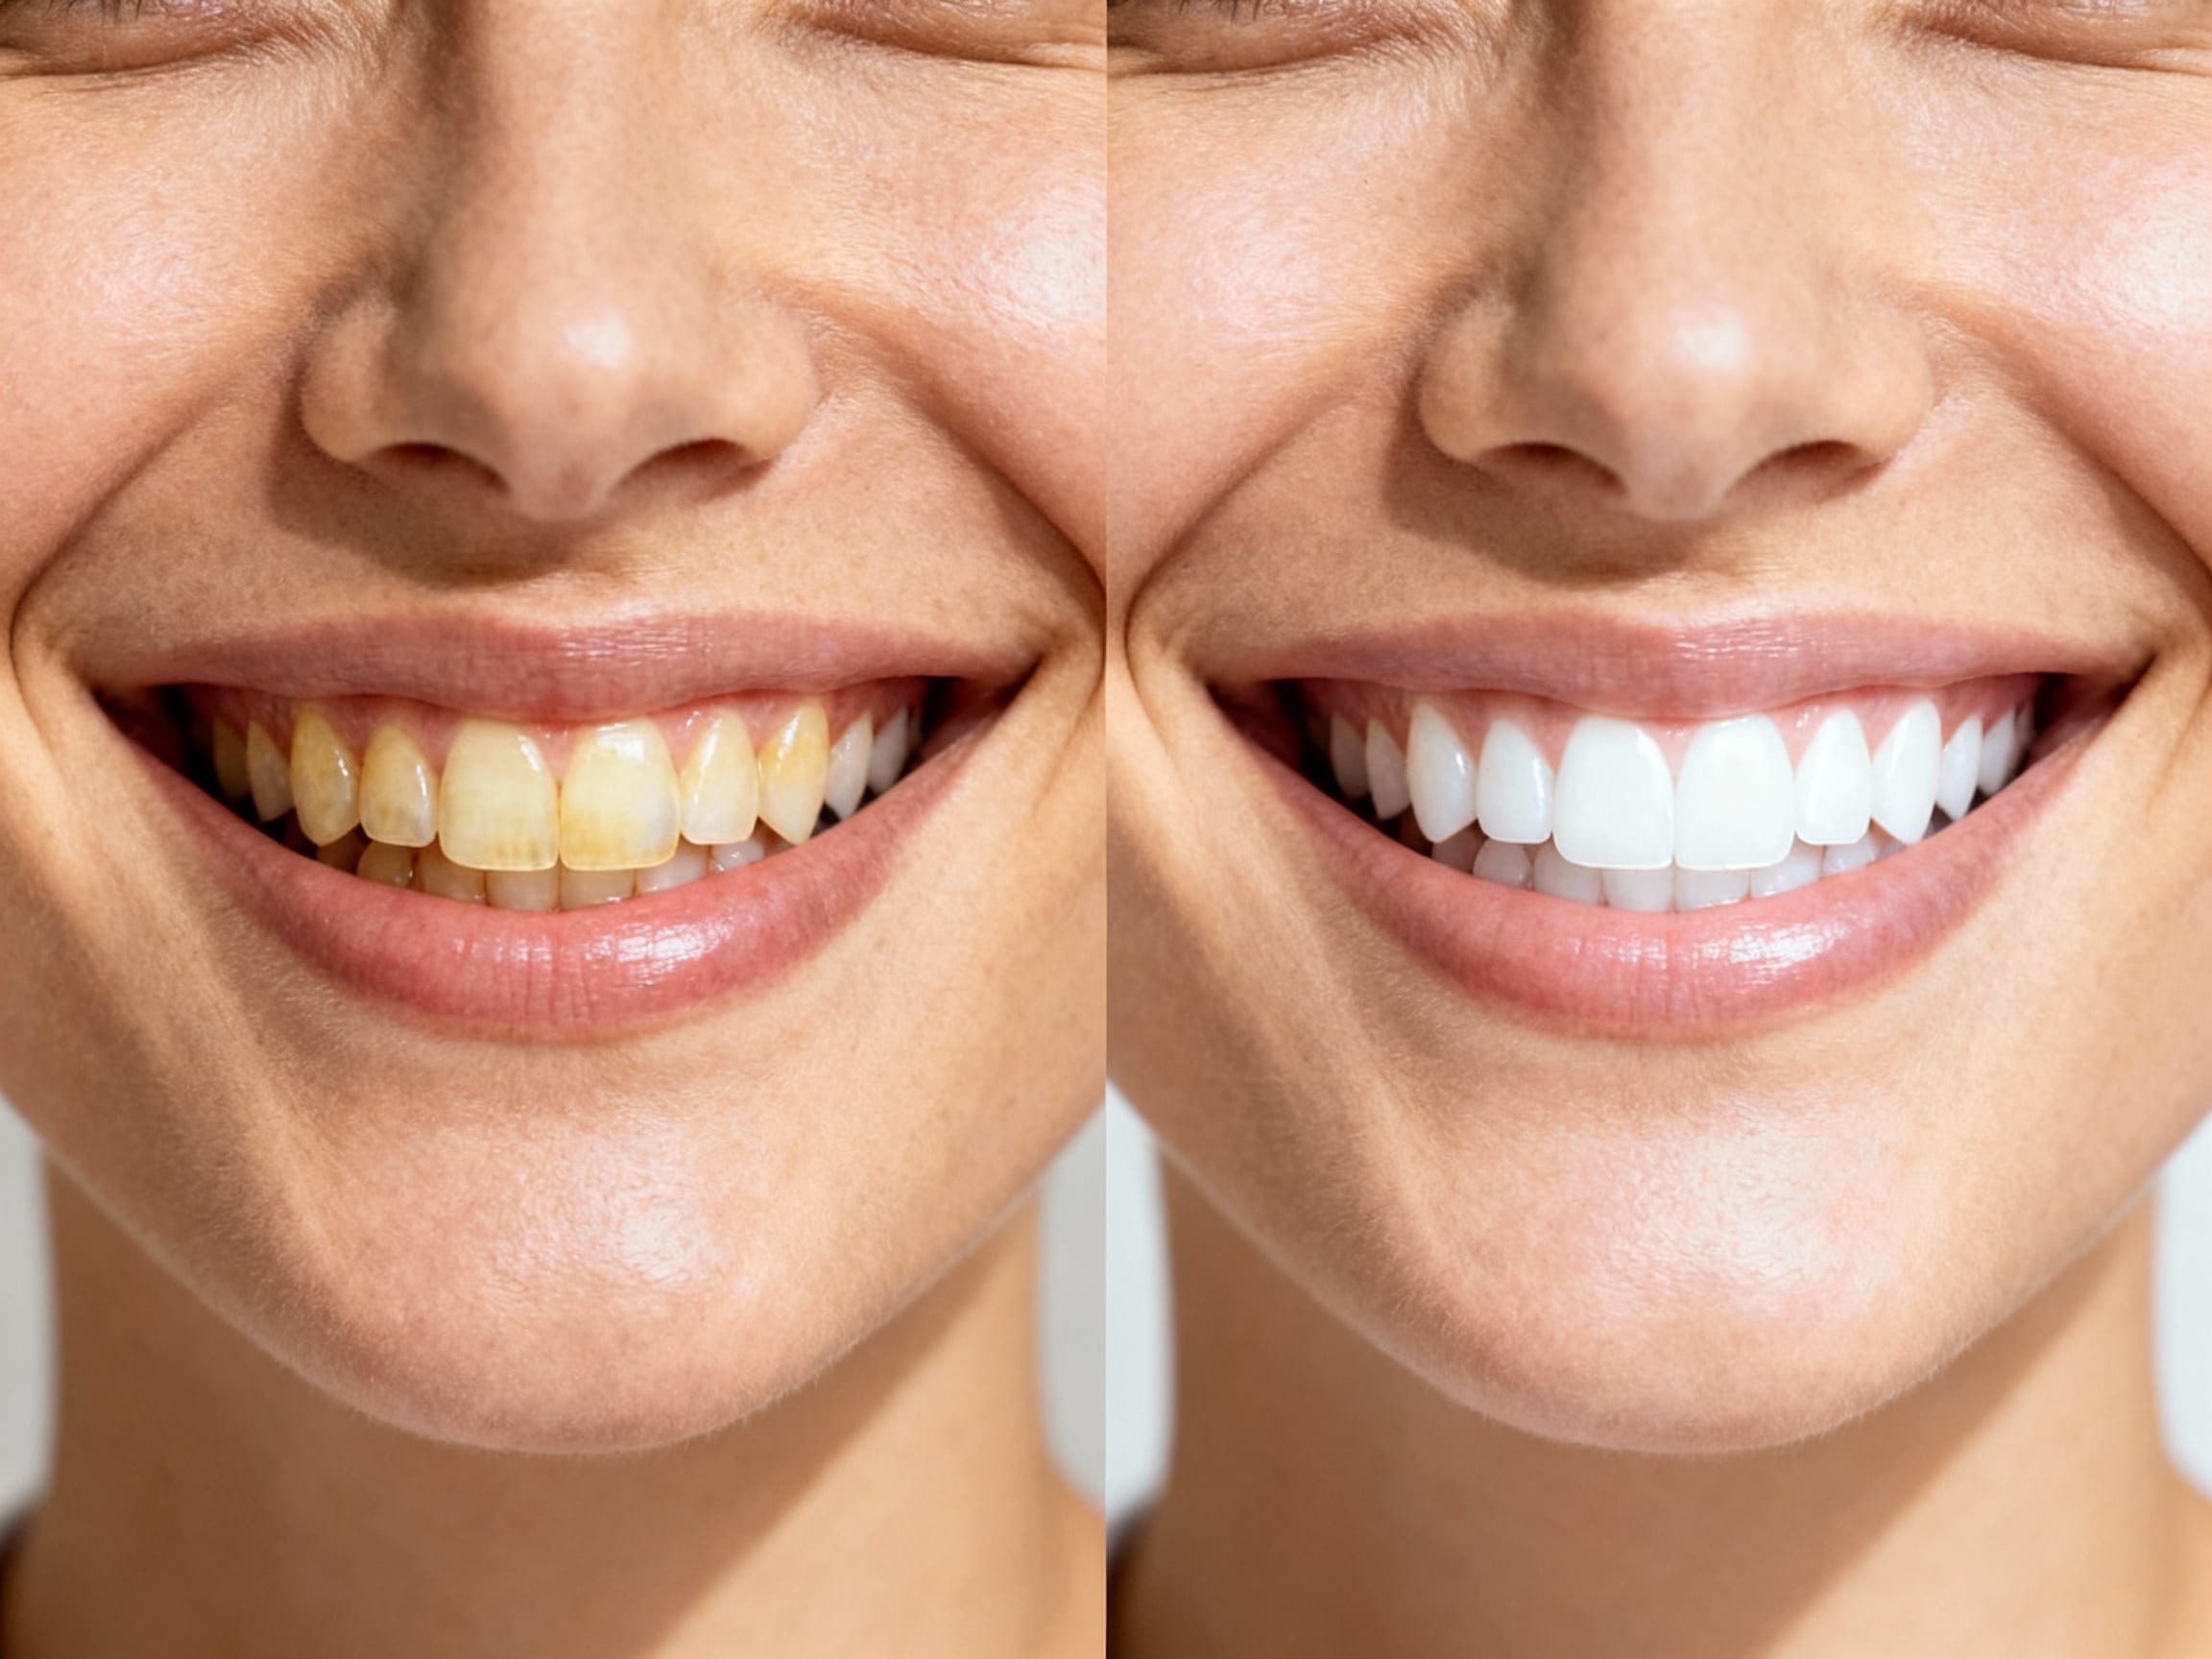
Direct answer
You can whiten yellow-looking teeth in a photo without making the smile look fake, but the edit has to be small. Select only the tooth area, reduce the yellow cast, keep the natural shadows between teeth, preserve the gum line, and stop before the teeth become brighter than the whites of the eyes or the highlights in the photo.
The goal is not a perfect white smile. The goal is to make the photo match how the person looked in normal light. This matters for selfies, dating profile photos, LinkedIn headshots, family pictures, and creator portraits where the smile should look like the same person on the same day.
If you need the broader tool query, keep this page as the practical workflow for photo editor online teeth whitening. For a general edit, open the ClearCrowds editor and use a narrow prompt such as: "Brighten only the teeth slightly. Keep the same smile shape, gum line, lip color, face texture, and natural shadows."
Whiten teeth naturally
- Natural smile tone
- No face-shape change
- Tooth texture preserv…
Upload a portrait and start with the teeth whitening tool. Keep the edit focused on tooth color, not face shape or identity.
Why teeth look yellow in photos
Yellow teeth in a photo are not always a dental issue. A picture can exaggerate color because cameras interpret light differently from your eyes. Warm restaurant lighting can push teeth toward yellow or orange. A phone flash can make enamel shine in one spot and look dull in another. If the camera white balance is too warm, the whole face may look slightly golden, but teeth make that color shift more obvious.
Other small details can change the smile too:
- A shadow from the upper lip can make teeth look darker.
- Red, orange, or brown lipstick can make teeth look warmer by contrast.
- A yellow shirt, beige wall, or warm lamp can bounce color onto the face.
- Low-resolution social media compression can flatten tooth texture.
- Front-facing camera processing can brighten skin while leaving the smile dull.
That is why a good edit should start with color correction, not with painting white over the teeth.
What a natural result should keep
The biggest giveaway is not the whiteness. It is the loss of detail. Real teeth have edges, small shadows, slight tone differences, and texture. If the edit removes all of that, the smile starts to look like a sticker.
Keep these details unchanged:
| Detail | Why it matters | What can go wrong |
|---|---|---|
| Tooth edges | They make the smile readable | Edges blur into one white block |
| Gum line | It anchors the teeth naturally | The smile looks pasted on |
| Small shadows | They show depth between teeth | Teeth look flat or plastic |
| Lip color | It frames the smile | Whole mouth color shifts oddly |
| Face texture | It keeps identity stable | Skin looks retouched by accident |
| Existing lighting | It keeps the photo believable | Smile no longer matches the room |
If the teeth are the brightest object in the entire image, the edit is probably too strong.
A safe AI workflow
Use this workflow when the photo is otherwise good and the smile only looks too yellow or dull:
- Start with the original file, not a screenshot of the photo.
- Crop and straighten first so the smile is in the final composition.
- Select only the visible teeth, not lips, gums, chin, or cheeks.
- Ask for a slight color correction, not a perfect Hollywood-white smile.
- Keep natural shadows between teeth.
- Keep tooth shape and spacing unchanged.
- Compare the edited smile against skin tone, eye highlights, and room light.
- Zoom in to check for blue, gray, or glowing edges.
- Export only when the edit still looks like the same person.
The safest prompt is specific:
Brighten only the teeth slightly and reduce the yellow cast. Keep the original smile shape, tooth edges, gum line, lip color, face texture, natural shadows, and lighting unchanged.
Avoid prompts like:
Make my smile perfect.
That can invite the editor to change tooth shape, smooth the mouth, brighten the full face, or create an unreal smile.
When a teeth edit is a good fit
Teeth color cleanup is a good fit when the issue is caused by lighting, camera processing, or a small color cast.
Good use cases:
- A dating profile photo where indoor light made the smile look warmer than real life.
- A LinkedIn headshot where the face is sharp but the teeth look dull.
- A family photo where one person is smiling in shade.
- A creator portrait where the rest of the edit already looks natural.
- A phone selfie where the camera warmed the whole image.
The edit is not a good fit when the photo is blurry, the mouth is very small, braces or dental work are hard to see, or the teeth are hidden by heavy shadow. In those cases, a new photo may be cleaner than trying to rebuild detail.
How much whitening is too much?
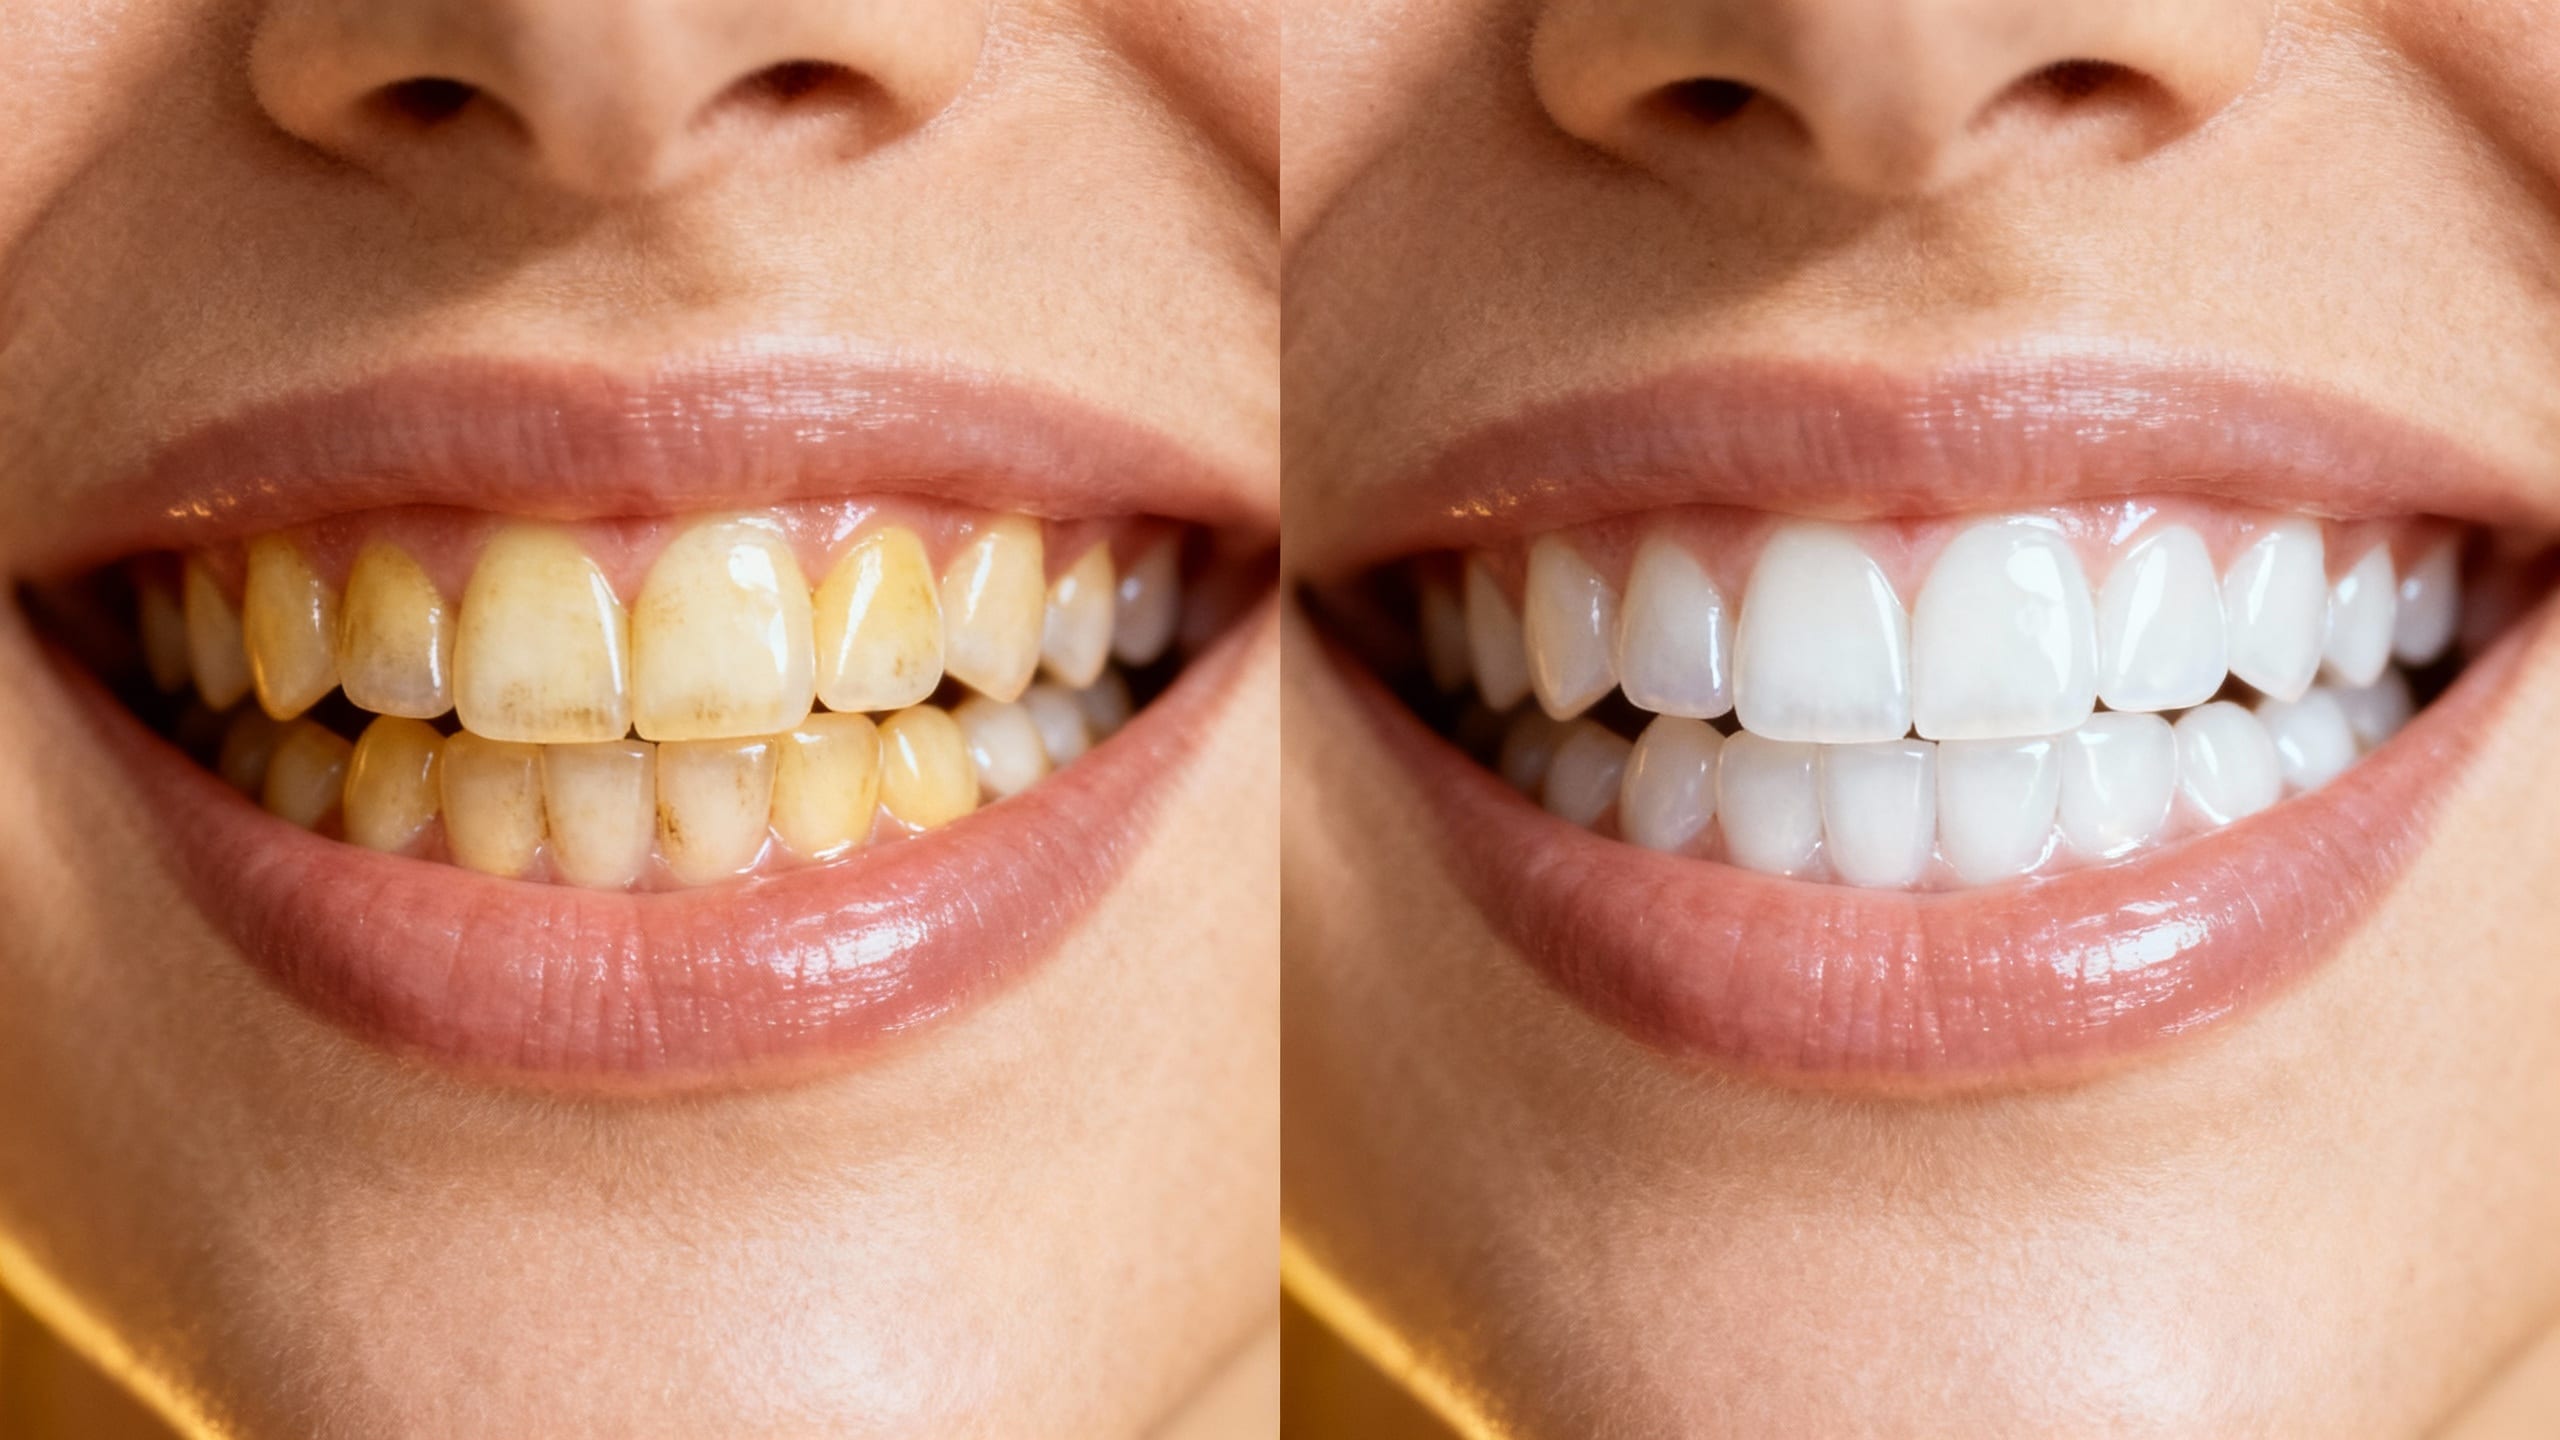
Use the surrounding photo as your limit. Teeth should not be whiter than every highlight in the scene. If the photo was taken in a warm cafe, the teeth should still share a little of that warmth. If the person has a soft shadow across the face, the smile should not look like it was lit by a studio flash.
A quick test:
- At phone size, the smile should look fresher, not edited.
- At zoom size, tooth edges should still be visible.
- The gum line should not look smudged.
- The lips should not become pale or over-sharpened.
- The face should not change shape.
- Friends should recognize the person immediately.
If you notice the edit before you notice the person, reduce it.
What about selfies, headshots, and dating photos?
The right amount depends on where the photo will be used.
For selfies, keep the edit light. Social photos usually look better when they keep the original mood. A small yellow-cast correction is enough.
For headshots, match the rest of the lighting. A professional photo should look polished, but it still needs natural skin, eyes, and mouth texture. Do not make the smile the only over-bright part of the frame.
For dating photos, avoid changing identity cues. Do not reshape teeth, change lips, smooth facial texture heavily, or edit one photo so aggressively that it no longer matches the rest of the profile. A believable smile is more useful than a perfect one.
What photo editing cannot do
Photo editing changes pixels, not dental health. It cannot whiten real teeth, treat stains, replace dental advice, or prove anything about someone's actual appearance. It also should not be used to mislead people in professional, medical, legal, identity, or commercial contexts.
If a photo needs to represent exact appearance, keep the edit minimal or leave the image unchanged. If you are editing someone else's portrait, make sure you have permission before changing their smile.
For real-world whitening, follow dental guidance and talk to a qualified dental professional. For photo cleanup, treat the change as color correction.
Review checklist before you post
Before you share or upload the edited image, check:
- Did the edit change only the teeth?
- Are tooth edges still visible?
- Is the gum line still natural?
- Did the lips, skin, eyes, or face shape stay unchanged?
- Does the smile still match the room lighting?
- Are there any blue, gray, glowing, or flat white areas?
- Would the person recognize the photo as themselves?
- Would the edit still feel honest next to the original?
If any answer is uncertain, make the selection smaller and reduce the strength of the instruction.
How this fits with ClearCrowds
ClearCrowds works best when the task is specific. For this use case, do not ask for a general beauty retouch. Upload the portrait, use a conservative enhancement pass, and write the prompt around tooth color only. If the photo is for work, start with the professional headshot at home guide so lighting, framing, and the final crop are settled before smile cleanup. If the photo also has a distracting object, clean that separately with Remove Objects From Photos. If the issue is glare on glasses, use the eyeglass glare workflow. If the face itself is blurry, try Face Restore before any smile color edit.
The important rule is simple: fix the photo problem, not the person.
Sources
The practical rule
When the edit is finished, cover the rest of the photo with your hand for a second and look only at the mouth. If the teeth look like a separate sticker, the edit went too far. If they still have small shadows, normal texture, and the same lighting as the face, the photo is usually in the right range.
That is the whole trick: fix the color cast from the camera, not the person. A little less yellow is useful. A perfect white smile usually looks less real.