
How Do I Remove a Trash Can or Sign From a Travel Photo Without Smearing the Background?
Remove Garbage
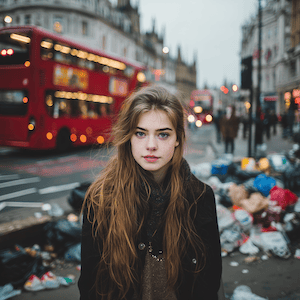
Use Remove Garbage when trash, litter, bins, wrappers, or messy debris distracts from a travel, listing, product, street, or room photo.
View tool details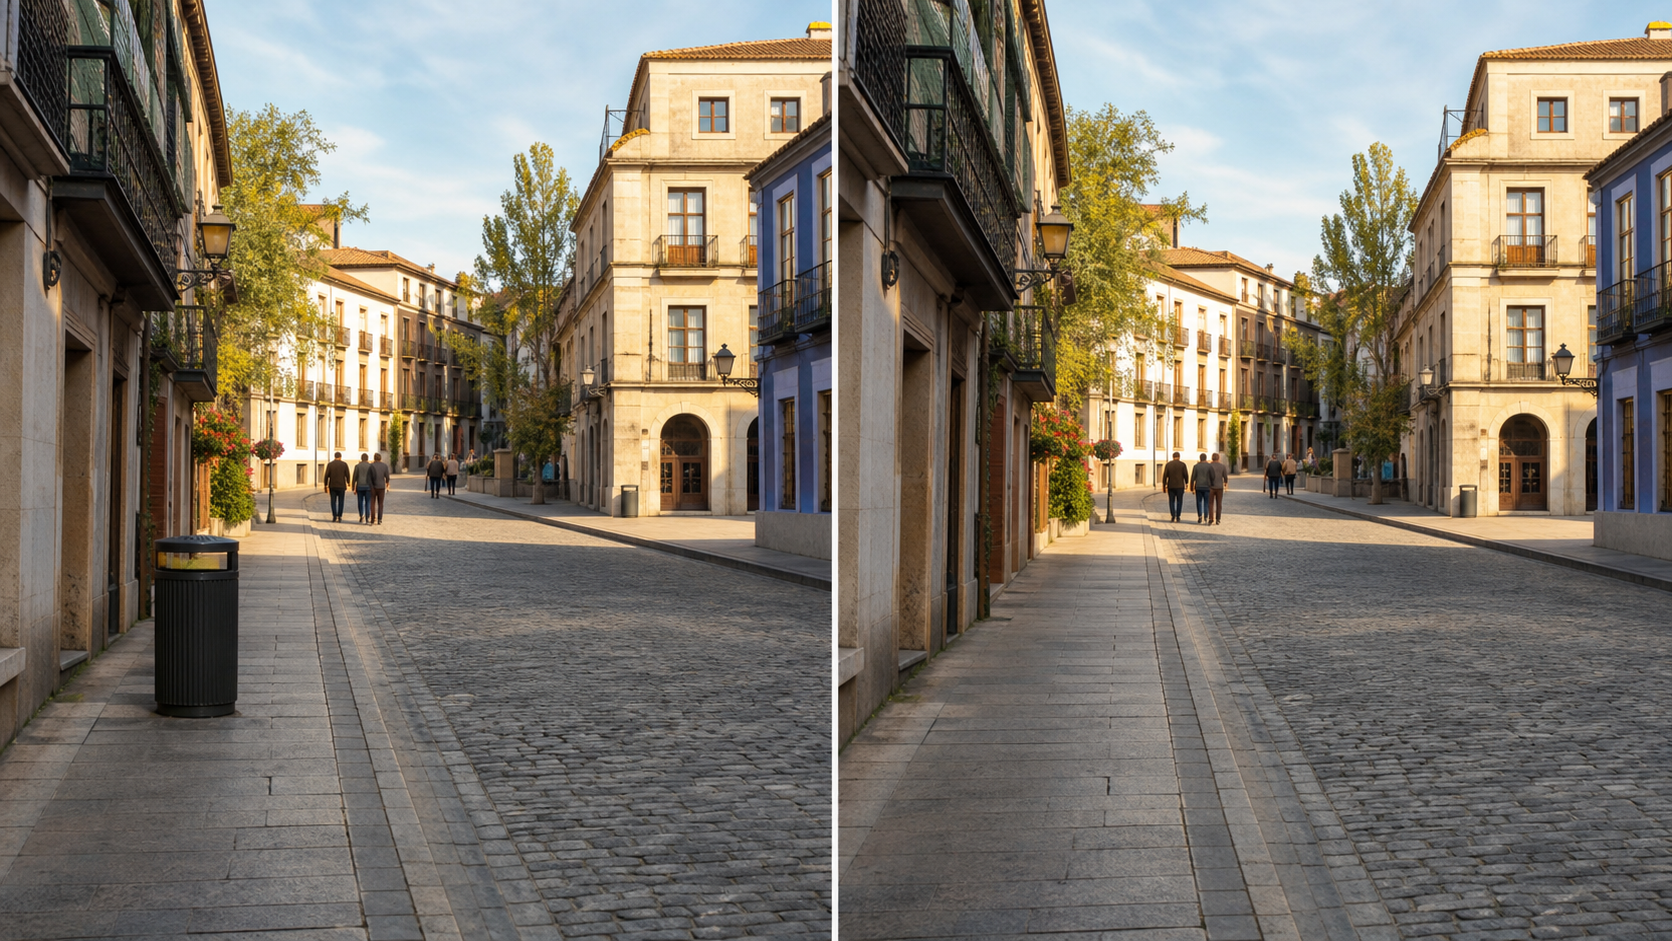
Direct answer
Yes, you can remove a trash can, street sign, cable, cone, sticker, or other small object from a travel photo without ruining the background, but the result depends on how much real background the editor can read around the object. The safest workflow is to select only the object plus a thin edge, use one conservative cleanup pass, and review the repaired wall, pavement, sky, grass, shadow, or water texture before posting.
Use ClearCrowds Remove Garbage when the object is visual clutter and the photo still tells the same story after cleanup. Do not use object removal to erase safety signs, access restrictions, evidence, prices, license plates, or anything that changes what the place actually looked like.
Clean one distracting object first
- Small selections
- Texture check
- Travel photo


Upload the travel photo, select the bin, sign, cable, or small prop, and review the rebuilt background before exporting.
Key takeaways
- Object removal works best on small distractions over repeatable backgrounds.
- A tight selection usually looks more natural than brushing half the scene.
- Blurry patches, warped edges, and fake texture are signs the object was too large or too important.
- Removing a random trash can is different from removing a warning sign, road sign, private plate, or product label.
- For travel photos, the goal is a cleaner memory, not a false record of the location.
Table of contents
- When object removal works best
- How to remove a small object from a travel photo
- Trash cans, signs, cables, and other common cases
- Why backgrounds smear after AI cleanup
- When to crop, blur, or leave the object alone
- Prompt examples
- Review checklist before you post
- FAQ
When object removal works best
Definition: object removal means selecting an unwanted item in a photo and rebuilding the pixels behind it so the scene looks continuous again. The edit is strongest when the object is not carrying important meaning.
Travel photos are full of distractions that feel annoying but do not matter to the memory: a trash can beside a landmark, a plastic cone near a sidewalk, a small sign on a wall, a charging cable on a cafe table, or a sticker on a mirror.
Those are good object-removal candidates when three things are true:
- The object is small compared with the full image.
- The background around it has enough visible texture.
- Removing it does not change the factual meaning of the photo.
Use this table before editing:
| Object in the photo | Usually safe? | What to check |
|---|---|---|
| Trash can on pavement or against a wall | Yes | Pavement lines, wall texture, object shadow |
| Cable across a plain table or floor | Usually | Whether the cable crosses product edges, feet, or text |
| Small sticker, wrapper, cup, or plastic bag | Yes | Reflections and nearby shadows |
| Random background sign | Sometimes | Whether the sign gives directions, safety info, access rules, or context |
| Street sign, warning sign, or road marking | Often no | Removing it can misrepresent the place |
| Large person, car, building, or billboard | Risky | Too much hidden detail must be invented |
| License plate, ID, badge, receipt, or address | Blur instead | Privacy should not depend on fake reconstruction |
Apple describes its Photos Clean Up feature as a way to remove distracting objects from photos. Adobe's Remove tool guidance uses a similar idea: brush a little larger than the unwanted area, then let the tool fill the space. The common lesson is simple: select the distraction, not the whole photo.
How to remove a small object from a travel photo
Start with a copy of the original. If the cleanup fails, you should still have the untouched travel photo.
- Open Remove Garbage.
- Upload the photo.
- Zoom in enough to see the object edge.
- Select the object and a narrow border around it.
- Use a direct instruction: "Remove only the trash can and rebuild the wall and pavement behind it."
- Generate one cleanup pass.
- Compare before and after at 100 percent zoom.
- Check the final crop where you plan to post it.
- Export a copy only after the repaired area looks natural.
Do not start with a vague prompt such as "make this photo perfect." That invites the editor to change color, lighting, sky, people, skin, landmark details, and other parts of the photo that should stay unchanged.
Also avoid selecting the object's shadow unless the shadow clearly belongs only to that object. Sometimes a real shadow helps the scene feel grounded. Sometimes it becomes a leftover clue. Inspect it after the first pass before deciding.
Trash cans, signs, cables, and other common cases
Trash can beside a landmark
This is one of the best use cases. The bin is usually a small object against stone, grass, pavement, or a wall. Select the bin tightly, include the hard contact edge at the ground, and check whether the repaired shadow looks believable.
If the bin covers a railing, fence, tile line, or brick pattern, the cleanup can bend those lines. In that case, do one smaller pass for the bin body and another pass for the ground contact area instead of selecting the whole corner.
Street sign or wall sign
Ask what the sign means. A random ad poster or background sign may be harmless to remove from a personal memory photo. A safety sign, warning label, road sign, museum rule, private-property notice, or trail information sign should usually stay.
If the sign is distracting but important, crop around it or reduce contrast instead of erasing it. A travel photo should not imply that a place was open, safe, unrestricted, or empty when it was not.
Power line, cable, or cord
Thin lines are tempting, but they can cross too many textures. Use a small brush and work in sections. A power line across open sky is easier than a cable crossing a face, building edge, tree branch, or product label.
If the line passes through a person or an important landmark edge, inspect the result carefully. The editor may smear hair, rooflines, windows, or text.
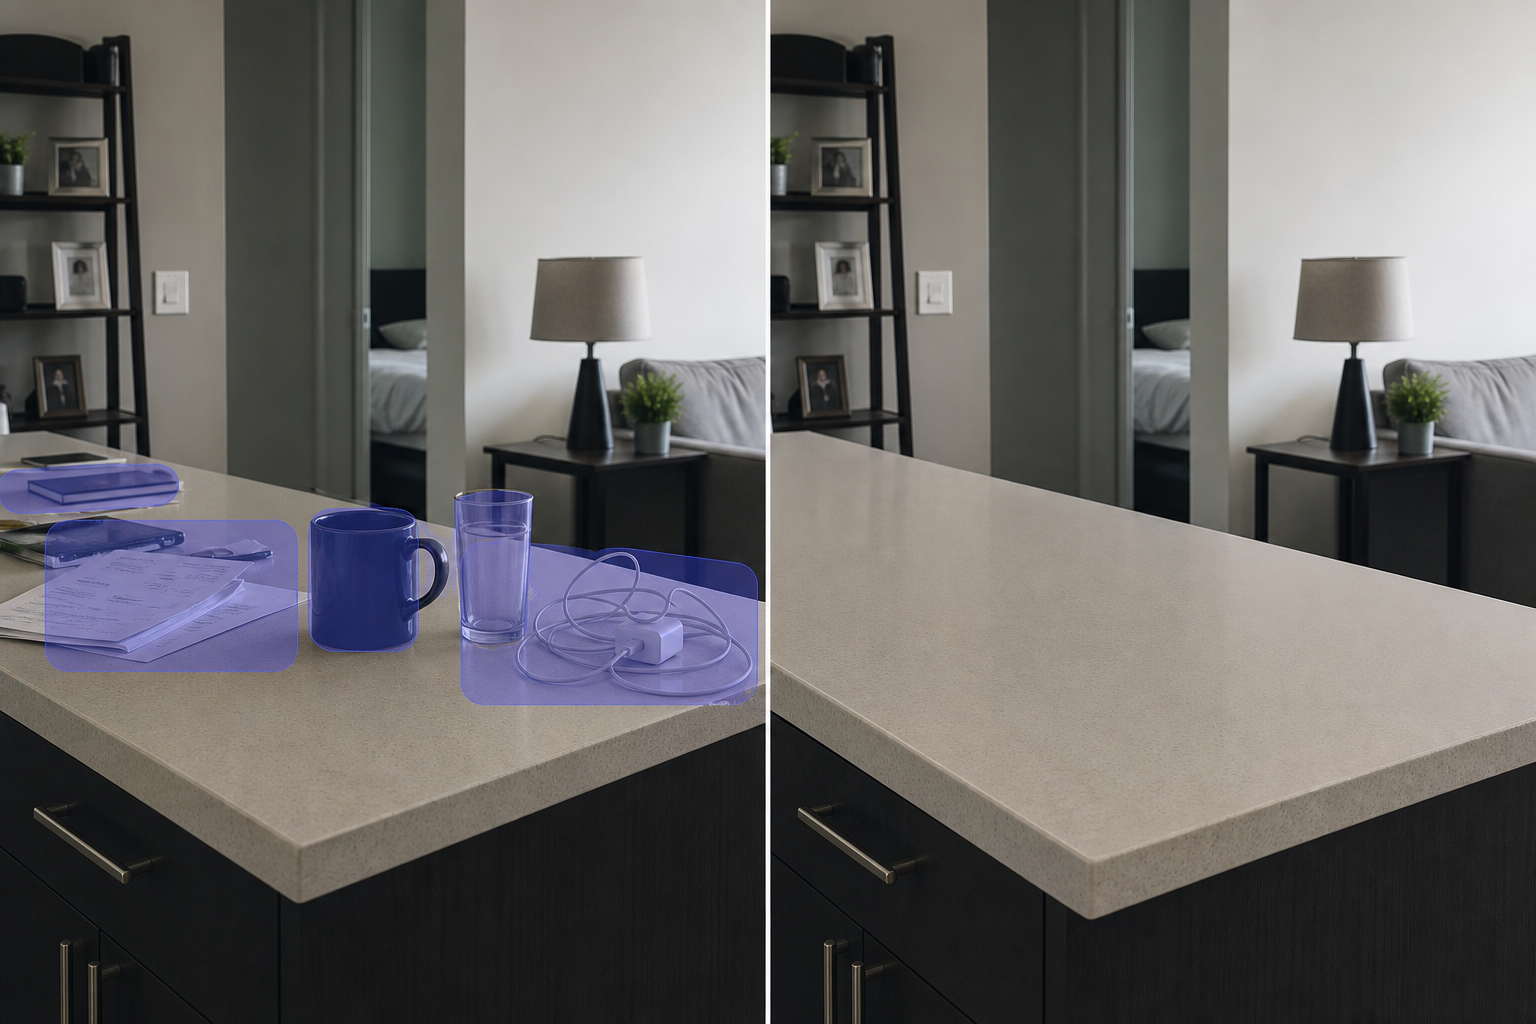
Cups, wrappers, bags, and small table clutter
Cafe and hotel photos often need only a small cleanup pass. Select the cup, wrapper, napkin, bag, or receipt and rebuild the table texture. Be careful with receipts, room numbers, name cards, and private details. If the goal is privacy, use Privacy Blur instead of pretending the detail was never there.
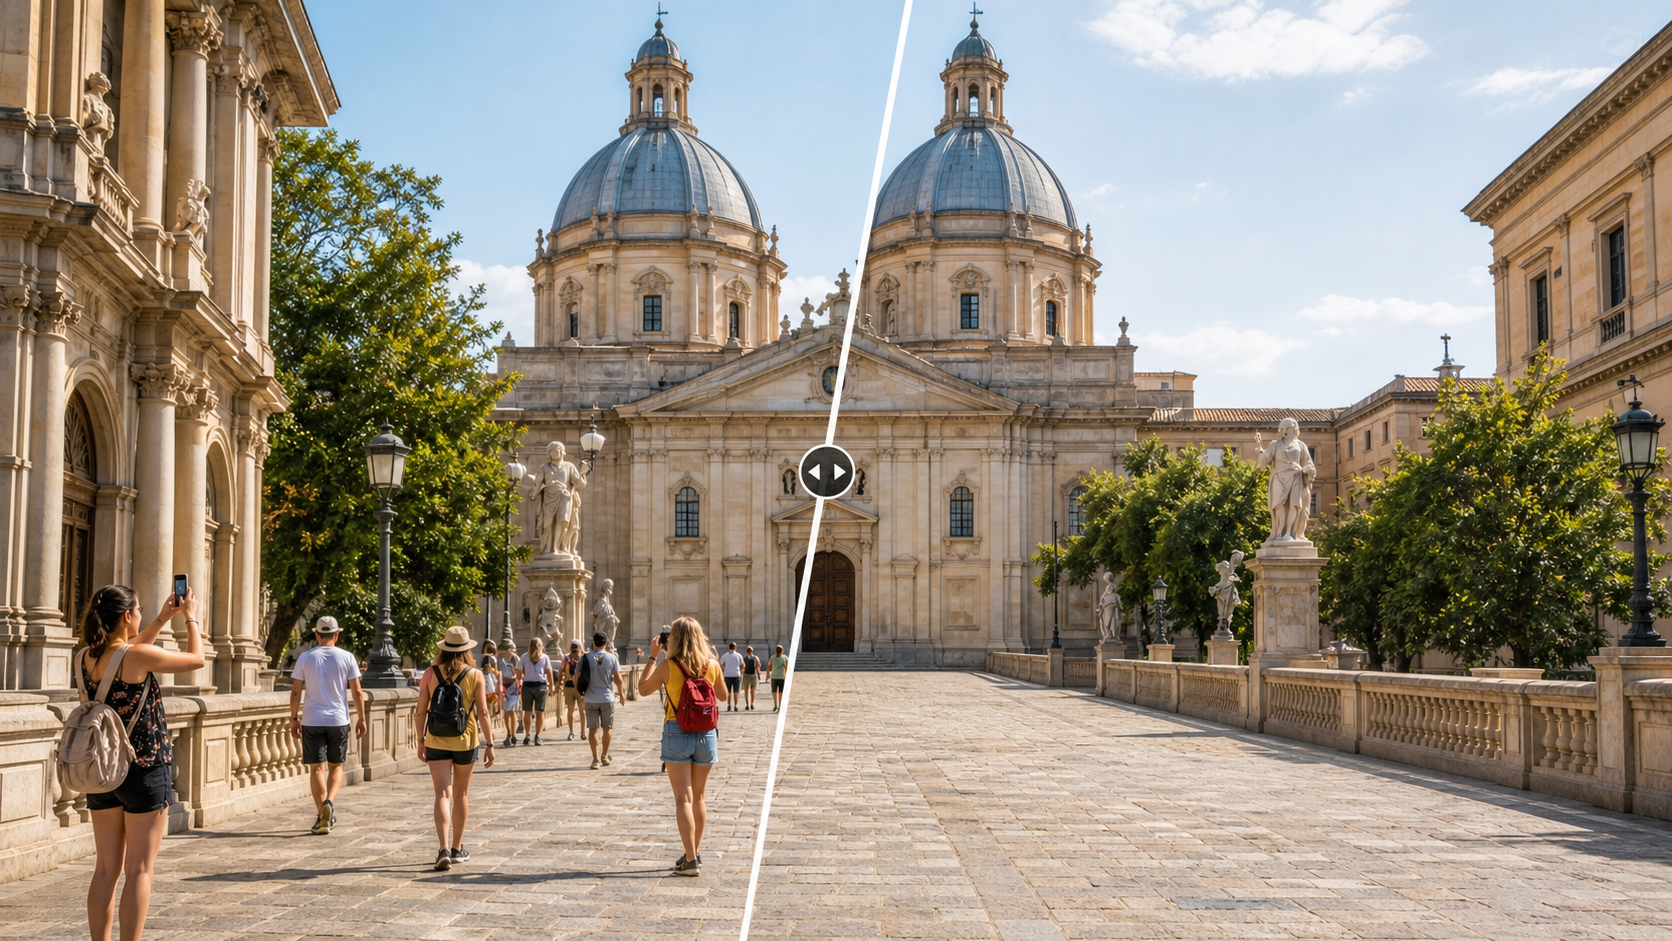
Background people
Use object removal only for tiny background figures. If the problem is a photobomber, a busy tourist crowd, or several people near the subject, use Remove People or Remove Crowds. The selection and review checklist are different because people cover more meaningful detail.
Why backgrounds smear after AI cleanup
Smearing usually has a practical cause. The model had to rebuild too much hidden detail with too little context.
Common reasons:
- The selection was too large.
- The object covered a hard edge, pattern, text, or reflection.
- The photo was compressed before editing.
- The prompt asked for a broad beautification instead of one cleanup task.
- The area had mixed textures such as grass plus shadow plus stone.
- The object was connected to another object that should have stayed.
Fix the problem by narrowing the edit. If you selected a whole sign and the wall became blurry, select only the sign face first, then the mounting bracket, then the leftover shadow. If a cable crosses the sky and a roofline, edit the sky segment separately from the roofline segment.
You can also switch methods:
| Problem after cleanup | Better next step |
|---|---|
| Blurry patch on a plain wall | Retry with a smaller selection |
| Warped tile, brick, railing, or fence line | Split the edit into sections |
| Fake text or broken sign behind the object | Leave it, crop it, or reshoot |
| Changed face, body, landmark, or product edge | Revert and use a narrower edit |
| Private details still visible | Blur or crop instead of reconstructing |
When to crop, blur, or leave the object alone
Object removal is not always the cleanest answer.
Crop when the distraction sits at the edge and the composition still works. A crop is more honest and predictable than rebuilding a complex background.
Blur when the issue is privacy: license plates, addresses, phone numbers, account numbers, faces of bystanders, receipts, badges, travel documents, or room numbers. A blur tells the viewer that something was intentionally hidden.
Leave it alone when the object changes the factual meaning of the photo. This includes warning signs, safety barriers, closed-area notices, product defects, prices, dates, evidence, and anything a viewer would use to make a decision.
For listing and commercial photos, be stricter. Removing a temporary bag from a room photo can be fine. Removing structural damage, a safety notice, an access restriction, or a real product flaw is not the same kind of edit.
Prompt examples
Use narrow prompts that tell the editor what to preserve:
Remove only the trash can next to the wall. Rebuild the stone wall, pavement, and small contact shadow. Keep the rest of the travel photo unchanged.
Remove the small cable on the table. Preserve the wood grain, cup shadow, color, lighting, and camera angle.
Clean the sticker from the mirror edge. Keep the reflection, face, frame, and background unchanged.
Remove the plastic bag in the lower-left corner. Do not change the person, landmark, sky, colors, or crop.
Avoid prompts that are too broad:
Make this travel photo look professional.
Remove everything ugly.
Make the street look cleaner and more expensive.
Delete all signs from the scene.
The bad prompts may create a prettier image, but they also make the edit harder to trust.
Review checklist before you post
Check the cleaned image before exporting:
- Is the removed object small enough that the background can be rebuilt honestly?
- Did you keep the selection tight?
- Does the repaired area match nearby texture, sharpness, noise, and perspective?
- Are straight lines still straight?
- Are shadows still believable?
- Did the edit leave fake text, warped bricks, melted tiles, or repeated patterns?
- Did any face, product, landmark, sign, or important detail change?
- Does the edit still look natural in the final crop, thumbnail, or social preview?
- Would removing the object mislead someone about the location, product, safety, access, or condition?
If the answer to the last question is yes, do not publish the cleaned version.
FAQ
Can AI remove a trash can from a travel photo?
Yes. This is usually a good object-removal use case when the trash can is small and sits against a simple background such as pavement, grass, sky, or a wall. Select the bin tightly and review the ground contact area after cleanup.
Why does the background look blurry after removing an object?
The selection was probably too broad, or the object covered a detailed background. Retry with a smaller selection, fix one section at a time, and avoid asking the editor to improve the whole photo.
Can I remove a street sign from a photo?
Sometimes. A random decorative sign or ad in the background may be fine for a personal travel photo. A warning sign, traffic sign, rule notice, safety barrier, or access restriction should usually stay because removing it changes the meaning of the place.
Is object removal better than cropping?
Use object removal when the main composition is good and one small distraction hurts the image. Use cropping when the distraction is near the edge and cutting it out does not harm the subject. Cropping is often cleaner for complex backgrounds.
What if the object covers a person's face or a landmark detail?
Do not expect exact recovery. AI cleanup rebuilds hidden pixels from context; it does not reveal the original detail. If the object covers a face, sign text, artwork, product label, or landmark edge, the result may be inaccurate.
Which ClearCrowds tool should I use?
Use Remove Garbage for small visual clutter, Remove People for background people, Remove Crowds for busy tourist scenes, and Privacy Blur for sensitive information.
Sources
- Apple Support: Use Apple Intelligence in Photos on iPhone
- Adobe Help Center: Remove objects in Photoshop
A cleaner travel photo should still be the same scene. Remove the small distraction, keep the memory honest, and check the repaired background before you share it.