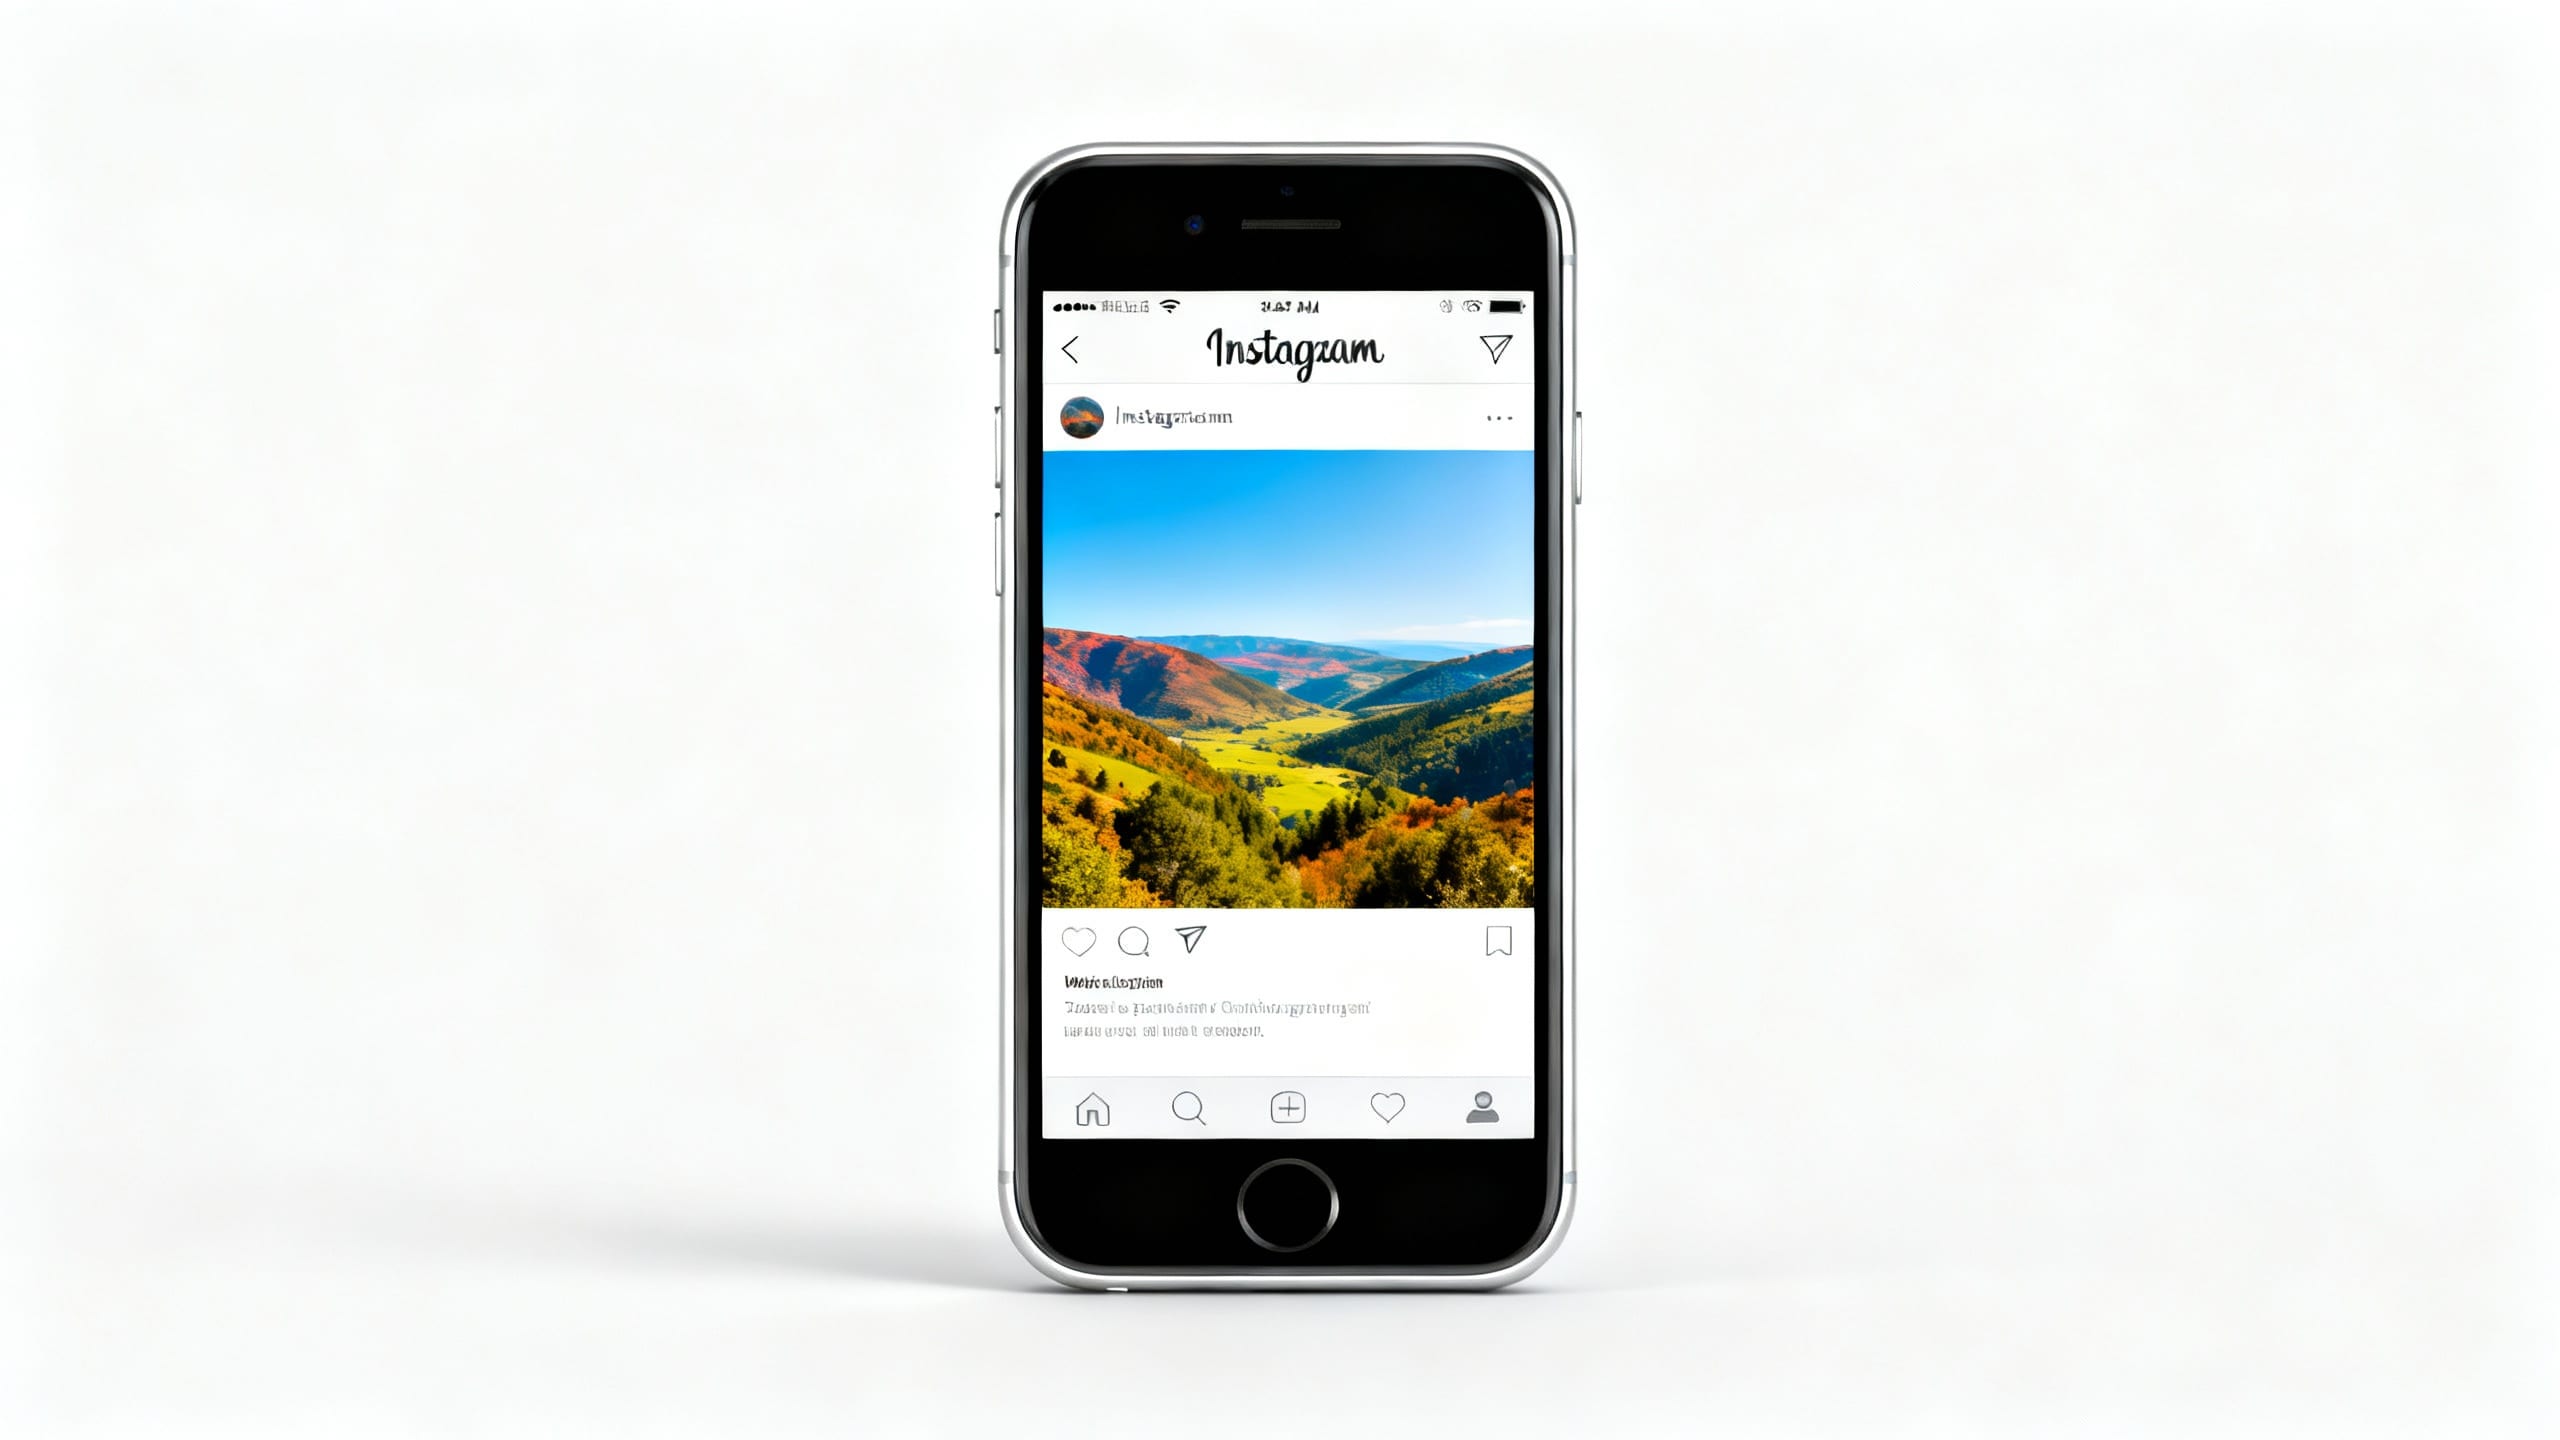
Why Does Instagram Crop My Photo, and How Do I Fit the Whole Picture?

Direct answer
Instagram crops your photo when the image shape does not match the post format you choose, or when the profile grid preview is showing a tighter crop than the full post. The quickest fix is to prepare the photo in a supported shape before upload: 4:5 or 3:4 for vertical feed posts, 1:1 for square posts, 1.91:1 for landscape posts, and 9:16 for Stories or Reels covers.
If your photo still gets cut off, do not keep pinching the preview and hoping it sticks. Add a border, use a blurred or extended background, crop the empty edge instead of the subject, or choose a different post format. Before resizing, clean distractions near the edges so the final crop does not feel accidental.
Use ClearCrowds cleanup presets when the photo is almost ready but has a trash bin, stray bag, cable, photobomber, or edge clutter that makes the no-crop version look messy.
Try this task in ClearCrowds
Clean distractions before you resize
Upload the photo, remove edge clutter or a distracting object, then export a cleaner image for your Instagram crop or border workflow.
- Edge cleanup
- No-crop prep
- Social photo workflow

Key takeaways
- Instagram cropping is usually an aspect-ratio mismatch, not a photo-quality problem.
- A vertical feed photo should usually be 4:5 or 3:4. A Story or Reel cover should be 9:16.
- The profile grid preview can crop differently from the full post, so keep faces, products, text, and logos inside the center safe area.
- If the photo is too wide, add padding or a background instead of cutting off the main subject.
- Clean edge clutter before adding borders, because the no-crop version shows more of the original frame.
Table of contents
- Quick size cheat sheet
- Why Instagram cuts off your photo
- How to fit the whole picture without cropping
- What to do with carousels and profile grid previews
- How to protect product, travel, and portrait photos
- When AI cleanup helps before resizing
- Pre-post checklist
- FAQ
Quick size cheat sheet
Definition: no-crop Instagram editing means changing the canvas around a photo, or choosing a better Instagram ratio, so the important content remains visible without cutting into the subject.
Use this as a working guide on June 25, 2026. Instagram UI can change, so always confirm in the upload preview before posting.
| Instagram placement | Best shape to prepare | Practical pixel size | Watch out for |
|---|---|---|---|
| Feed portrait | 4:5 or 3:4 | 1080 x 1350 or 1080 x 1440 | Heads, shoes, tall buildings, product labels near the top or bottom |
| Feed square | 1:1 | 1080 x 1080 | Wide landscapes and full-body portraits feel cramped |
| Feed landscape | Around 1.91:1 | 1080 x 566 | Thin horizontal photos can look small in the feed |
| Story | 9:16 | 1080 x 1920 | Keep text away from the top profile area and bottom reply/CTA area |
| Reel cover | 9:16 source, centered grid area | 1080 x 1920 | The profile grid preview is tighter than the full vertical cover |
| Profile photo | 1:1, centered subject | 320 x 320 or larger | Corners disappear because the display is circular |
Buffer's 2026 Instagram size guide lists the common feed, Story, Reel, and profile dimensions, including 4:5 and 3:4 vertical feed options. Sprout Social's image-size guide also notes that Instagram feed images commonly use 1:1 or 4:5 while the grid view displays at 3:4. The Verge reported Instagram's 2025 support for 3:4 photos, which matters because many phone photos are shot in that shape.
Why Instagram cuts off your photo
The usual problem is simple: your photo and the Instagram surface have different shapes.
A full-body portrait might be close to 2:3. A phone camera photo is often 3:4. A wide landscape might be 16:9. Instagram can show several shapes, but it still has limits. When the photo falls outside the allowed frame, the app either crops, adds preview behavior you did not expect, or asks you to choose a tighter crop.
The annoying part is that the preview can mislead you. A photo can look cropped in the profile grid but appear correctly when someone opens the post. Or a carousel can follow the first slide's shape, then make later slides feel wrong.
Here is the mental model:
- The full post decides what people see after tapping.
- The feed preview decides how much space your post gets while scrolling.
- The profile grid preview decides whether the post looks tidy on your profile.
- Stories and Reels use a taller full-screen space with UI overlays at the top and bottom.
If one photo needs to work in all of those places, the center matters more than the exact edge.
How to fit the whole picture without cropping
1. Try the expand/full-size control first
When you select a photo in Instagram, check for the expand icon in the preview. If Instagram is showing a square crop, that control may switch the preview back to the photo's available shape.
This is the fastest fix for a normal vertical or landscape photo. It will not solve every ratio, but it is worth trying before editing the file.
2. Choose the placement before editing
Do not edit one master image and hope it fits everywhere. Pick the final destination:
- Feed post: prepare 4:5 or 3:4 for a vertical photo.
- Story: prepare 9:16.
- Carousel: make all cards the same ratio unless you are intentionally mixing.
- Profile photo: use a centered square.
This one decision prevents most accidental cuts.
3. Add padding instead of cropping the subject
If the photo is too wide or too tall, add space around it. The border can be white, black, blurred, color-matched, or a soft extension of the photo background.
Use a border when:
- The entire subject matters.
- You need to show a full outfit, product, sign, receipt, plate, artwork, or landscape.
- Cropping would cut off text, a logo, a hand, feet, a roofline, or a skyline.
Use a tighter crop when:
- The edge is empty.
- The subject is already centered.
- The extra background does not add meaning.
4. Clean the edge before adding the border
No-crop edits reveal more of the frame. That means the random edge details become more visible too: a trash can, a stranger's arm, a cable, a crooked table edge, or a shopping bag in the corner.
If you add a border before cleanup, the messy edge still stays in the post. A better workflow is:
- Save a copy of the original.
- Remove the edge distraction or blur private details.
- Export the cleaned photo.
- Add the border, canvas, or final ratio.
- Check the Instagram preview before publishing.
For simple clutter or object cleanup, open Remove Garbage. If a person in the background is the issue, use the people removal guide. If the problem is private information, use Privacy Blur instead of cropping away half the photo.
What to do with carousels and profile grid previews
Carousels are where people mess this up most often.
If slide one is square, the rest of the carousel may be treated like square-first content. If slide one is portrait, the carousel feels more vertical. If you mix a tall portrait, a wide landscape, and a screenshot, Instagram may preserve the full image in one place and crop or pad it elsewhere.
Use this rule:
| Carousel situation | Safer choice |
|---|---|
| Product launch carousel | Make every slide 4:5 or 3:4, with the product centered |
| Travel photo set | Use one ratio for the whole set, or group landscape photos separately |
| Before/after cleanup | Keep both images the same ratio and subject position |
| Screenshot tutorial | Add padding around the screenshot so text stays readable |
| Mixed casual dump | Accept some padding, but do not put important faces near edges |
For the profile grid, keep the subject inside the center 3:4 area even when the full post is 4:5 or 9:16. This matters for portraits, product hero shots, restaurant plates, packaging, and screenshots with text.
How to protect product, travel, and portrait photos
Product photos
Do not crop into the product unless that is the intended composition. A listing photo should preserve the full object, label, edges, and any buyer-relevant details.
Good product workflow:
- Clean dust, clutter, phone shadows, or unwanted props first.
- Use a 4:5 or square canvas depending on your store/social layout.
- Keep the product centered with breathing room.
- Avoid AI edits that change a label, texture, color, or condition.
If your product shot has a phone shadow, read the phone-shadow product photo guide. If the issue is a wrong price label, use Edit Number in Photo carefully.
Travel photos
Travel photos often lose the point when cropped: the mountain peak, landmark top, person at the edge, or street scene disappears. If the whole scene matters, add padding or use 3:4/4:5 rather than forcing a square.
If a background stranger makes the no-crop version feel busy, use Remove Crowds or the remove people guide before resizing.
Portraits
Portraits need headroom and footroom. For a full-body outfit photo, square is usually the worst fit unless the subject was shot with space around them.
Before posting:
- Keep the eyes and face away from the top edge.
- Leave room around hair, hats, hands, shoes, and accessories.
- Check the profile grid crop, not just the full post preview.
- Avoid over-cleaning skin or changing identity just to make a crop look neat.
When AI cleanup helps before resizing
AI is not the right tool for every Instagram crop problem. If all you need is a 4:5 canvas, a normal resize or design tool is enough.
AI helps when the photo is close, but something in the frame makes the no-crop version look worse:
| Problem before posting | Better first step |
|---|---|
| Trash, bag, cup, cable, or small clutter near the edge | Remove the object, then resize |
| Photobomber in the wider no-crop frame | Remove the background person, then check the crop |
| Private plate, badge, address, or screen text | Blur the sensitive detail, then post |
| Phone shadow on a product or document | Remove the shadow locally, then export |
| Too much empty wall or sky after adding padding | Use a soft background extension or color-matched border |
If you use an AI prompt workflow for canvas extension, keep the instruction conservative:
Extend only the outer background so the photo fits a vertical Instagram frame. Keep the subject, face, body, product, text, lighting, camera angle, and original crop area unchanged. Do not add new objects, logos, words, or watermarks.
Review the result at full size. If the extension invents a weird hand, distorted product edge, fake text, or changed landmark, use a plain border instead.
Pre-post checklist
- Did you choose feed, Story, Reel cover, carousel, or profile photo before editing?
- Is the subject inside the center safe area?
- Are faces, text, labels, logos, hands, shoes, and product edges away from the crop line?
- If you added a border, does it look intentional rather than like an accident?
- Did you clean distracting edge clutter before the no-crop version?
- Did you check the profile grid preview separately from the full post?
- Did you export a copy instead of overwriting the original?
FAQ
Why is Instagram cropping my photo even after I resize it?
The file may still be outside the supported ratio, or you may be looking at the profile grid preview rather than the full post. Check the upload preview, tap the expand control if available, and confirm the final placement. A 9:16 Story image and a 4:5 feed image are not interchangeable.
What is the best size for an Instagram post without cropping?
For a vertical feed photo, start with 1080 x 1350 for 4:5 or 1080 x 1440 for 3:4. For a square post, use 1080 x 1080. For a landscape post, use about 1080 x 566. For Stories and Reels covers, use 1080 x 1920.
How do I post a full vertical photo on Instagram?
Try the expand icon in the Instagram upload preview. If the full vertical still does not fit, place the image on a 4:5 or 3:4 canvas, add a border or soft background extension, and keep the face or subject centered. Check the grid preview before posting.
How do I stop Instagram from cropping a carousel?
Make every carousel slide the same ratio before uploading, especially for before/after edits, product sets, or tutorials. If you mix portrait, square, and landscape slides, Instagram may display them unevenly. Put the most important slide first and keep critical details away from all edges.
Should I use borders or crop the photo?
Use borders when the full subject matters: a full outfit, product, sign, artwork, food plate, room, or landscape. Crop when the edge is empty or distracting. If the edge has a small object that ruins the frame, clean it first, then decide whether a border is still needed.
Can ClearCrowds make my photo Instagram-sized?
ClearCrowds is not a dedicated Instagram scheduler or size calculator. Use it before resizing when the photo needs cleanup: removing clutter, background people, phone shadows, private details, or other distractions. After cleanup, export the image and place it into the Instagram ratio you need.