

Add a grid to an image for drawing practice

Turn a photo into a drawing reference with a visible grid. Choose rows, columns and line color, then compare proportions one cell at a time.

Choose a photo

Upload a reference photo. Grid settings open in the editor.

Choose a photo
Original kept
OriginalResult

A guide for looking closer

Break a busy subject into smaller areas so you can compare angles, spacing and proportions as you draw.

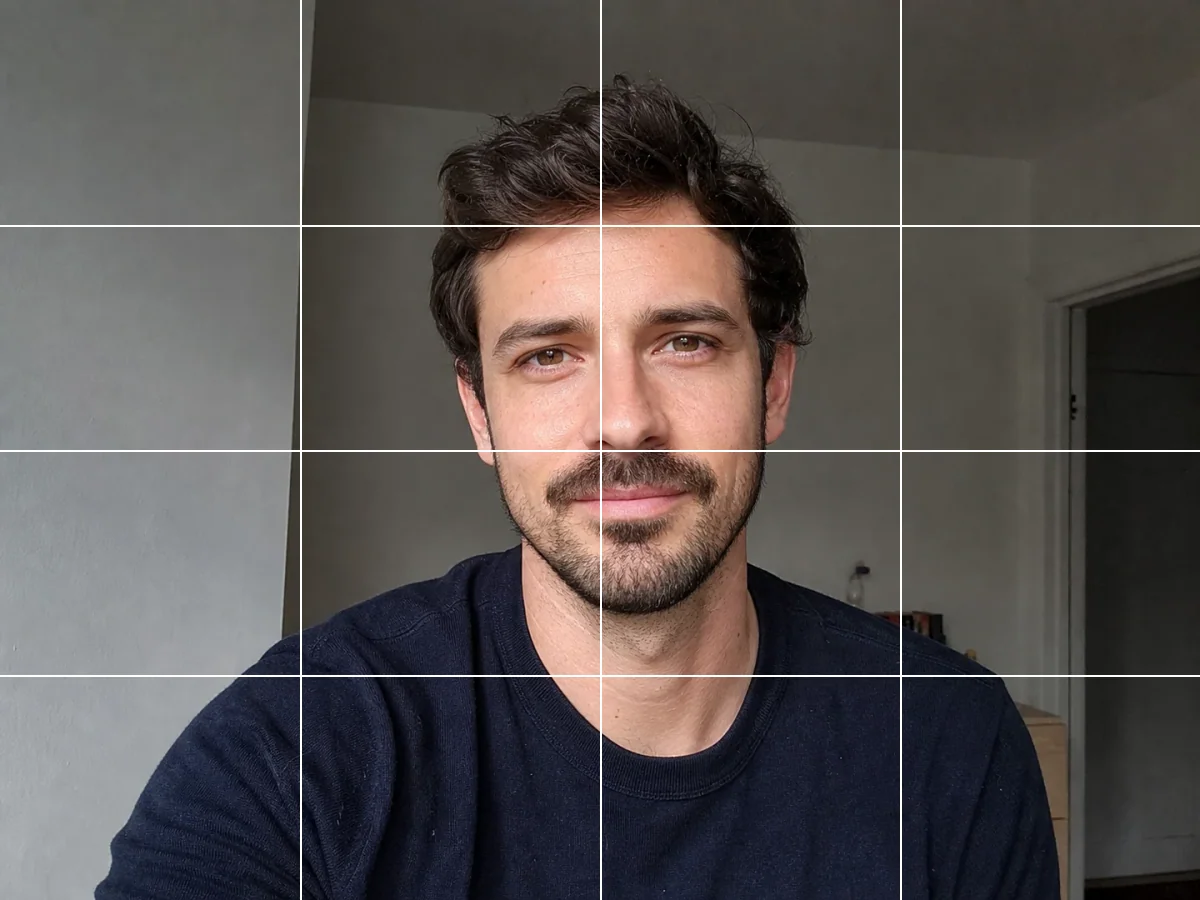
Portrait proportions

Requested change
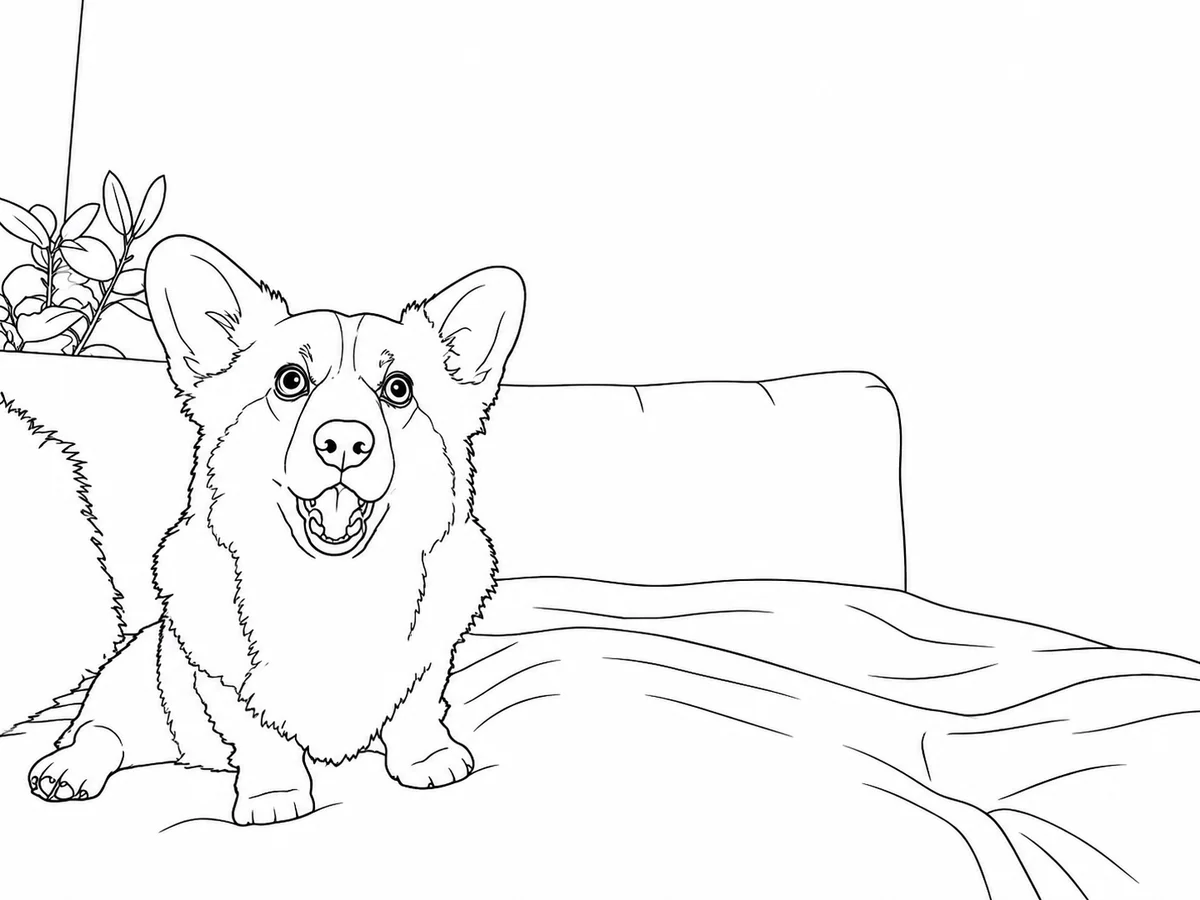
Place grid lines over a portrait to compare feature positions.
Keep unchanged
Keep the face, expression and crop recognizable.
OriginalResult

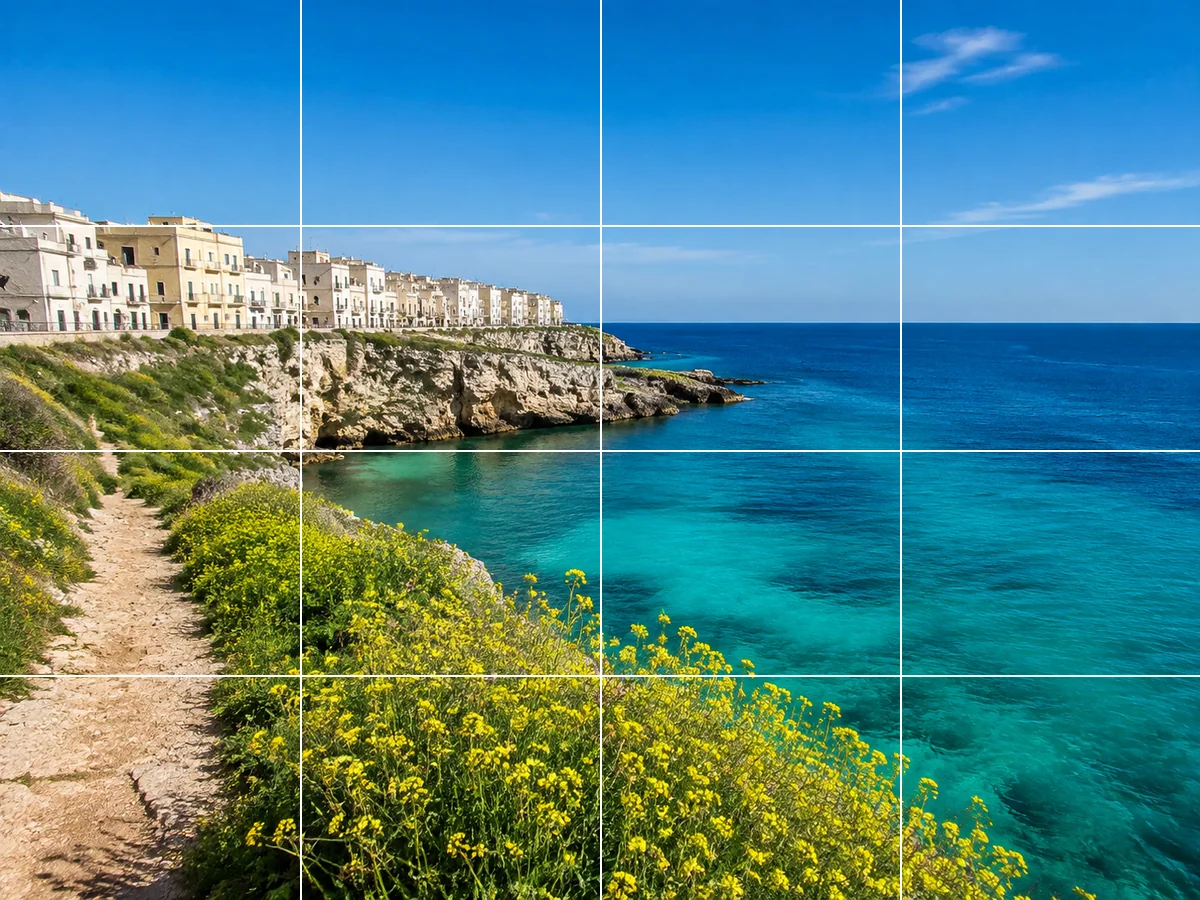
Landscape composition

Requested change
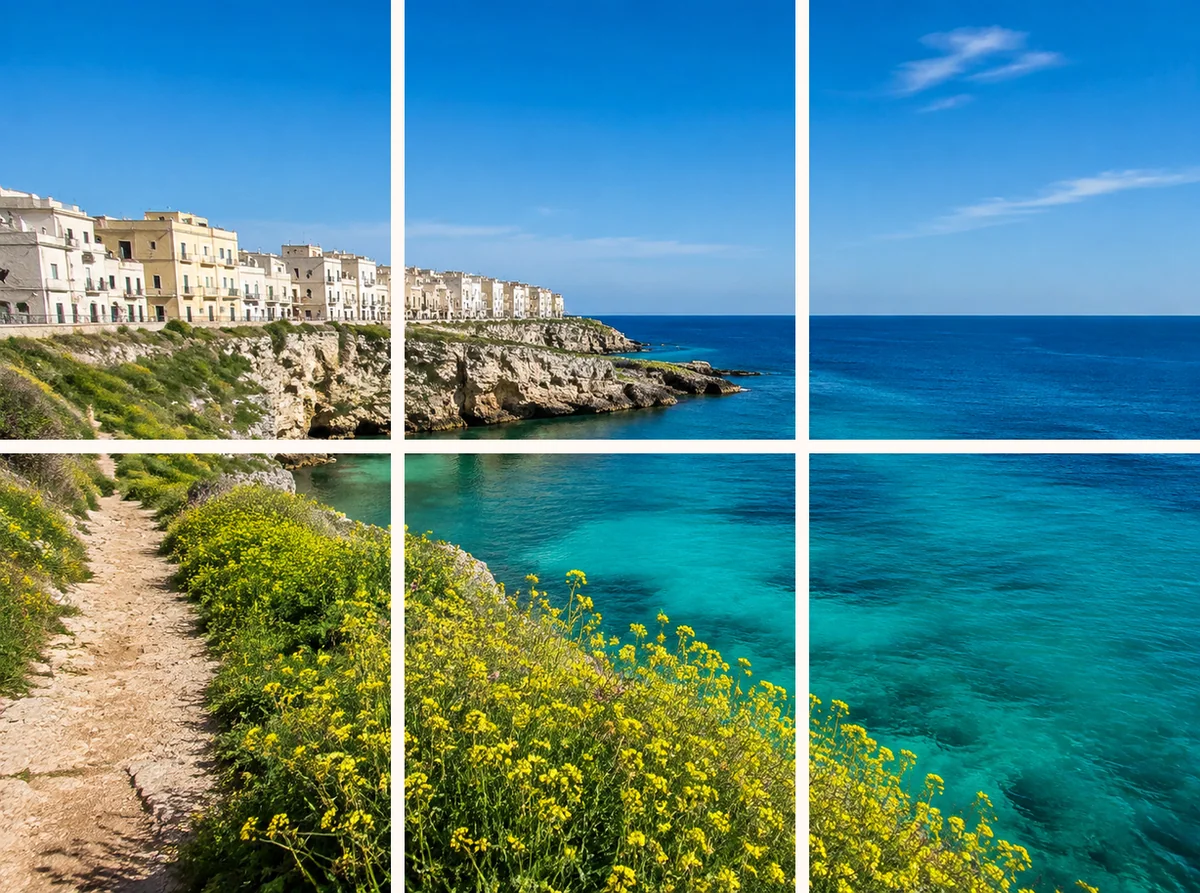
Divide a landscape into smaller areas for horizon and shape studies.
Keep unchanged
Keep the original landscape, colors and framing.
OriginalResult

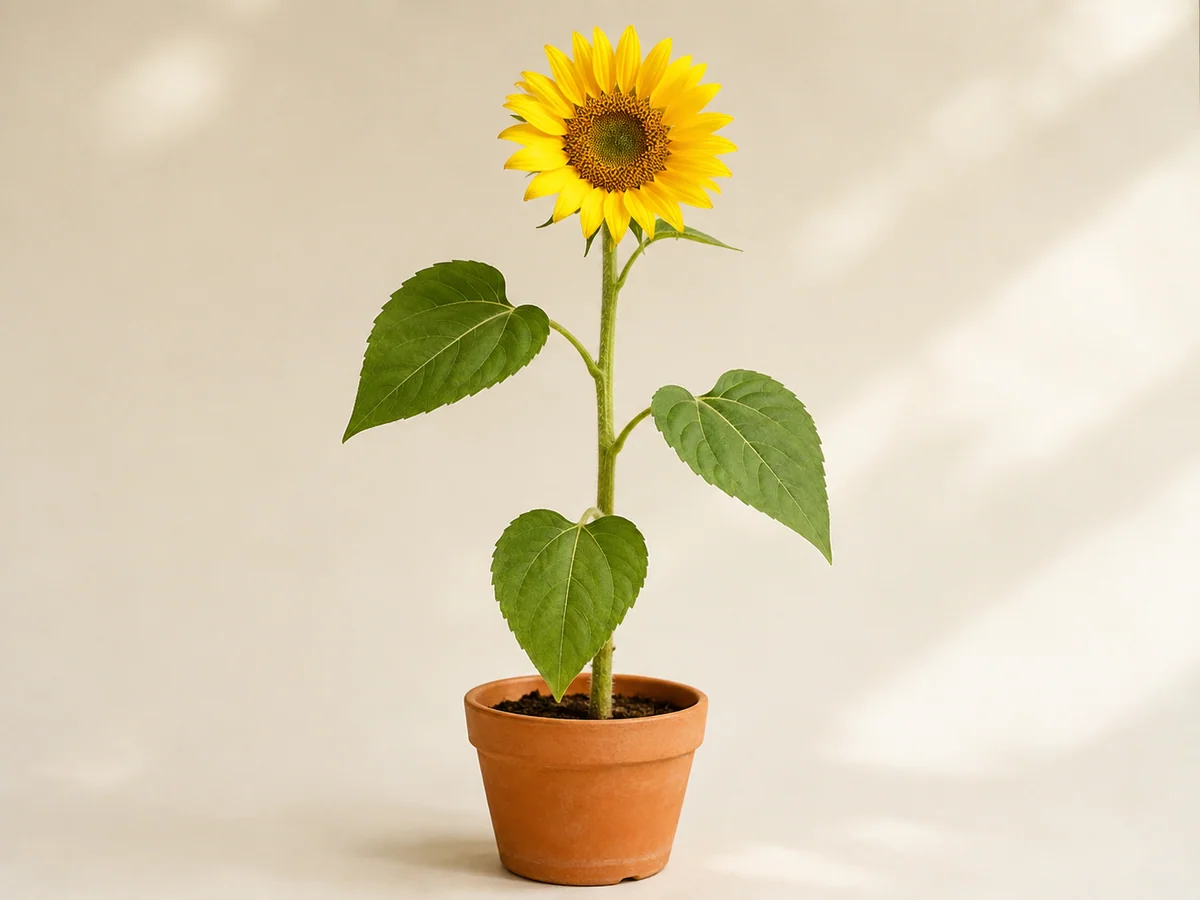
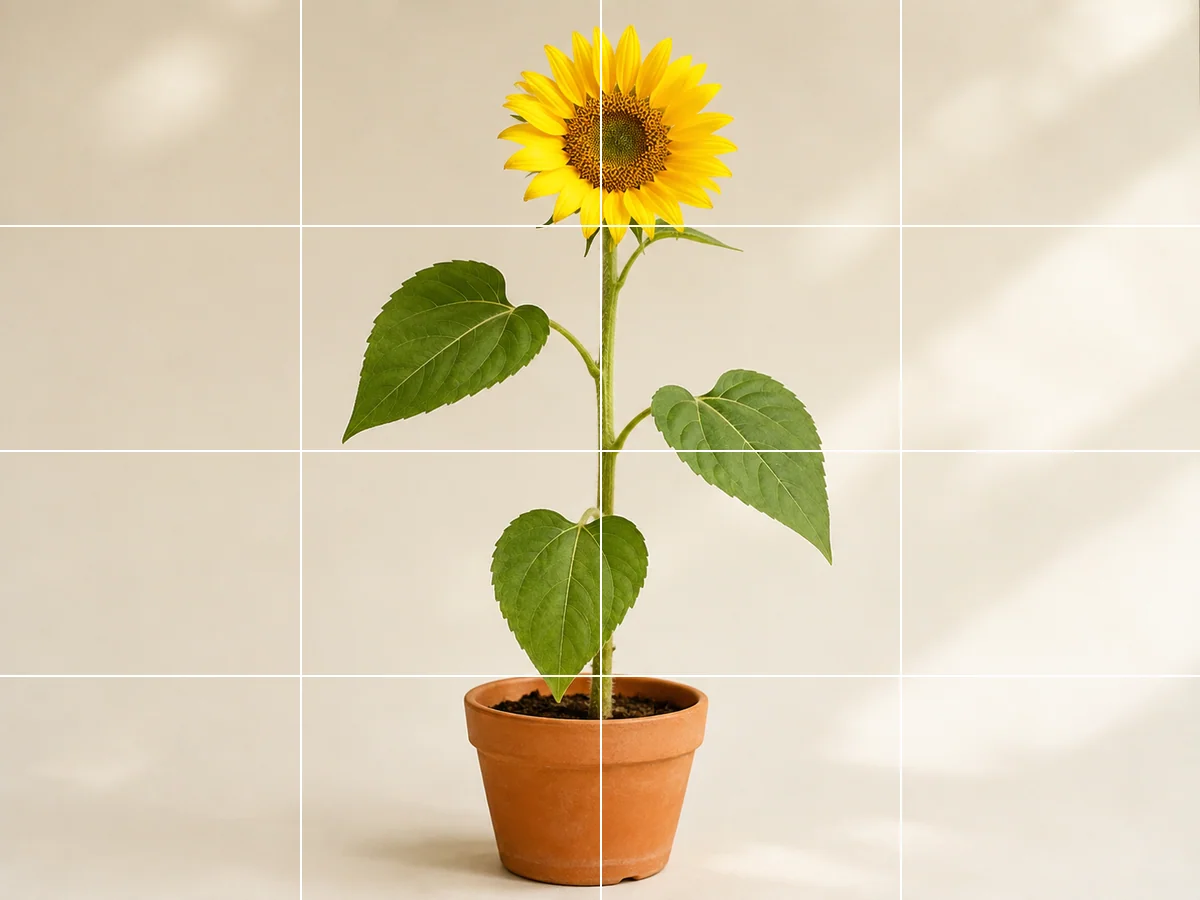
Botanical studies

Requested change
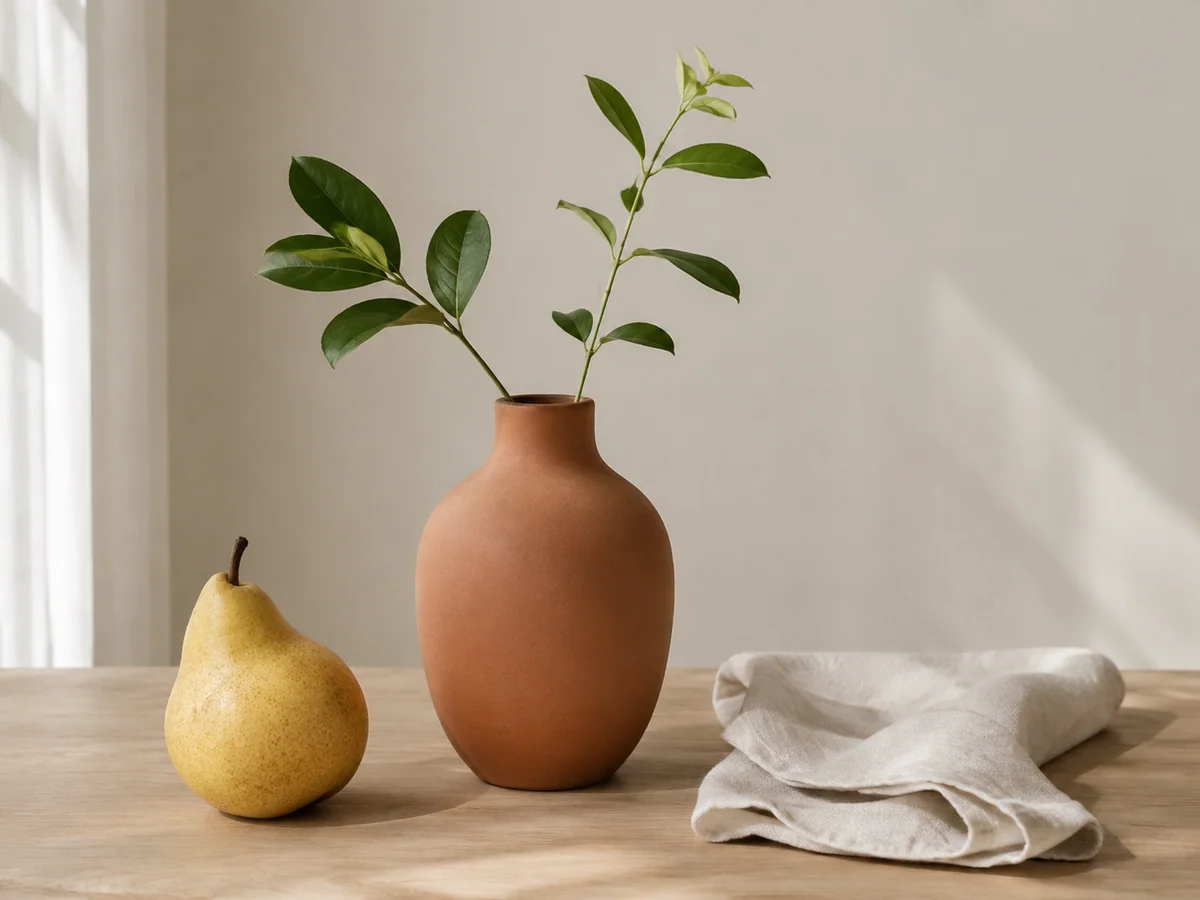
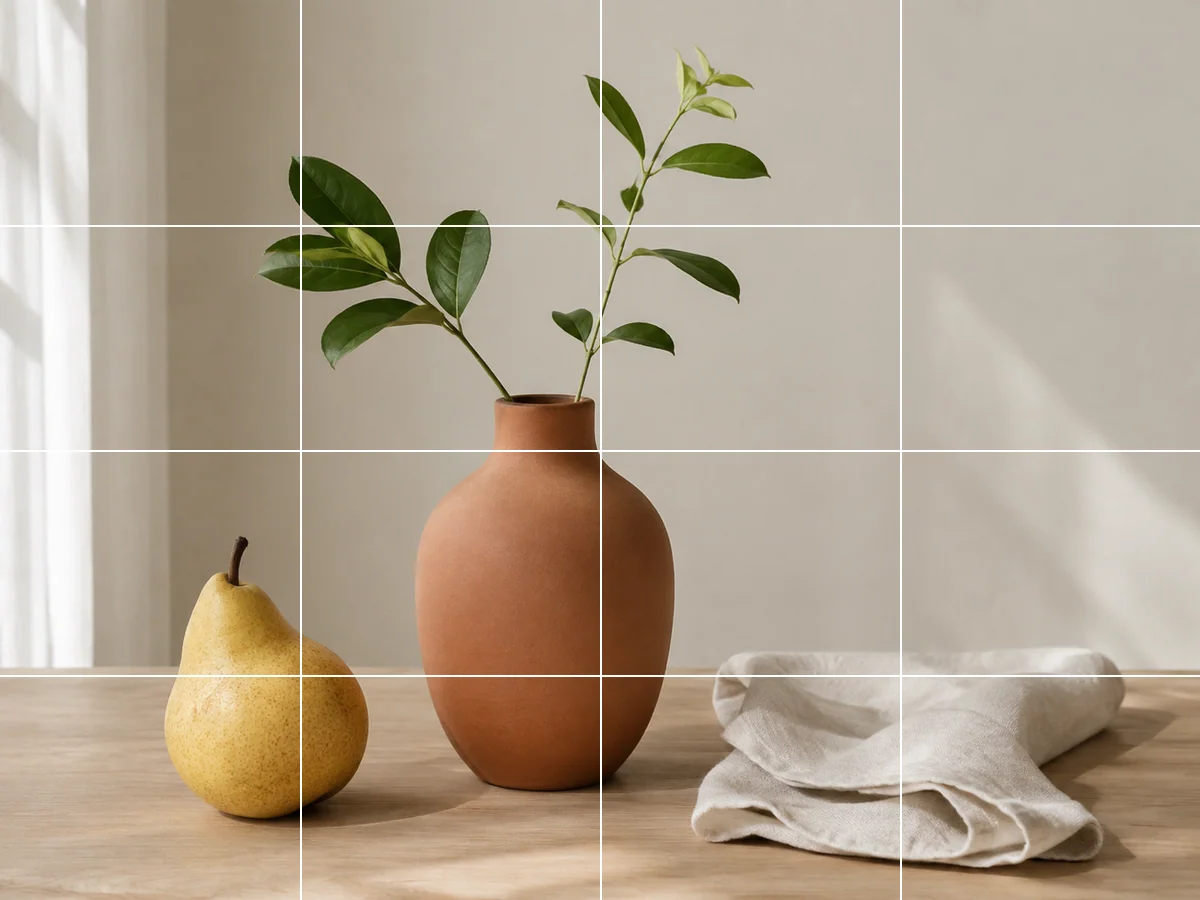
Use cells to compare the angles and spacing of leaves.
Keep unchanged
Keep the plant outline and leaf arrangement.
OriginalResult

How to use this tool

  1. 1

    Upload your reference

    Choose a clear photo with the full subject in frame.

  2. 2

    Set the grid

    Choose rows, columns and line color, then apply the grid.

  3. 3

    Check and save

    Review every line and the subject before downloading.

Evenly spaced lines, one image

The grid changes only the line pixels and uses the row and column counts you choose. Pixel rounding can make adjacent cells differ by one pixel. It does not cut the image into files.

Questions and answers

Can I choose the number of squares?

Yes. Set 2–12 rows and columns in the editor. Cell shape depends on the photo dimensions and your settings.

Does this cut my picture into files?

No. It adds visible grid lines to one image. Use Image Splitter for separate pieces.

Start with the photo you want to draw

Choose a photo

Upload a reference photo. Grid settings open in the editor.

Choose a photo
Original kept